Pink Strawberry and Sour Cream Scones

Pink Strawberry and Sour Cream Scones
I love scones!
I am a major breakfast lover. I’m pretty sure I could have breakfast at every meal, and be completely content with life. Scones are one of my favorites, but I have to say, I am pretty picky. I am not a fan of soft cakey scones. I like them to be buttery and slightly crumbly. In most of the scones recipes that I have created, I do not use eggs. Without eggs, the butter really has a chance to work its magic. By using cold butter, it does the same thing that you want it to do in biscuits or pie dough, it creates a flakey product. Once that cold butter hits the hot oven, it steams inside the scones and creates little pockets, which then create flakey-wonderfulness.
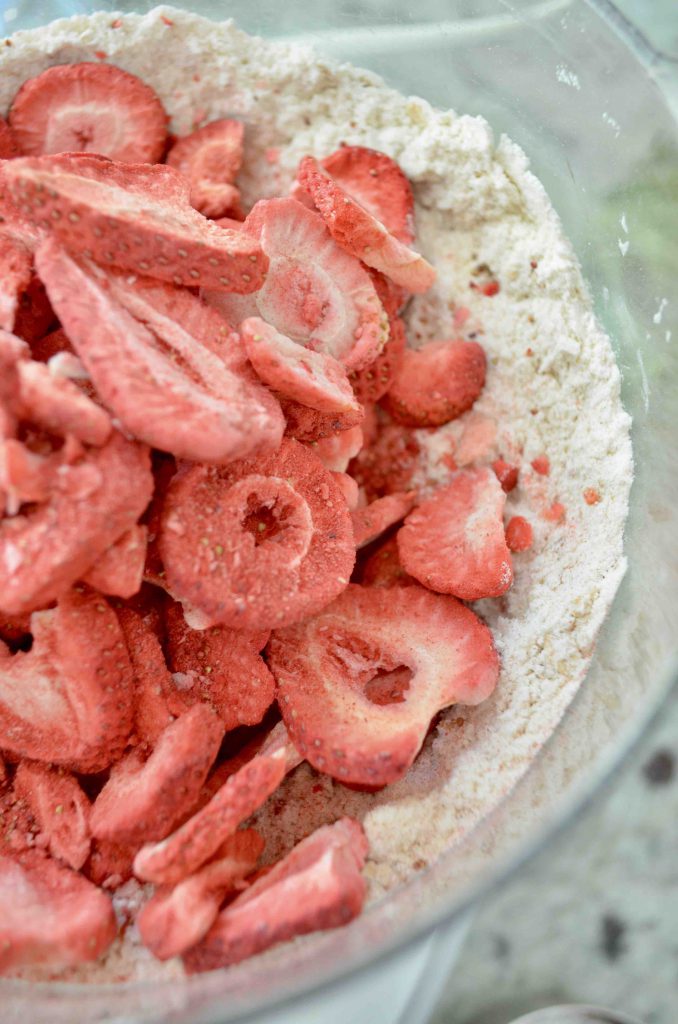
I have tried a million recipes for scones with fruit in them, but they always seem to turn out soggy. I had a come-to-Jesus moment when I was at Trader Joe’s and saw freeze-dried strawberries. I thought that by adding those in, instead of the fresh fruit, that I would be able to add real strawberries, but without all the juice making the scones soggy. I can’t even begin to tell you how excited I was when it turned out (yes, these are the things that excite me in life)! These scones have all the flavor you want from strawberries, but the scones remain crumbly.
Making these scones is extremely easy, but I do recommend using a food processor. I have found that the food processor breaks up the old fashioned oats, allowing the oats to break up more, which creates a better texture.
These can be made ahead of time and then frozen for later use. They can actually go straight from the freezer to the oven! I love when I don’t have to wait for things to come to room temperature. It is just a waste of life. Also, keep in mind, scones are best when they are fresh from the oven. Even though these don’t have fresh fruit in them, they dried strawberries will soak up the moisture from the butter, milk, and sour cream.
Tips for perfect Pink Strawberry and Sour Cream Scones
*Make sure to use cold butter, milk, and sour cream. This will ensure your scones are nice and flakey.
*Place the scones in the fridge or freezer before baking. This also makes the scones nice and flakey as well.
*If you plan on freezing these to bake at a later time, place them in the freezer on the baking sheet, once frozen, place them in a freezer safe bag and label. These can be go straight from the freezer to the oven! It may take an extra minute or two to bake.
*Don’t overwork the dough. This can make the scones tough.
*Use a food processor for the best outcome.
*These scones are best hot and fresh from the oven.

Pink Strawberry and Sour Cream Scones
Pink Strawberry and Sour Cream Scones

Pink Strawberry and Sour Cream Scones

Pink Strawberry and Sour Cream Scones

Pink Strawberry and Sour Cream Scones

Pink Strawberry and Sour Cream Scones

Pink Strawberry and Sour Cream Scones
Pink Strawberry and Sour Cream Scones
Pink Strawberry and Sour Cream Scones
Serves:
8
Ingredients
-
1 1/2 all-purpose flour
-
1 cup old fashioned oats
-
1/3 cup sugar
-
2 teaspoons baking powder
-
1/2 teaspoon salt
-
2 tablespoons sour cream
-
1/2 cup COLD unsalted butter; cut into cubes
-
2 cups (approximately) freeze dried strawberries (I get mine at Trader Joe’s)
-
1/2 cup half and half (or whole milk works too)
-
1 teaspoon vanilla extract
-
Icing:
-
1 cup powdered sugar
-
1 tablespoon strawberry jelly or jam
-
1/2-1 tablespoon milk or half and half
Instructions
-
Combine the flour, oats, sugar, baking powder, and salt in a food processor and pulse to combine
-
Add in the sour cream and cold butter and pulse to combine until the butter breaks up and looks like small peas
-
Add in the freeze dried strawberries
-
Pulse to combine
-
Combine the half and half and vanilla together
-
With the food processor running, add in the half and half (or milk) and vanilla into the flour mixture
-
Process until the mixture just starts to come together; do not over-mix
-
Pour the mixture out onto a floured surface or cutting board; I like using a large cutting board, because it helps make clean-up much easier)
-
Use your hand to press the dough together, and press it out into a round shape
-
Fold it in half and press it out again, repeat once more being careful not to overwork the dough; this process helps to create layers in the dough which makes it lighter
-
Press the dough into a round shape about 1/2 inch thick
-
Use a knife to cut the circle in half, then in half again to create a “cross”
-
Then cut each quarter in half to create 8 slices
-
Place the slices onto a baking sheet and place in the freezer or fridge; if you plan on freezing these to bake at a later time, place them in the freezer on the baking sheet, once frozen, place them in a freezer safe bag and label
-
Preheat the oven to 375 degrees
-
Keep the scones in the fridge or freezer while the oven is heating up; I have found that the colder the scone, the lighter the outcome of the scone is after it bakes
-
Once the oven has heated, bake the scones for about 16-18 minutes, or until the edges start to turn slightly golden
-
While the scones cool, make the icing (optional)
-
Combine the powdered sugar, jelly, and milk into a bowl and use a whisk to combine
-
If the mixture is too thick, add more milk a little at a time, if it is too thin, add more powdered sugar; do this until you achieve the consistency you like
-
Drizzle over the cooled scones