Holiday Party DIY Photo-booths

Looking for a way to amp up your holiday party!? How about a DIY photo booth!?
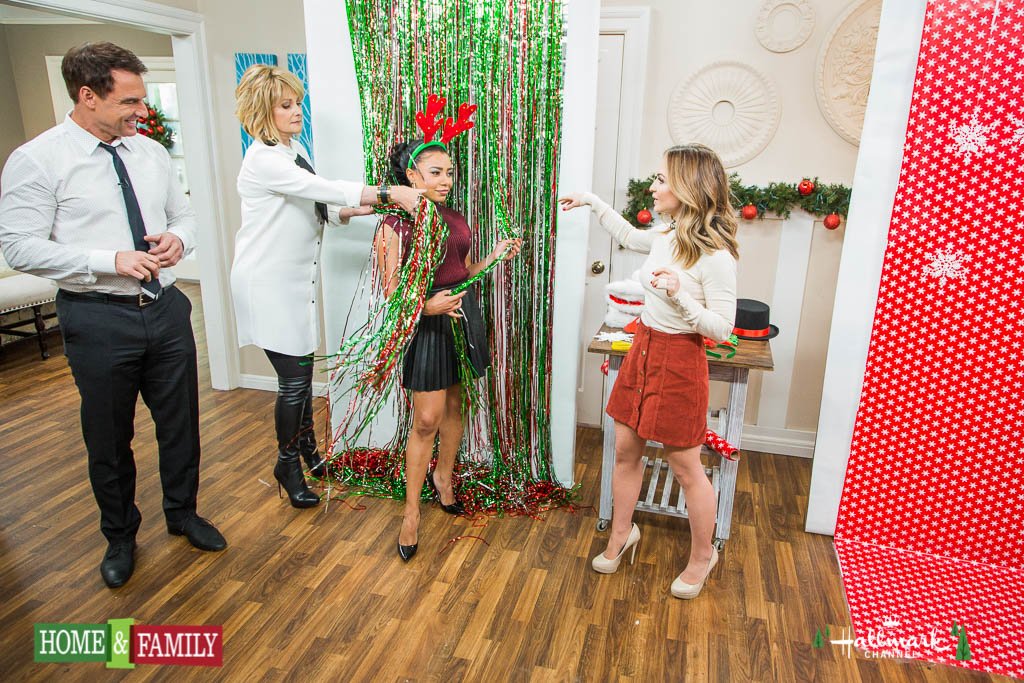
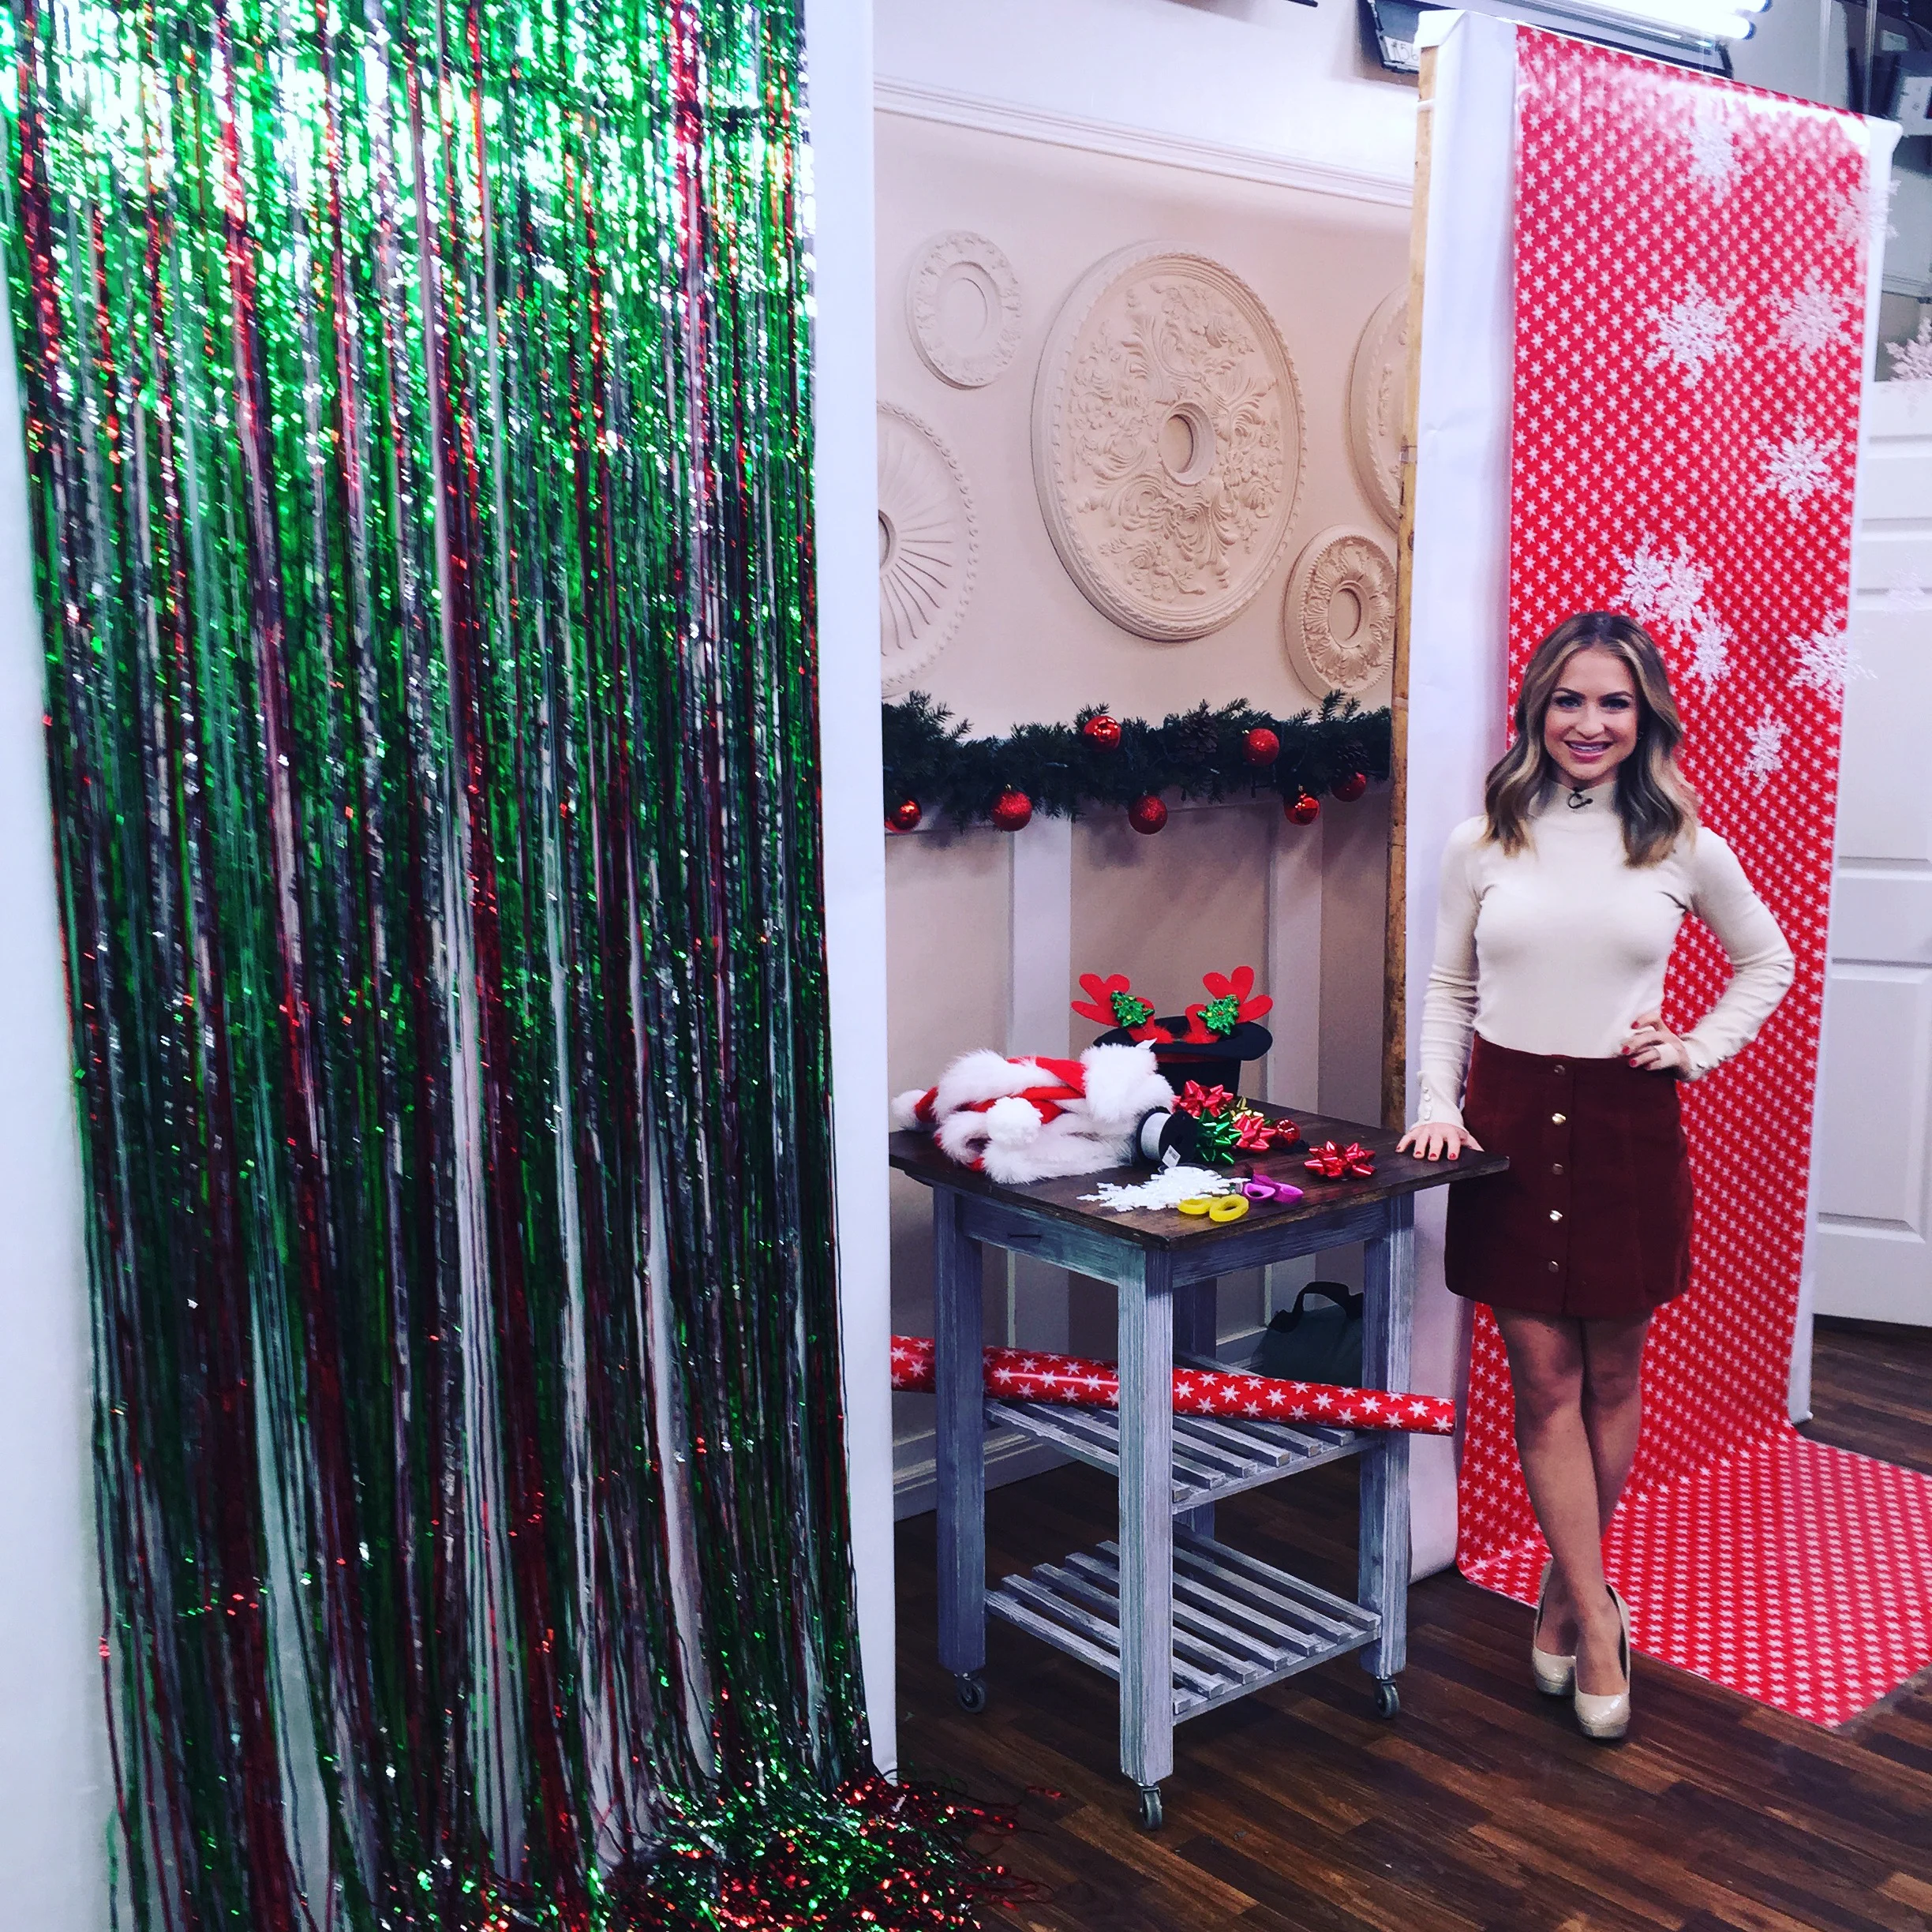
Today on The Hallmark Channel’s Home and Family Show, I am showing how you can make your own photo booth at home. You will be surprised at how a few simple supplies like wrapping paper, tinsel, and fishing wire can make a big statement.
Everyone loves sharing their pictures on social media during the holidays, especially at parties, and this craft is a great way to add some more fun to your party.

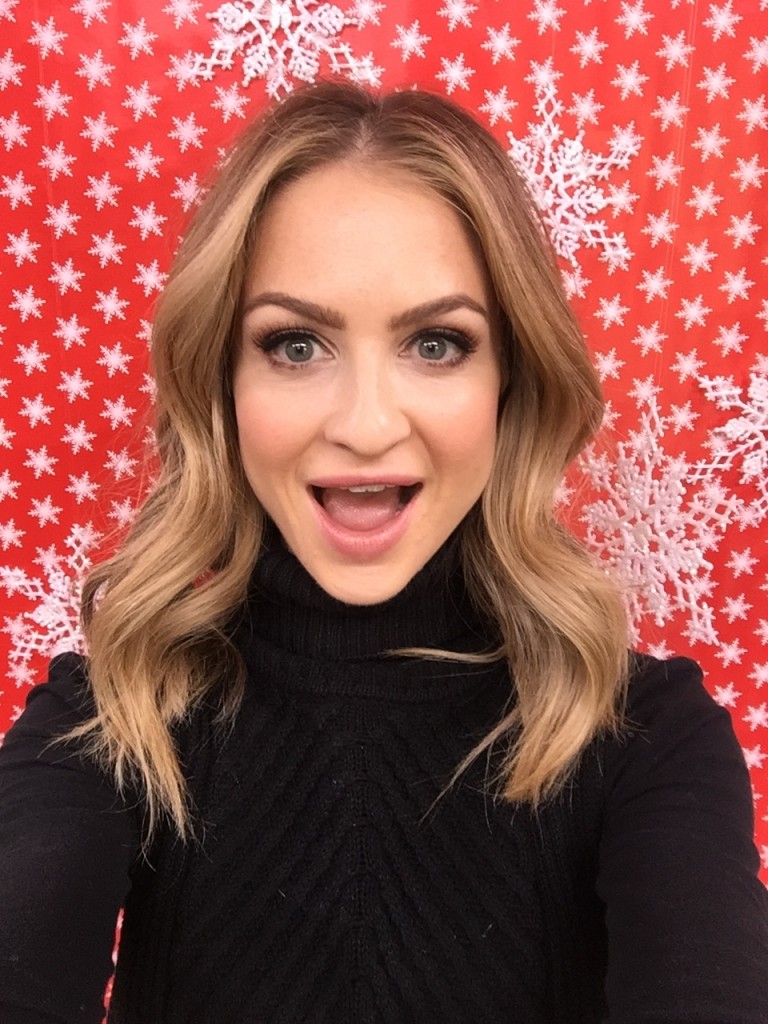

Wrapping paper backdrop:
Supplies Wrapping paper; if you can find the ones that are around 3 foot wide that would be the best option, if not do two sheets of the wrapping paper side by side to cover more of the wall. Tape Tacks Snowflakes Fishing wire
Directions: Roll the wrapping paper out onto the wall, and attaching it using tape to the highest desires point; it is a good idea to keep some of the wrapping paper on the ground as well for guests to stand on if they want to do a full body picture; make sure to tape the wrapping paper to the ground if you are doing this step.
Measure how long you need the fishing wire to be to hang the snow flakes from the ceiling
Attach the snowflakes to the fishing line; make sure to make the finishing line different lengths and the snowflakes in different places to create the look that it is snowing.
if you have enough wrapping paper, it helps the roll the paper on the floor as well if guests want to do a full length picture. Make sure to tape the wrapping paper to the ground if doing this step.
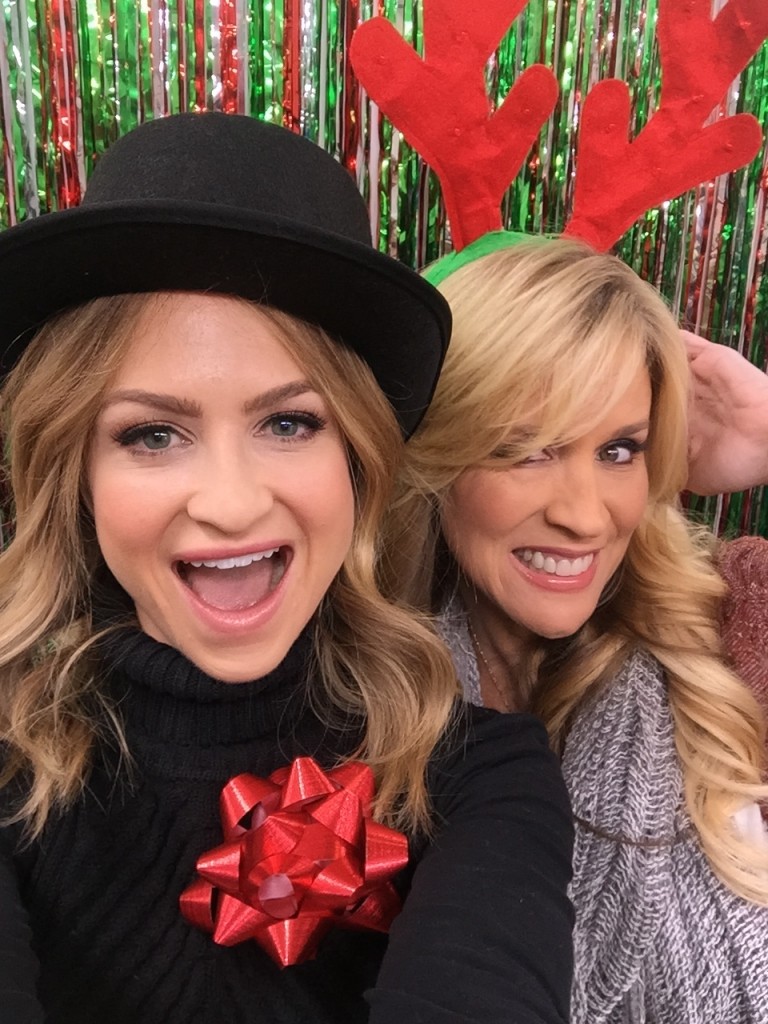
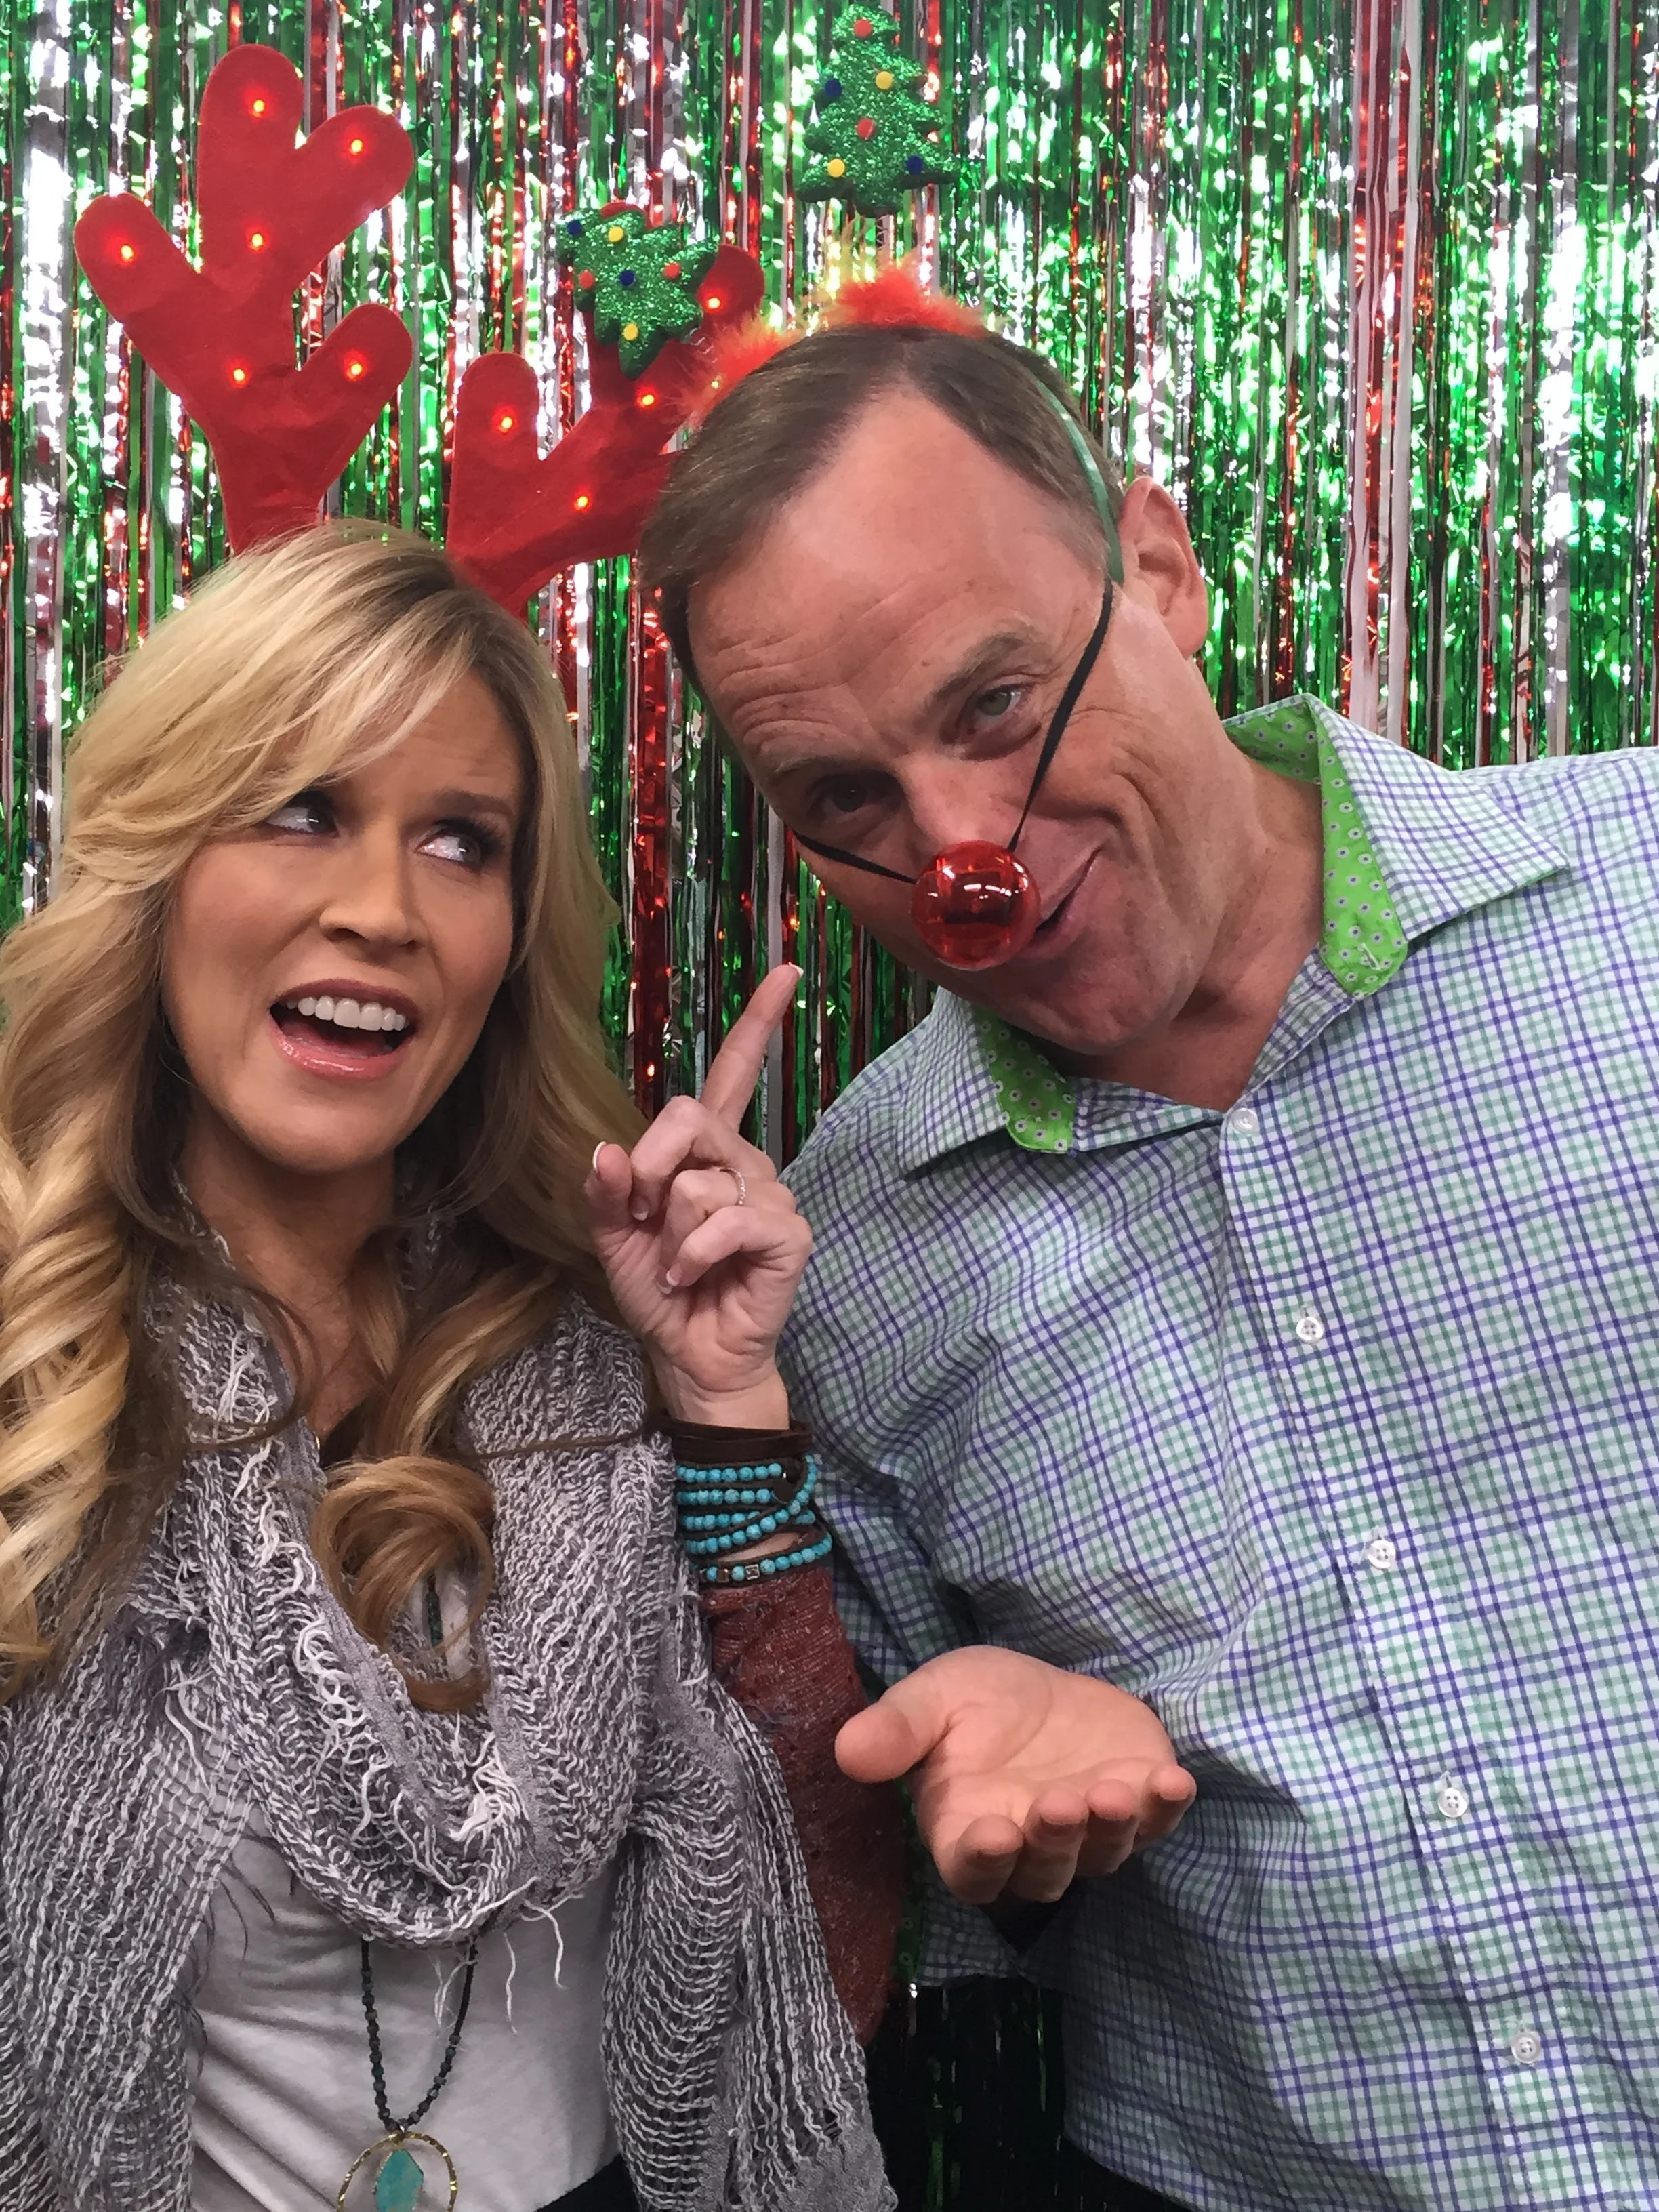
Tinsel backdrop:
Supplies 3 Sheets of tinsel about 3 feet wide; different colors optional tape (or however we decide to attach it to the wall) scissors ruler
Directions: Hang fringe by taping to the wall
Layer the three colors as desired Cut unto the top of the tinsel so that you can see all of the different colors
Photo Booth Tips: Add props for people to use to make it really fun
Adding two snowflakes to some pieces of the fishing wire will create a more full look; make sure they are hanging at different lengths
Step back, and take some practice pictures to make sure the set up looks the way you want.
Set up a tripod with a camera, or a tripod that will hold an iPhone for guests to take pictures
If cutting the tinsel, make sure to use sharp scissors to make sure the tinsel cuts clean and doesn’t tear.


Love this idea! Going to try it!
Love this idea! Going to try it!