Sour Cream Key Lime Pie
Sour Cream Key Lime Pie
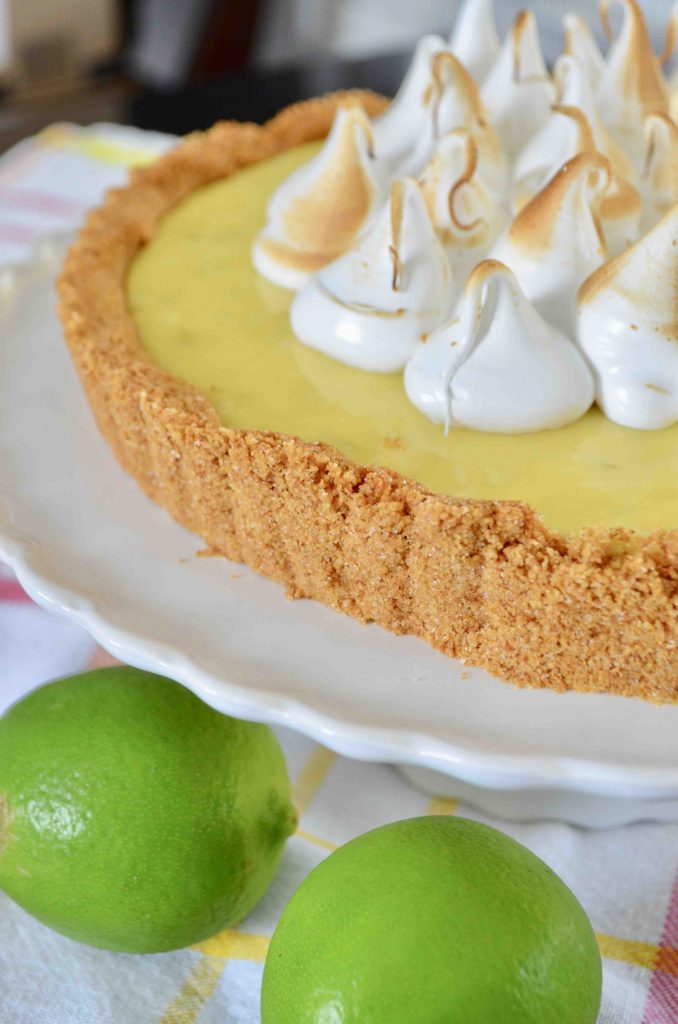
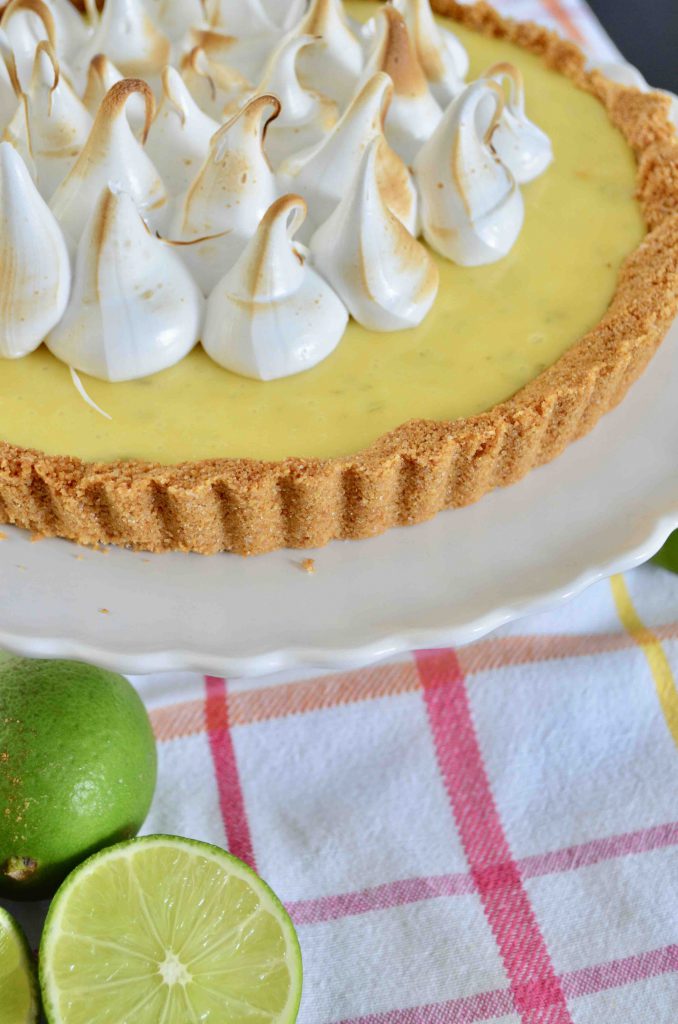
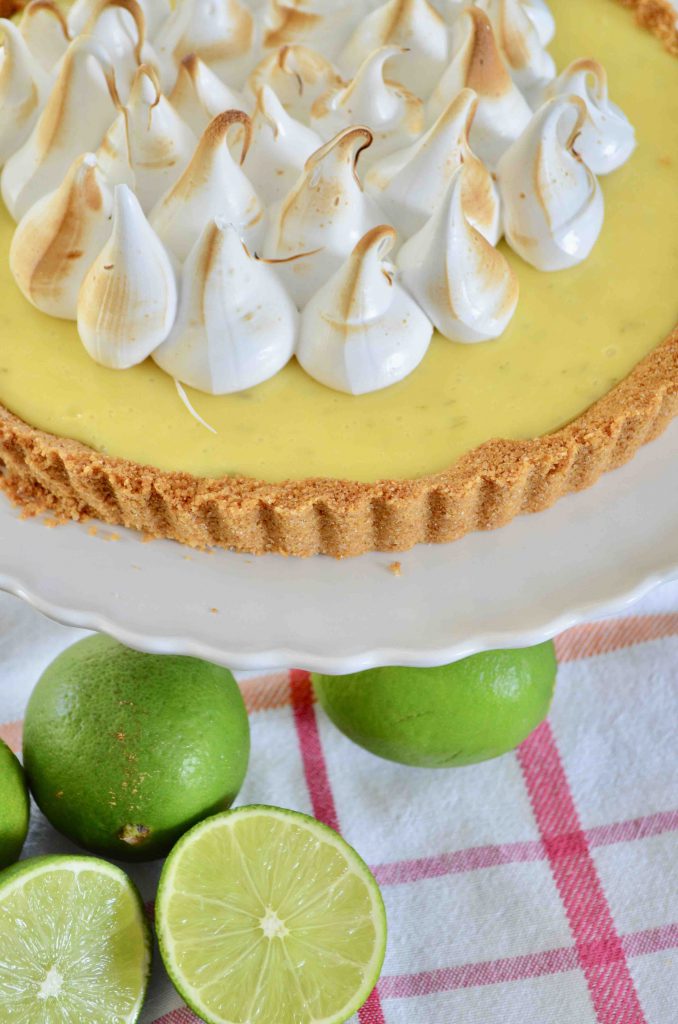
If you read my blog somewhat frequently, you know that I am citrus obsessed! I loved adding any and all citrus to meals and desserts. Even though I have always liked Key Lime Pie, it was never on the top of my dessert list…until I met my husband. Key Lime Pie is my husband’s favorite dessert, so when we were dating, and I was trying to impress him by making all these gourmet meals at home, I had to try my hand at this pie. Little did I know, Key Lime Pie is really easy to make! I have had a lot of fun playing around with different measurements, but I added in a new ingredient that you don’t normally find in Key Lime Pie…sour cream. The sour cream adds a nice layer of rich tangy flavor that adds a great balance to the pie!
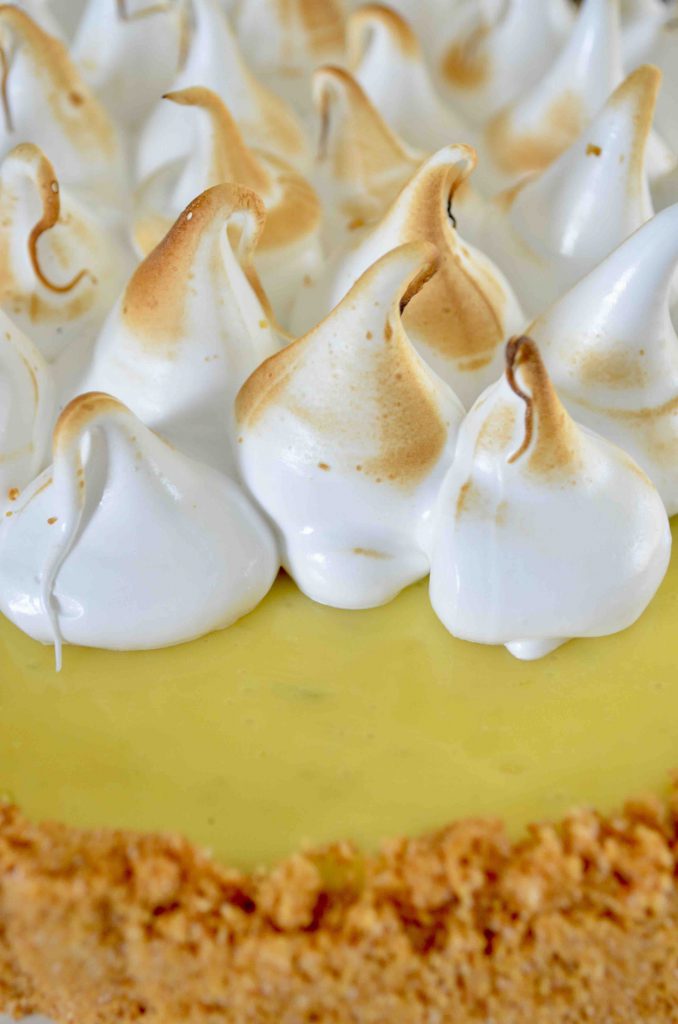
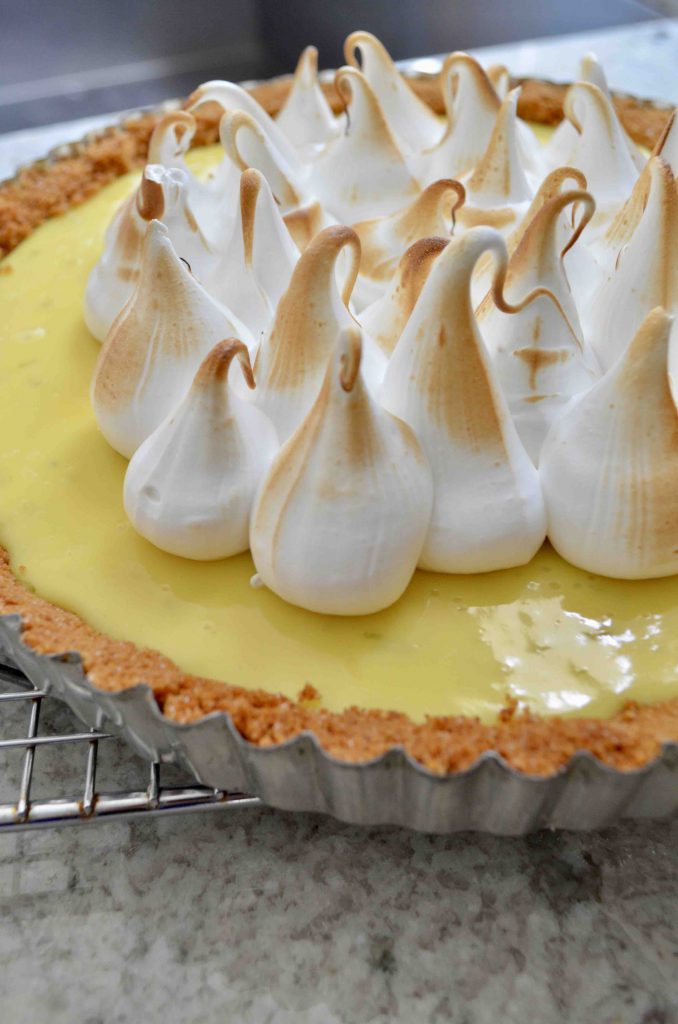
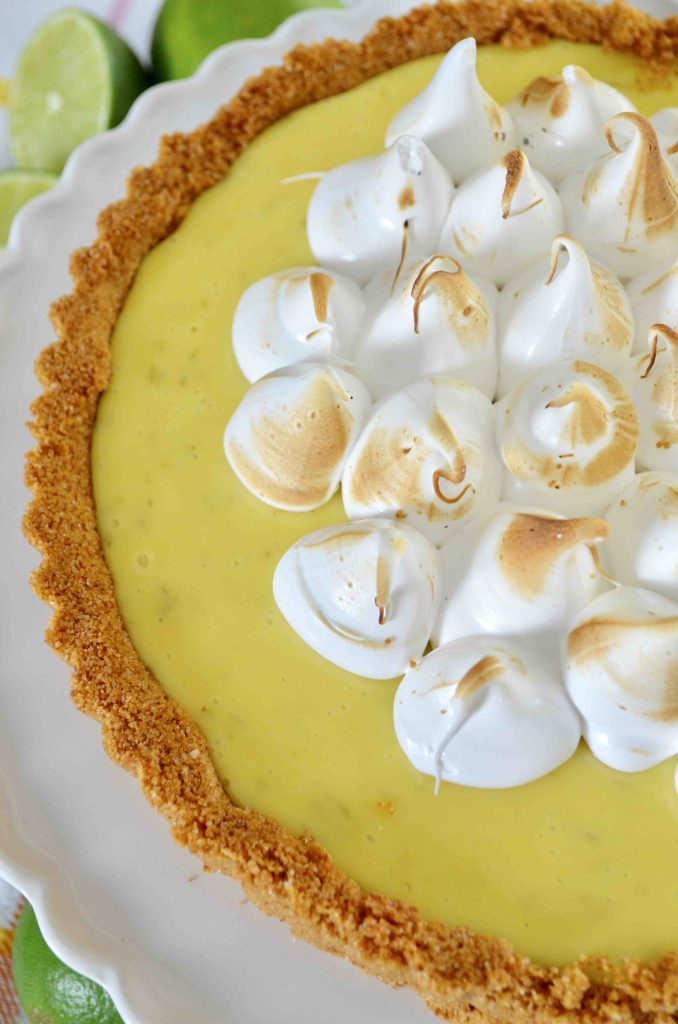
Also! The icing on the cake, well the topping on the pie, meringue! If I told you how many times I have tested meringue to create the perfect recipe, you would think I was crazy. I have lost count at this point, but I really wish I would have kept track. I think we are there though!!! I was so excited at how well this meringue turned out for the pie. I do a technique where I place the egg whites and sugar over a double boiler to help dissolve the sugar into the egg whites. This also helps to cook the eye whites. I have found that this creates more of a marshmallow consistency instead of the foamy texture that some meringues can have. This meringue is silky and smooth! You will never want to have Key Lime Pie without meringue again.
Tips for perfect Sour Cream Key Lime Pie
*Make sure your ingredients are room temperature. This helps them to mix together well.
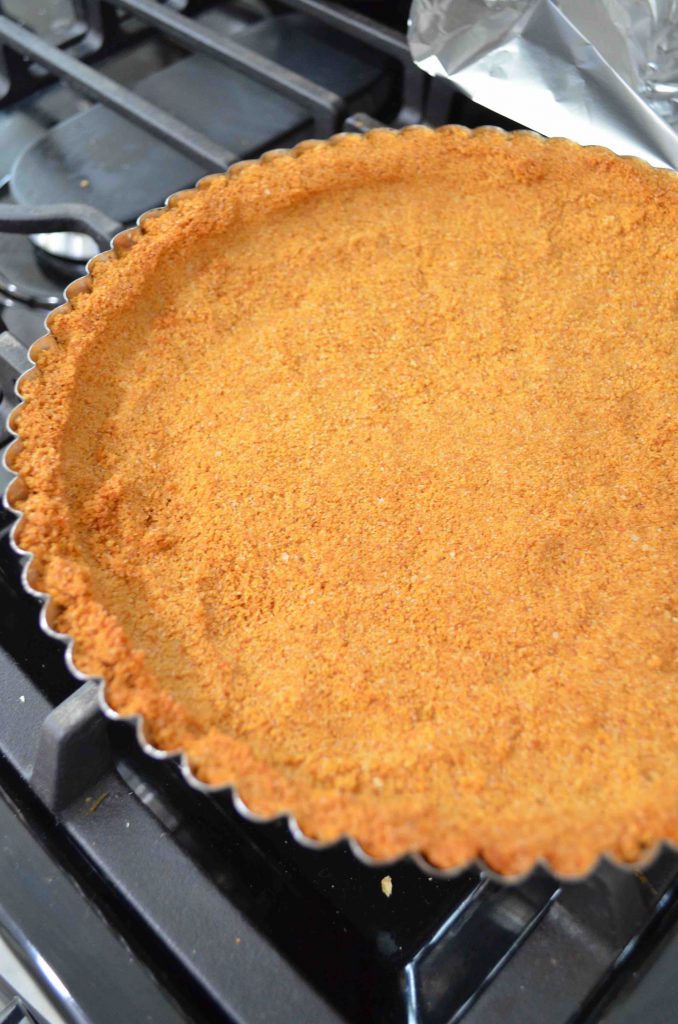
*Press your crust into the the tart dish or pie dish well. If you don’t do this, then it can be too crumbly.
*Don’t overcook the meringue. When the sugar and egg whites are in the double boiler, make sure to constantly be whisking them. You will know when it is ready by rubbing some of the mixture between your fingers, and if it isn’t grainy, then it is ready.
*If you don’t have an oven torch to create the little browned areas on the meringue, then very carefully place the meringue under the broiler, making sure to keep your eye on it as it can burn very easily (like a marshmallow over fire).
*Make sure to place the pie in the fridge for several hours before serving, and serve chilled.
Sour Cream Key Lime Pie
Sour Cream Key Lime Pie
Sour Cream Key Lime Pie
Sour Cream Key Lime Pie
Sour Cream Key Lime Pie
Sour Cream Key Lime Pie
Sour Cream Key Lime Pie
Sour Cream Key Lime Pie
Sour Cream Key Lime Pie
Sour Cream Key Lime Pie
Sour Cream Key Lime Pie
Sour Cream Key Lime Pie
Author:
Maria Provenzano
Ingredients
-
Crust:
-
2 cups graham cracker crumbs
-
4 tablespoons sugar
-
6 tablespoons unsalted butter, melted and cooled
-
1/2 teaspoon salt
-
Filling:
-
1 14oz can sweetened condensed milk
-
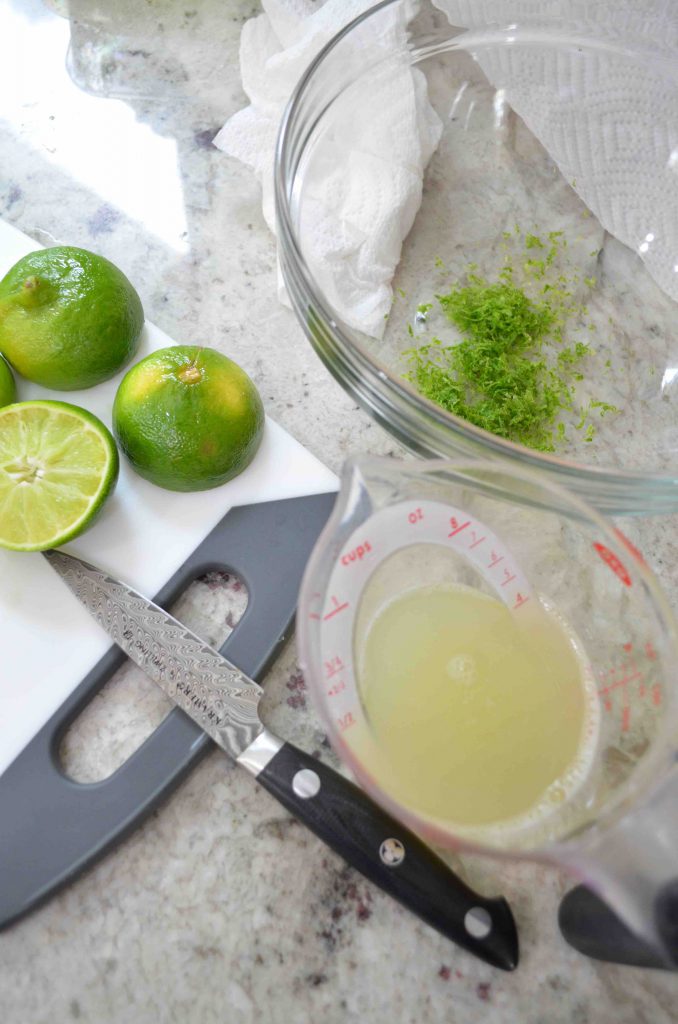
1 tablespoon fresh lime zest
-
1/2 cup freshly squeezed lime juice
-
3 large egg yolks; room temperature
-
heaping 1/4 cup sour cream; room temperature
-
Meringue Topping:
-
1/2 cup egg whites (about three egg whites)
-
1 cup sugar
-
pinch of salt
-
1/4 teaspoon cream of tartar
Instructions
-
Preheat oven to 375
-
Combine the graham cracker crumbs, butter, and salt in a bowl
-
Mix to combine well
-
Press the mixture into a 9 inch tart pan or pie dish; make sure to press the mixture in well to that the graham crackers stick together
-
Bake in the oven for about 10-12 minutes
-
Cool to room temperature
-
Reduce the oven temperature to 325 degrees
-
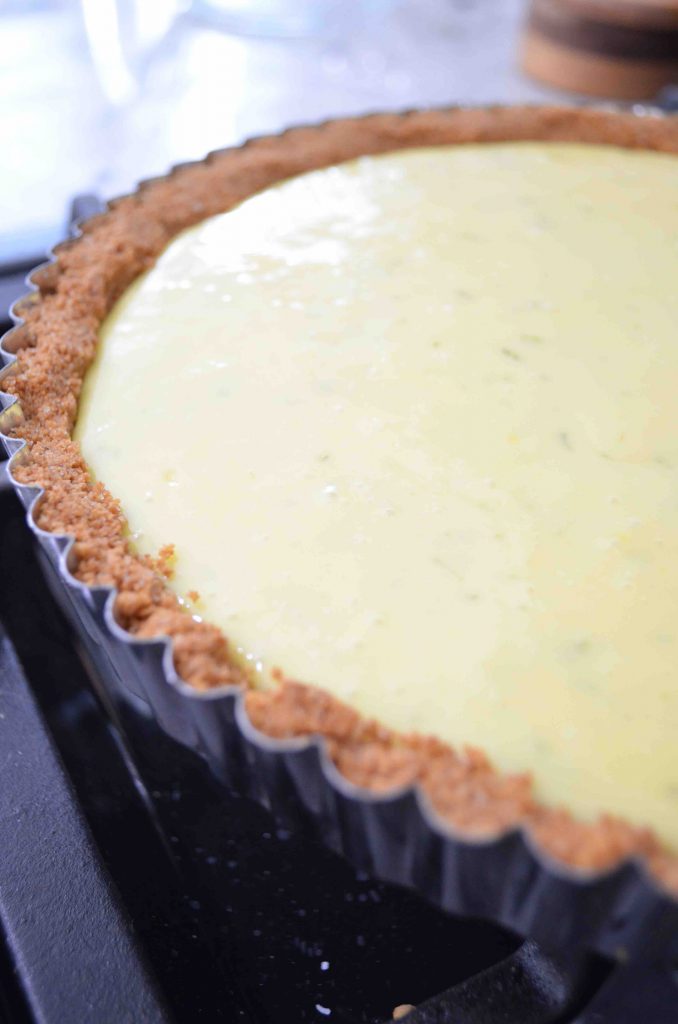
Combine the sweetened condensed milk, zest, lime juice, egg yolks, and sour cream in a bowl and mix well with a whisk
-
Pour the filling into the cooled pie crust and bake for 15-17 minutes, or until the center is set and still a slightly jiggly
-
Allow to cool
-
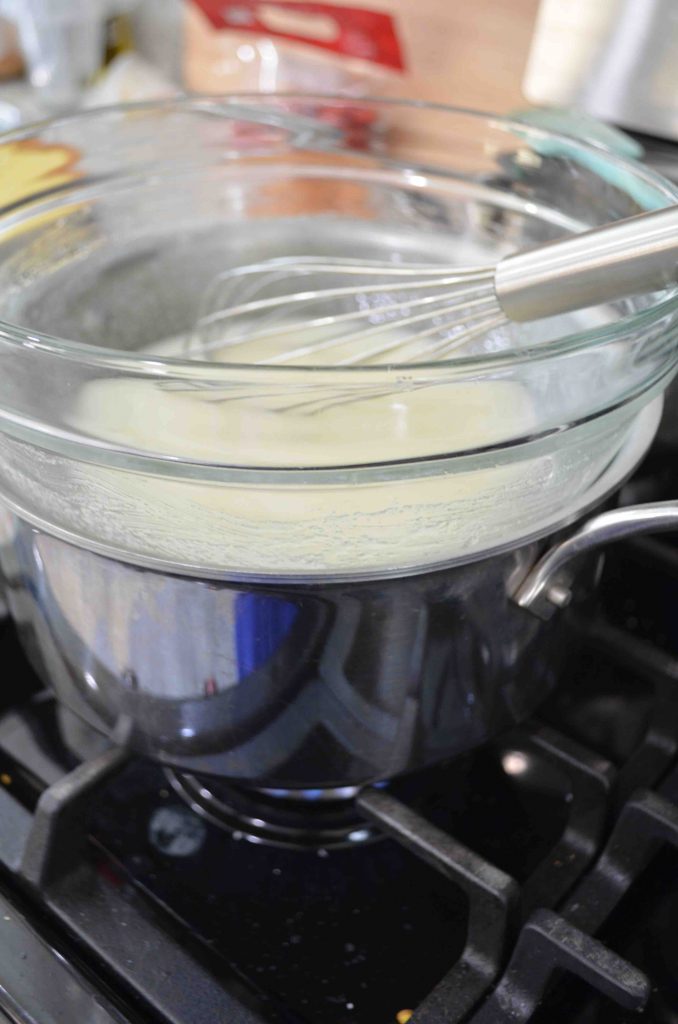
For the meringue place the sugar and egg whites into a heat proof bowl (I usually use a mixing glass bowl) and place over a pot with a small about of simmering water, making sure the water isn’t touching the bowl
-
Use a whisk to mix the egg whites and sugar continuously until the sugar has devolved into the egg whites; You will know when it is ready by rubbing some of the mixture between your fingers, and if it isn’t grainy, then it is ready.
-
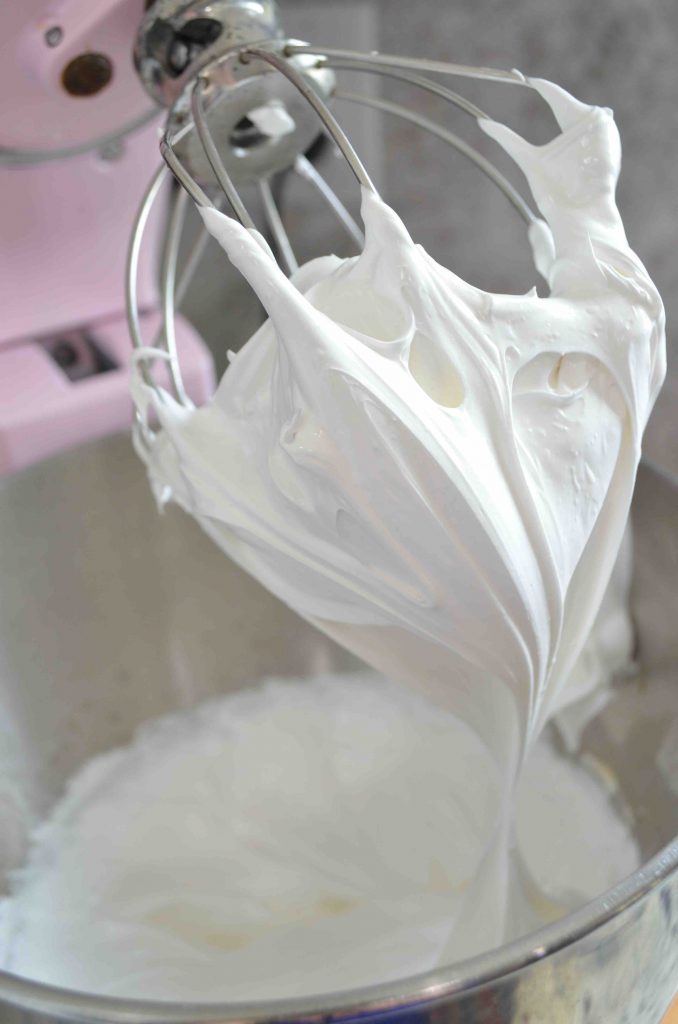
Place the egg white mixture into the bowl of a stand mixer with a whisk attachment (this could also be done with the hand mixer, it may just take longer)
-
Whisk in the stand mixer for about a minute and add in a pinch of salt and the cream of tarter
-
Whisk for another 5-8 minutes until the mixture has doubled in size and looks like marshmallow fluff and holds a stick peak
-
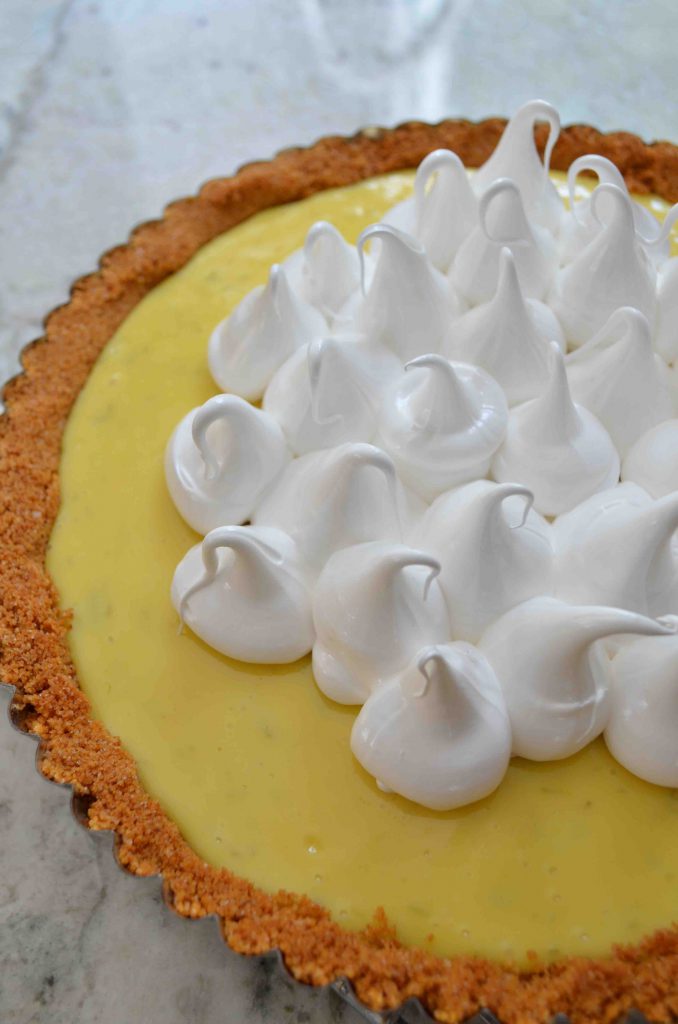
Place into a piping bag (or a plastic bag works too) and pipe large mounds of meringue on the top of the prepared pie
-
Use a kitchen torch to add some toasted parts onto the meringue, if you don’t have a kitchen torch, you can carefully place the pie into the oven under the broiler, making sure to keep your eye on it so it doesn’t burn (it can burn easily, like marshmallows over a flame)
-
Place the pie in the fridge for a few hours before serving
-
***Note: if you have extra meringue, you can make little meringue cookies by piping little dollops onto a baking sheet lined with parchment paper, and bake at 200 degrees for about a half hour, or until they can pull away from the sheet. Then, turn the oven off and allow them to cool completely for a few hours.