Painted Speckled Eggs and Mason Jar Easter Grass
Getting ready for Easter??
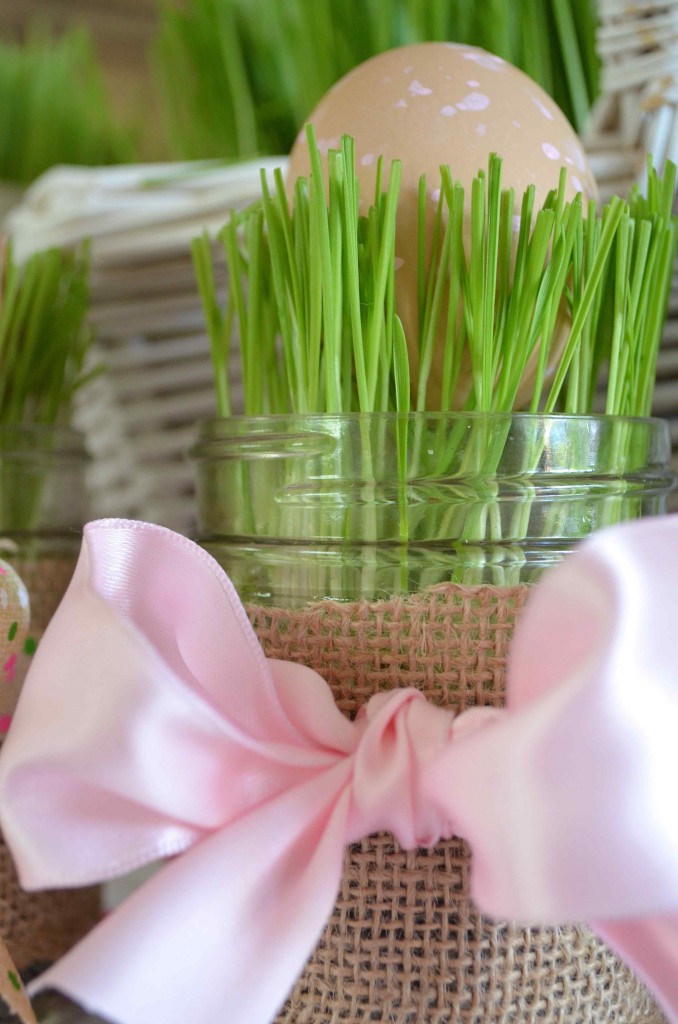
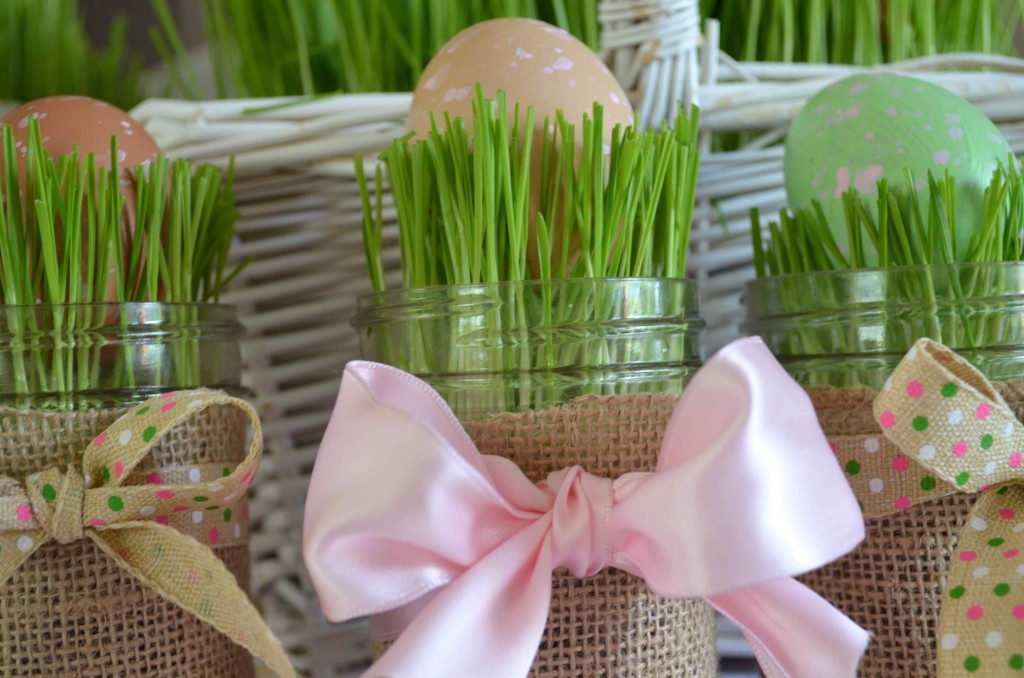
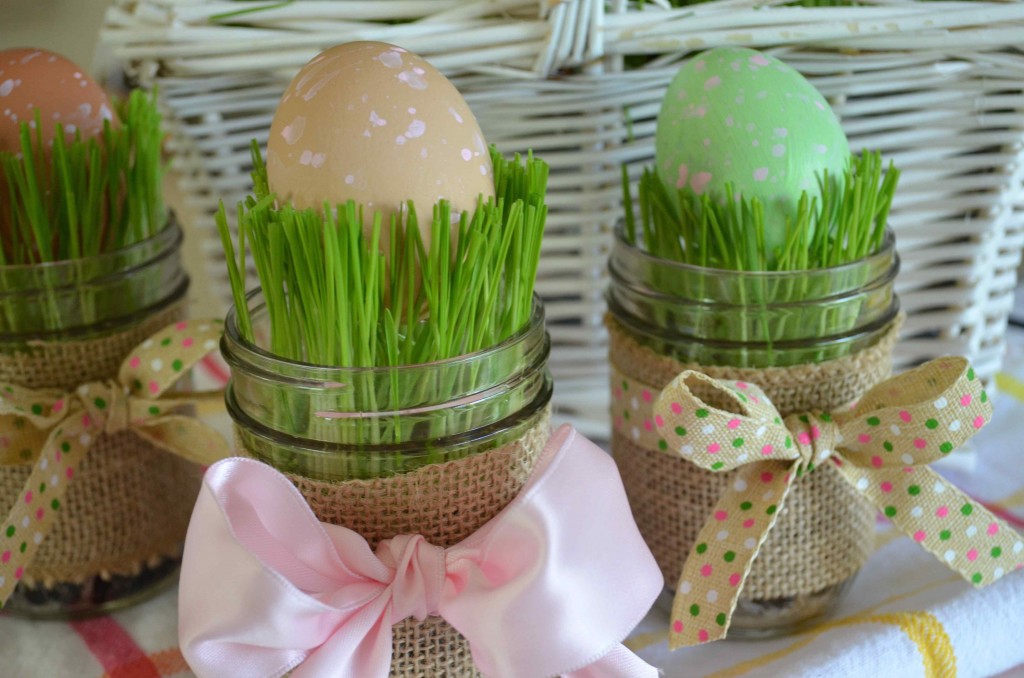
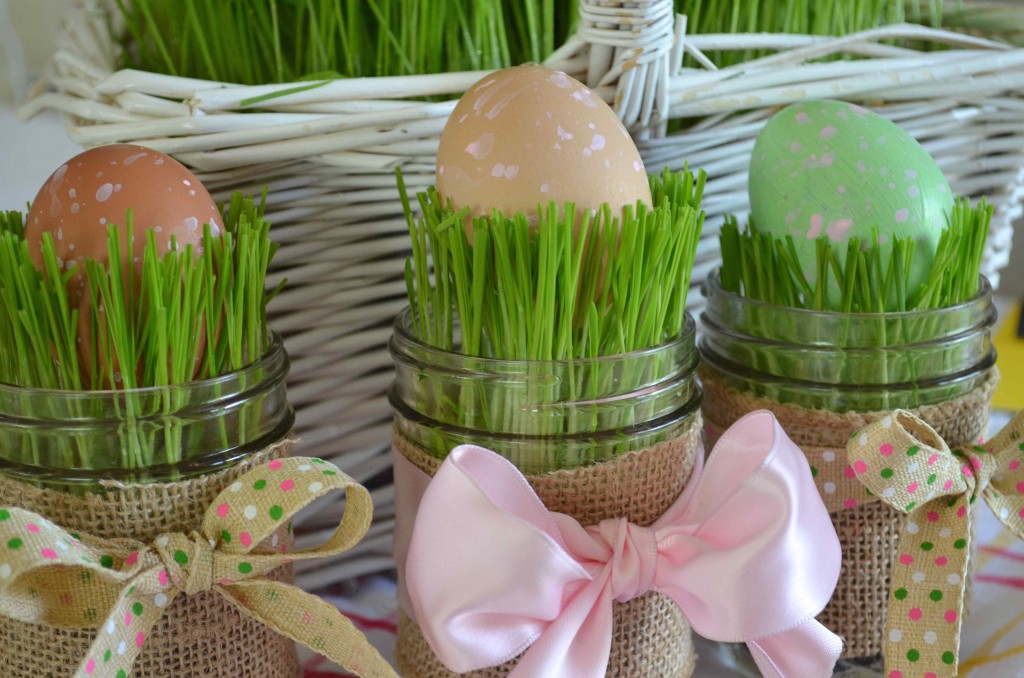
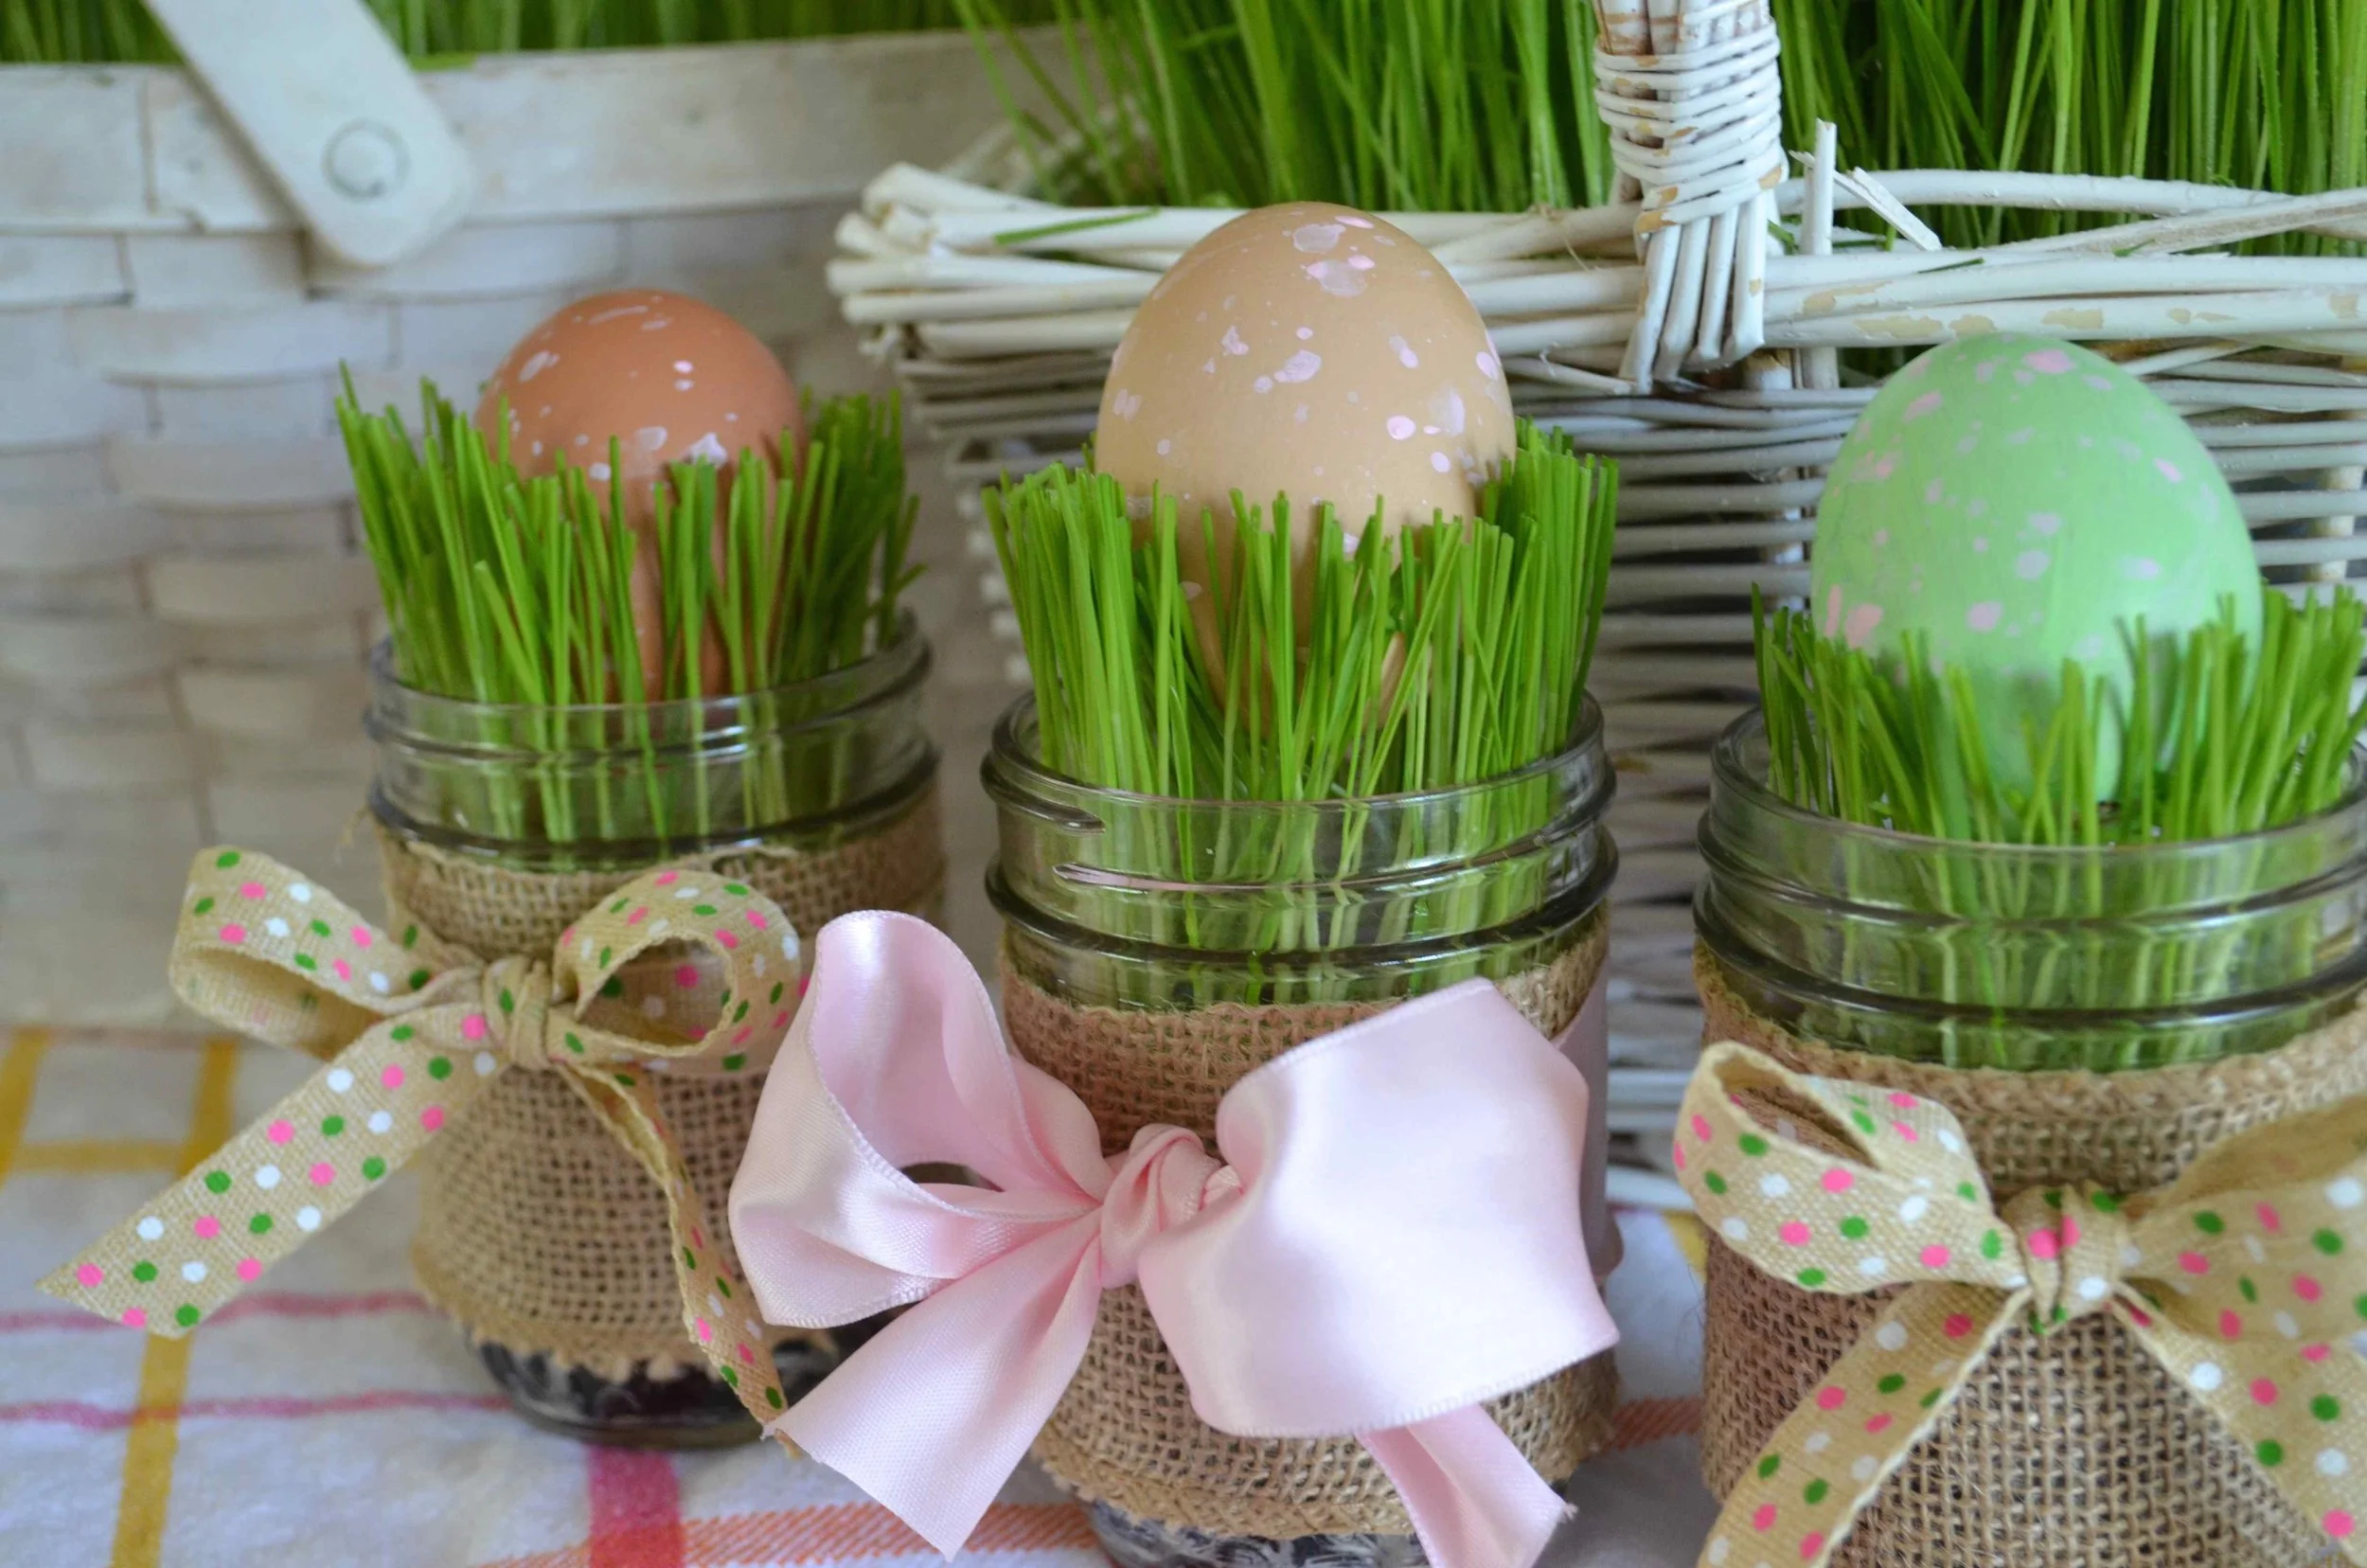
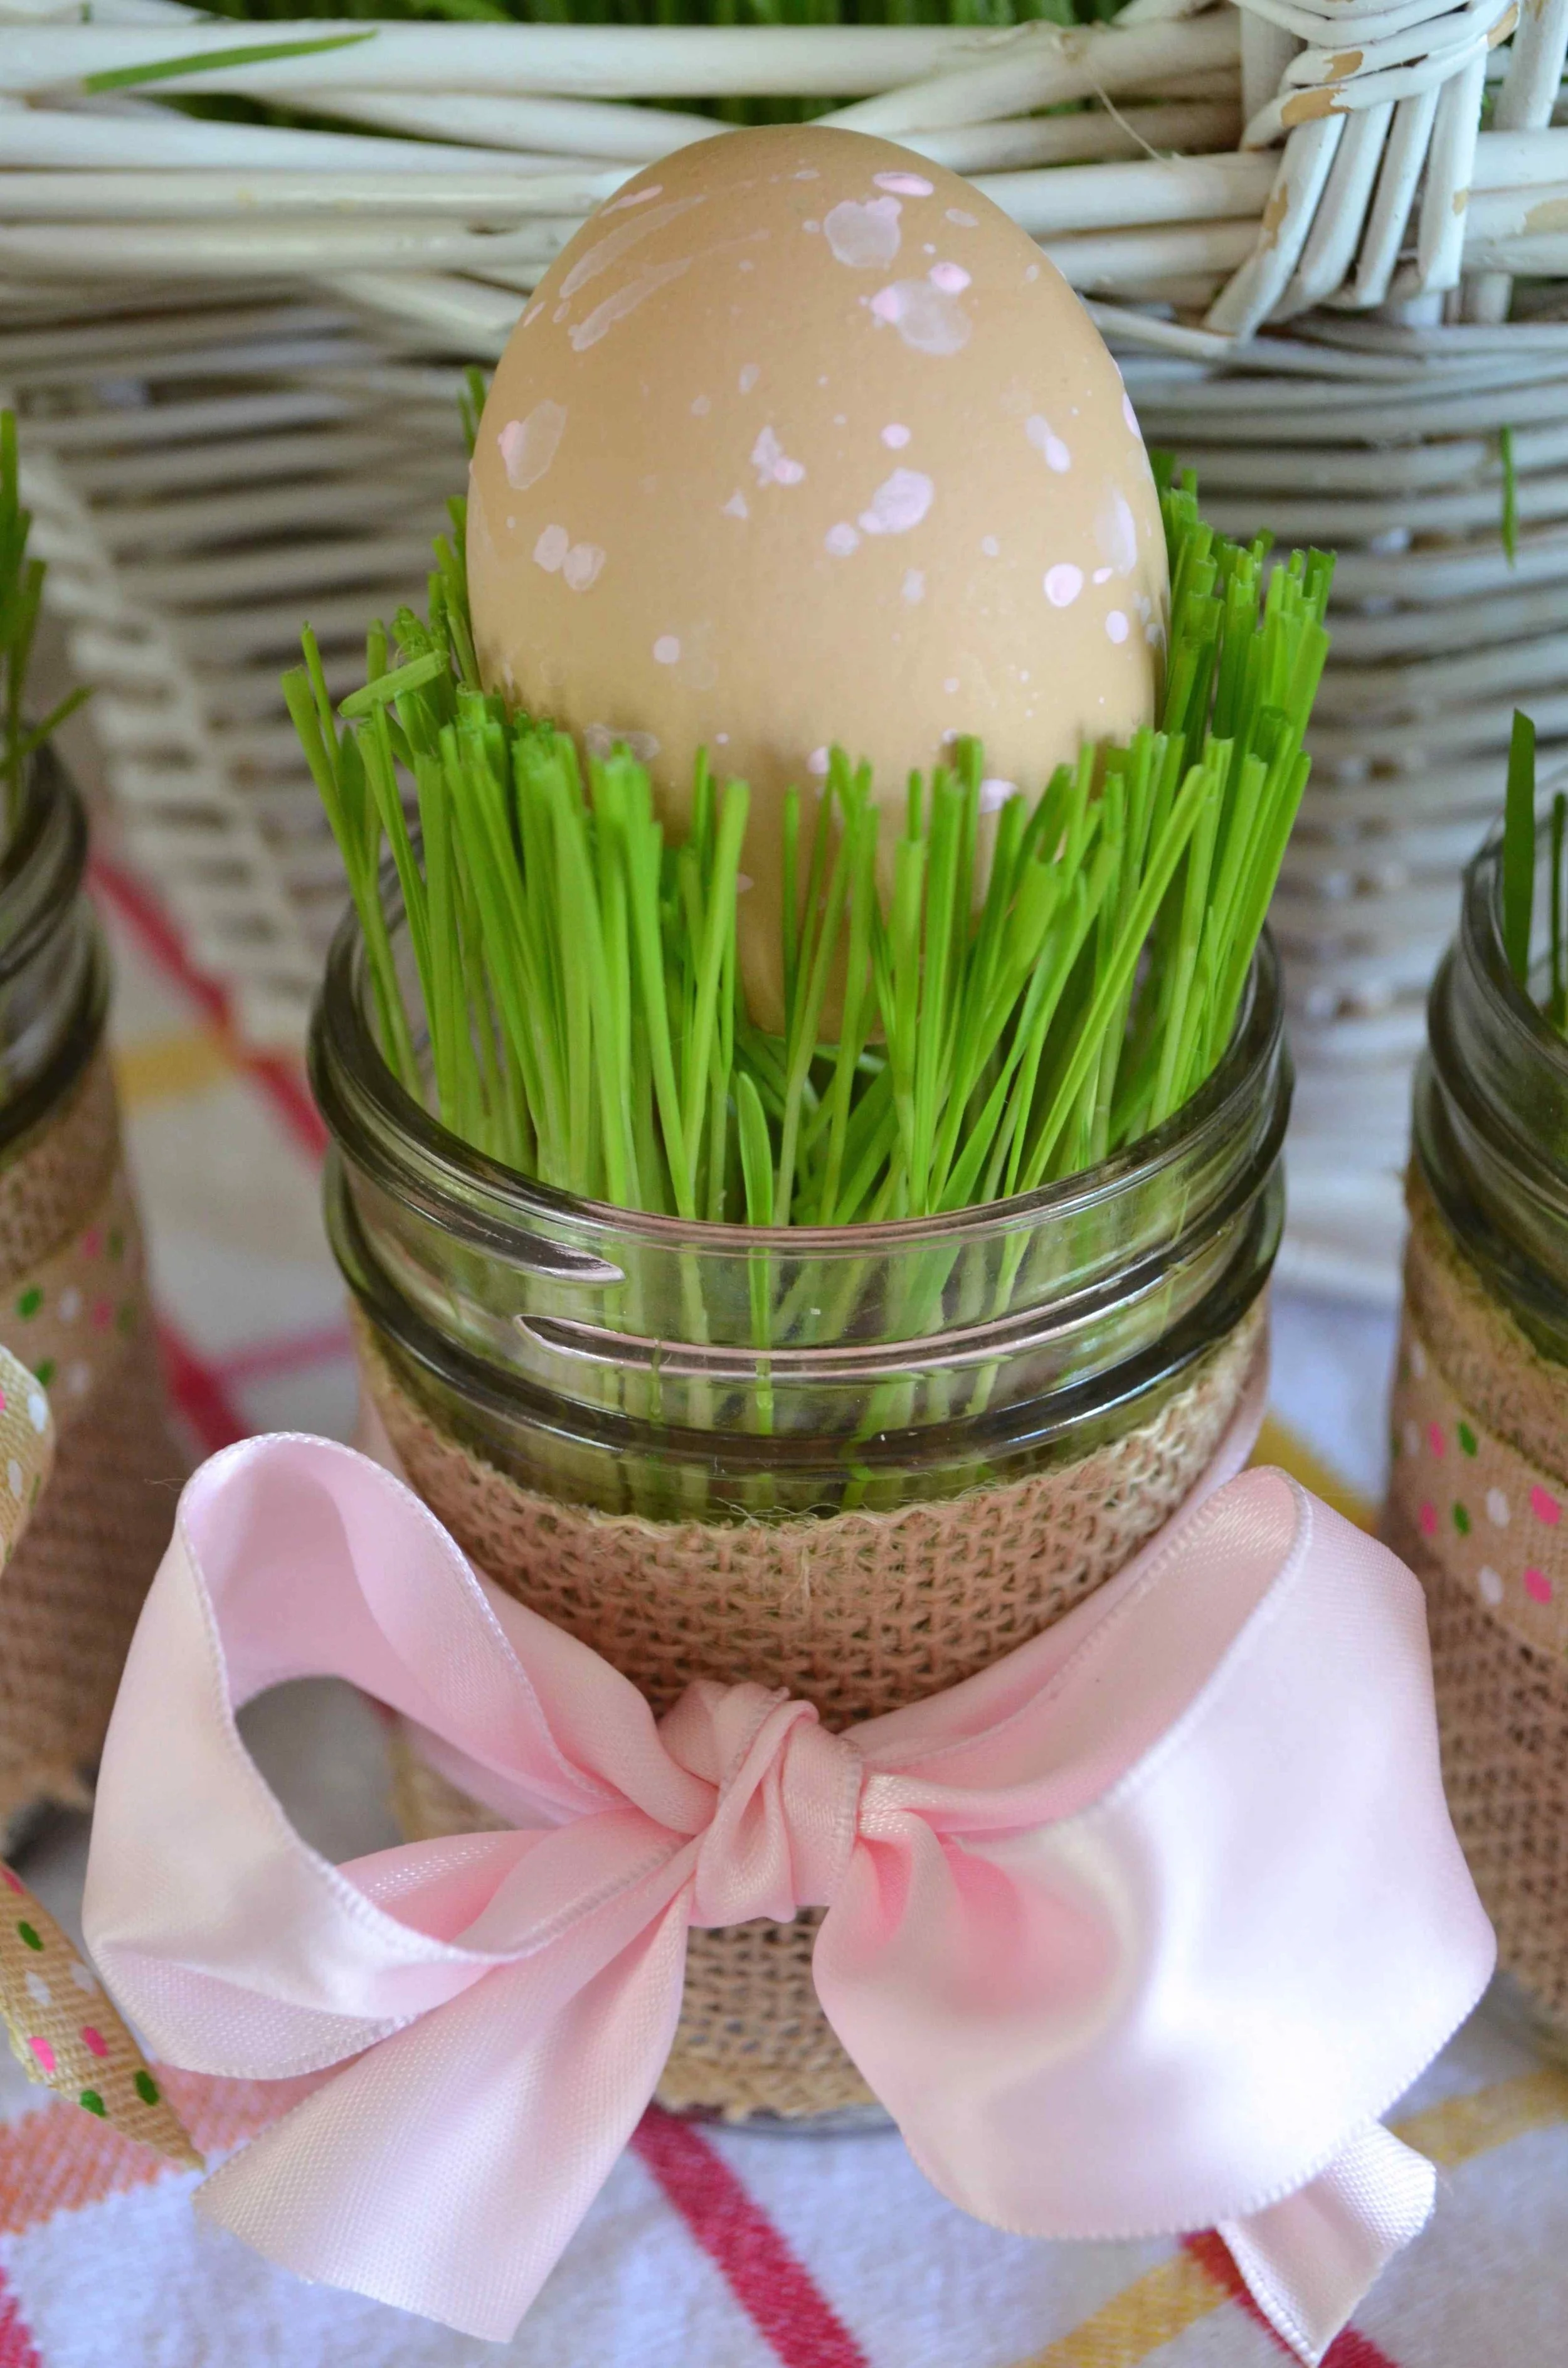
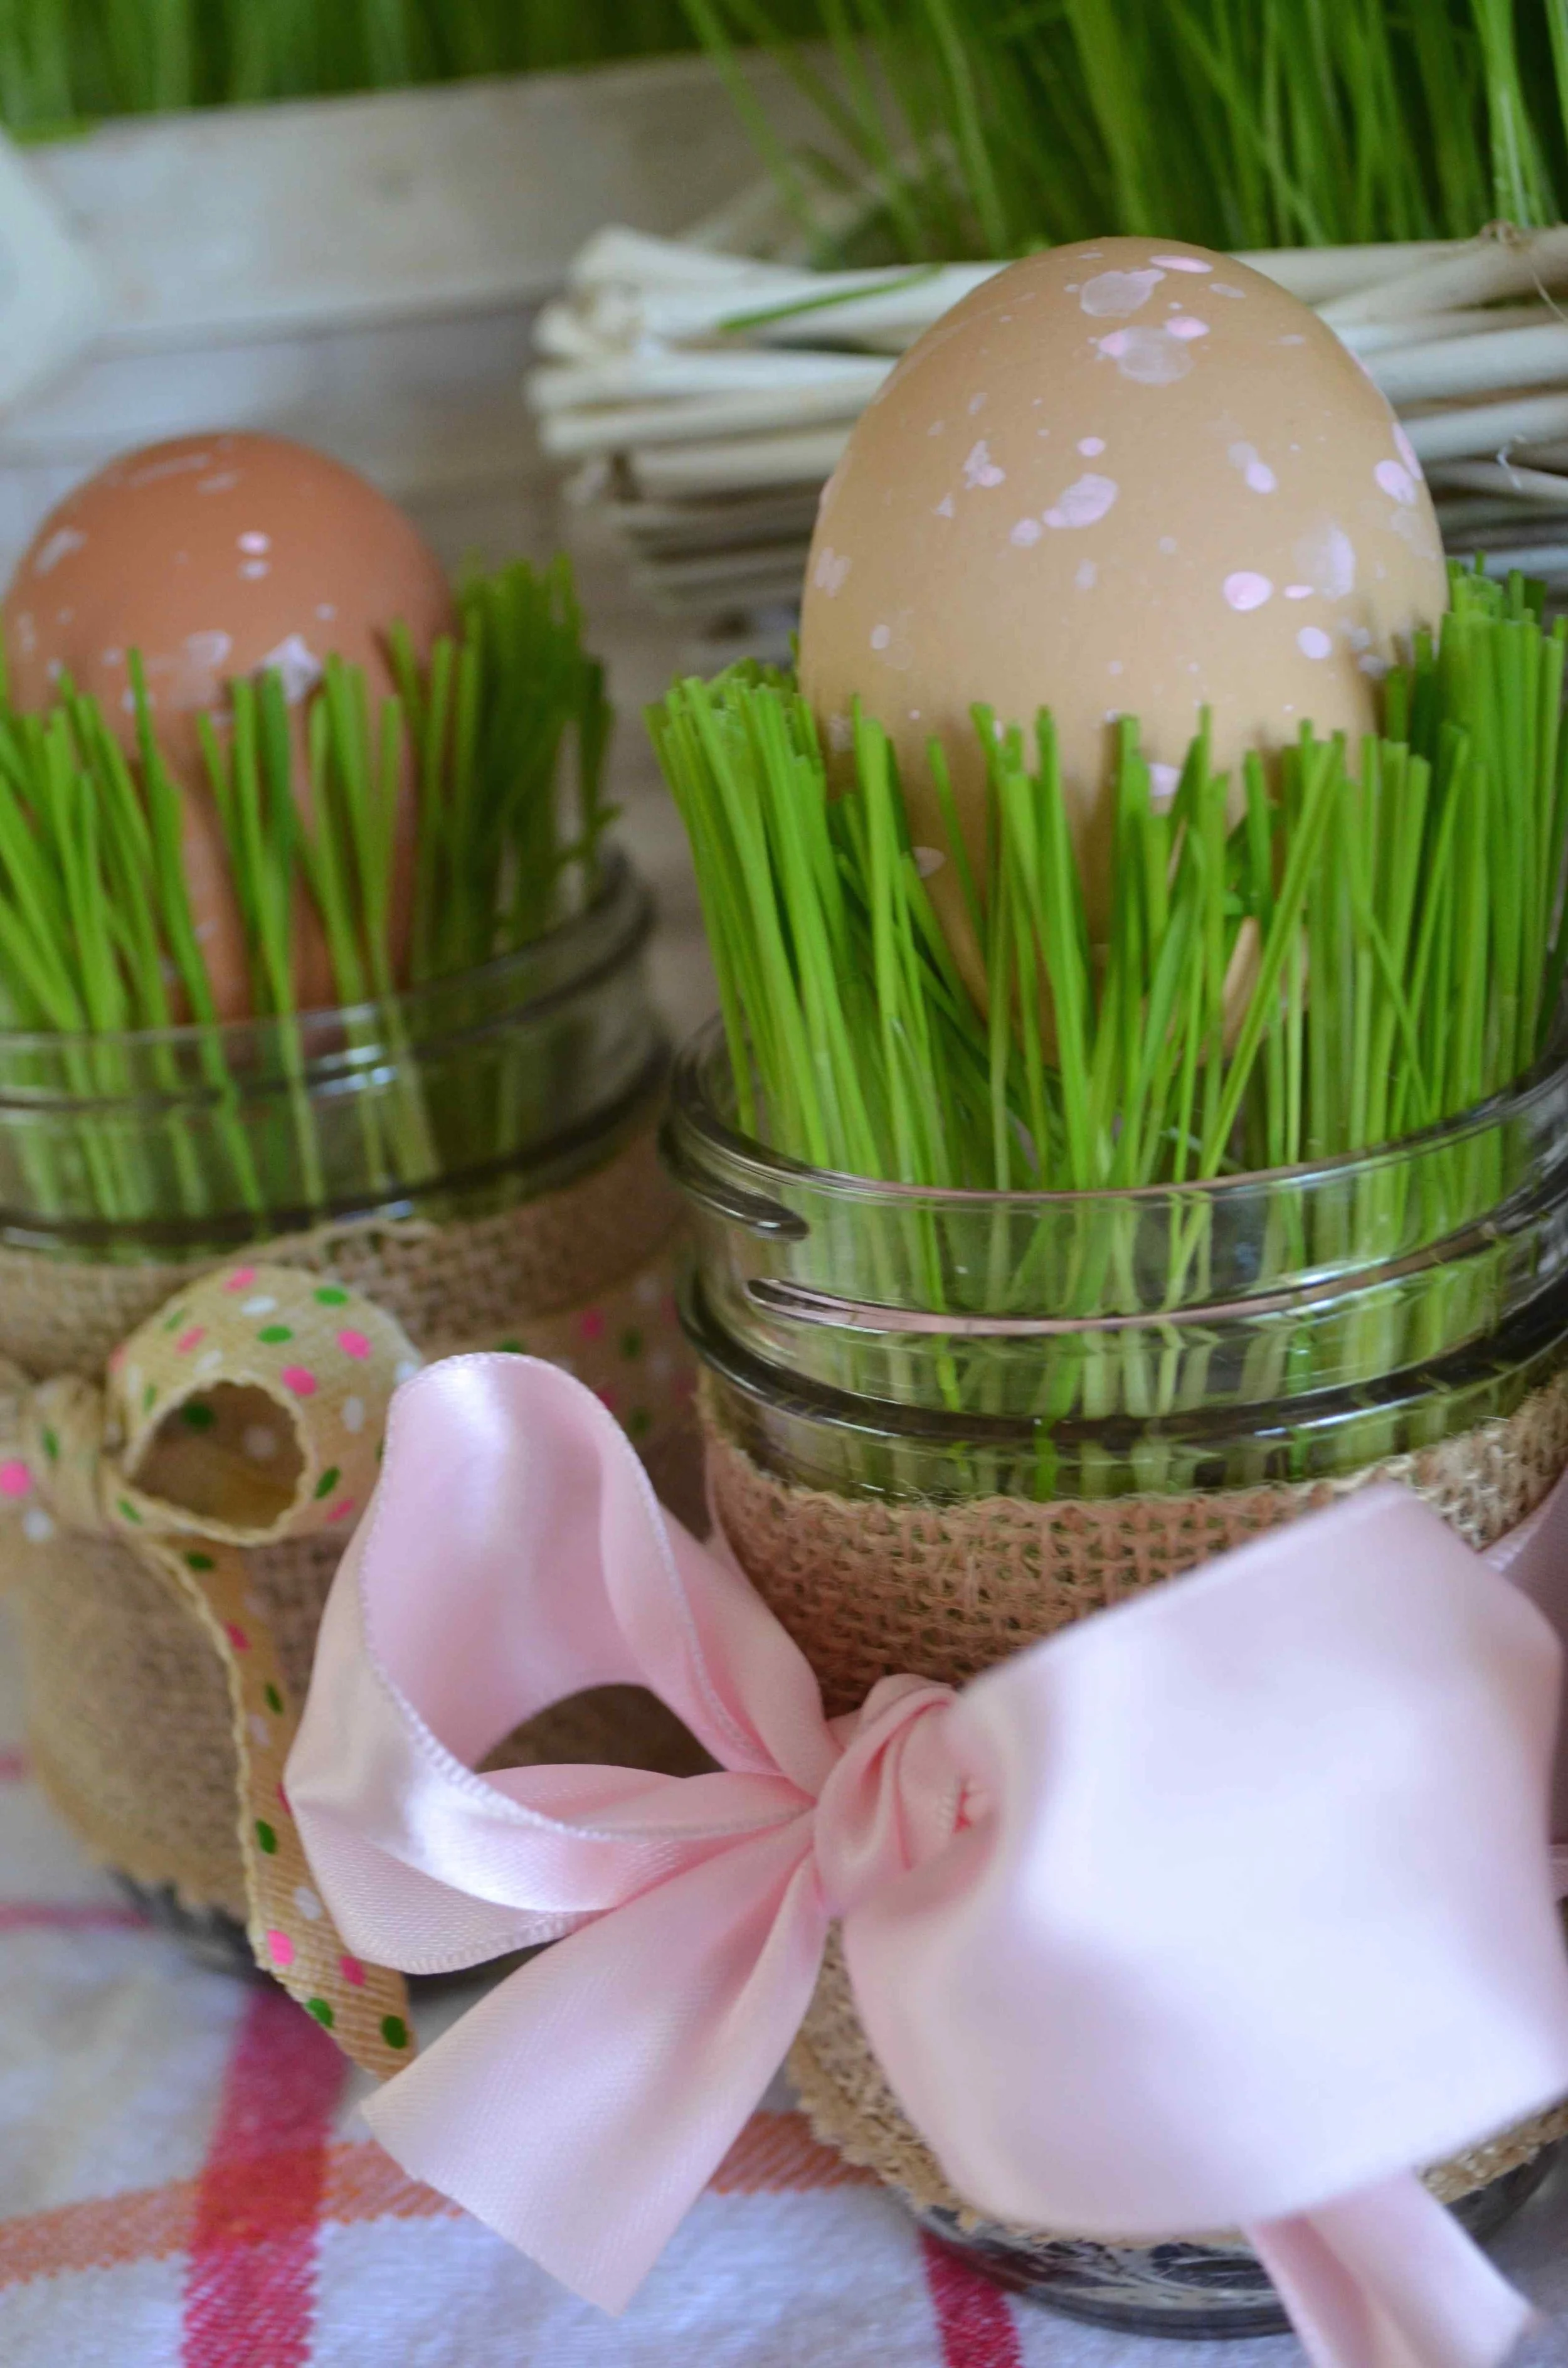
Easter is one of my favorite holidays because it’s filled with bright and happy colors that symbolize the beginning of Spring! I previously shared how to grow your own grass for your Easter basket (here), this year I thought I would make pretty decorations using some jelly jars that were laying around. These could be used in a number of different ways from teacher gifts to place settings. I like to top the jars with a pastel-painted egg…aren’t they cute!?
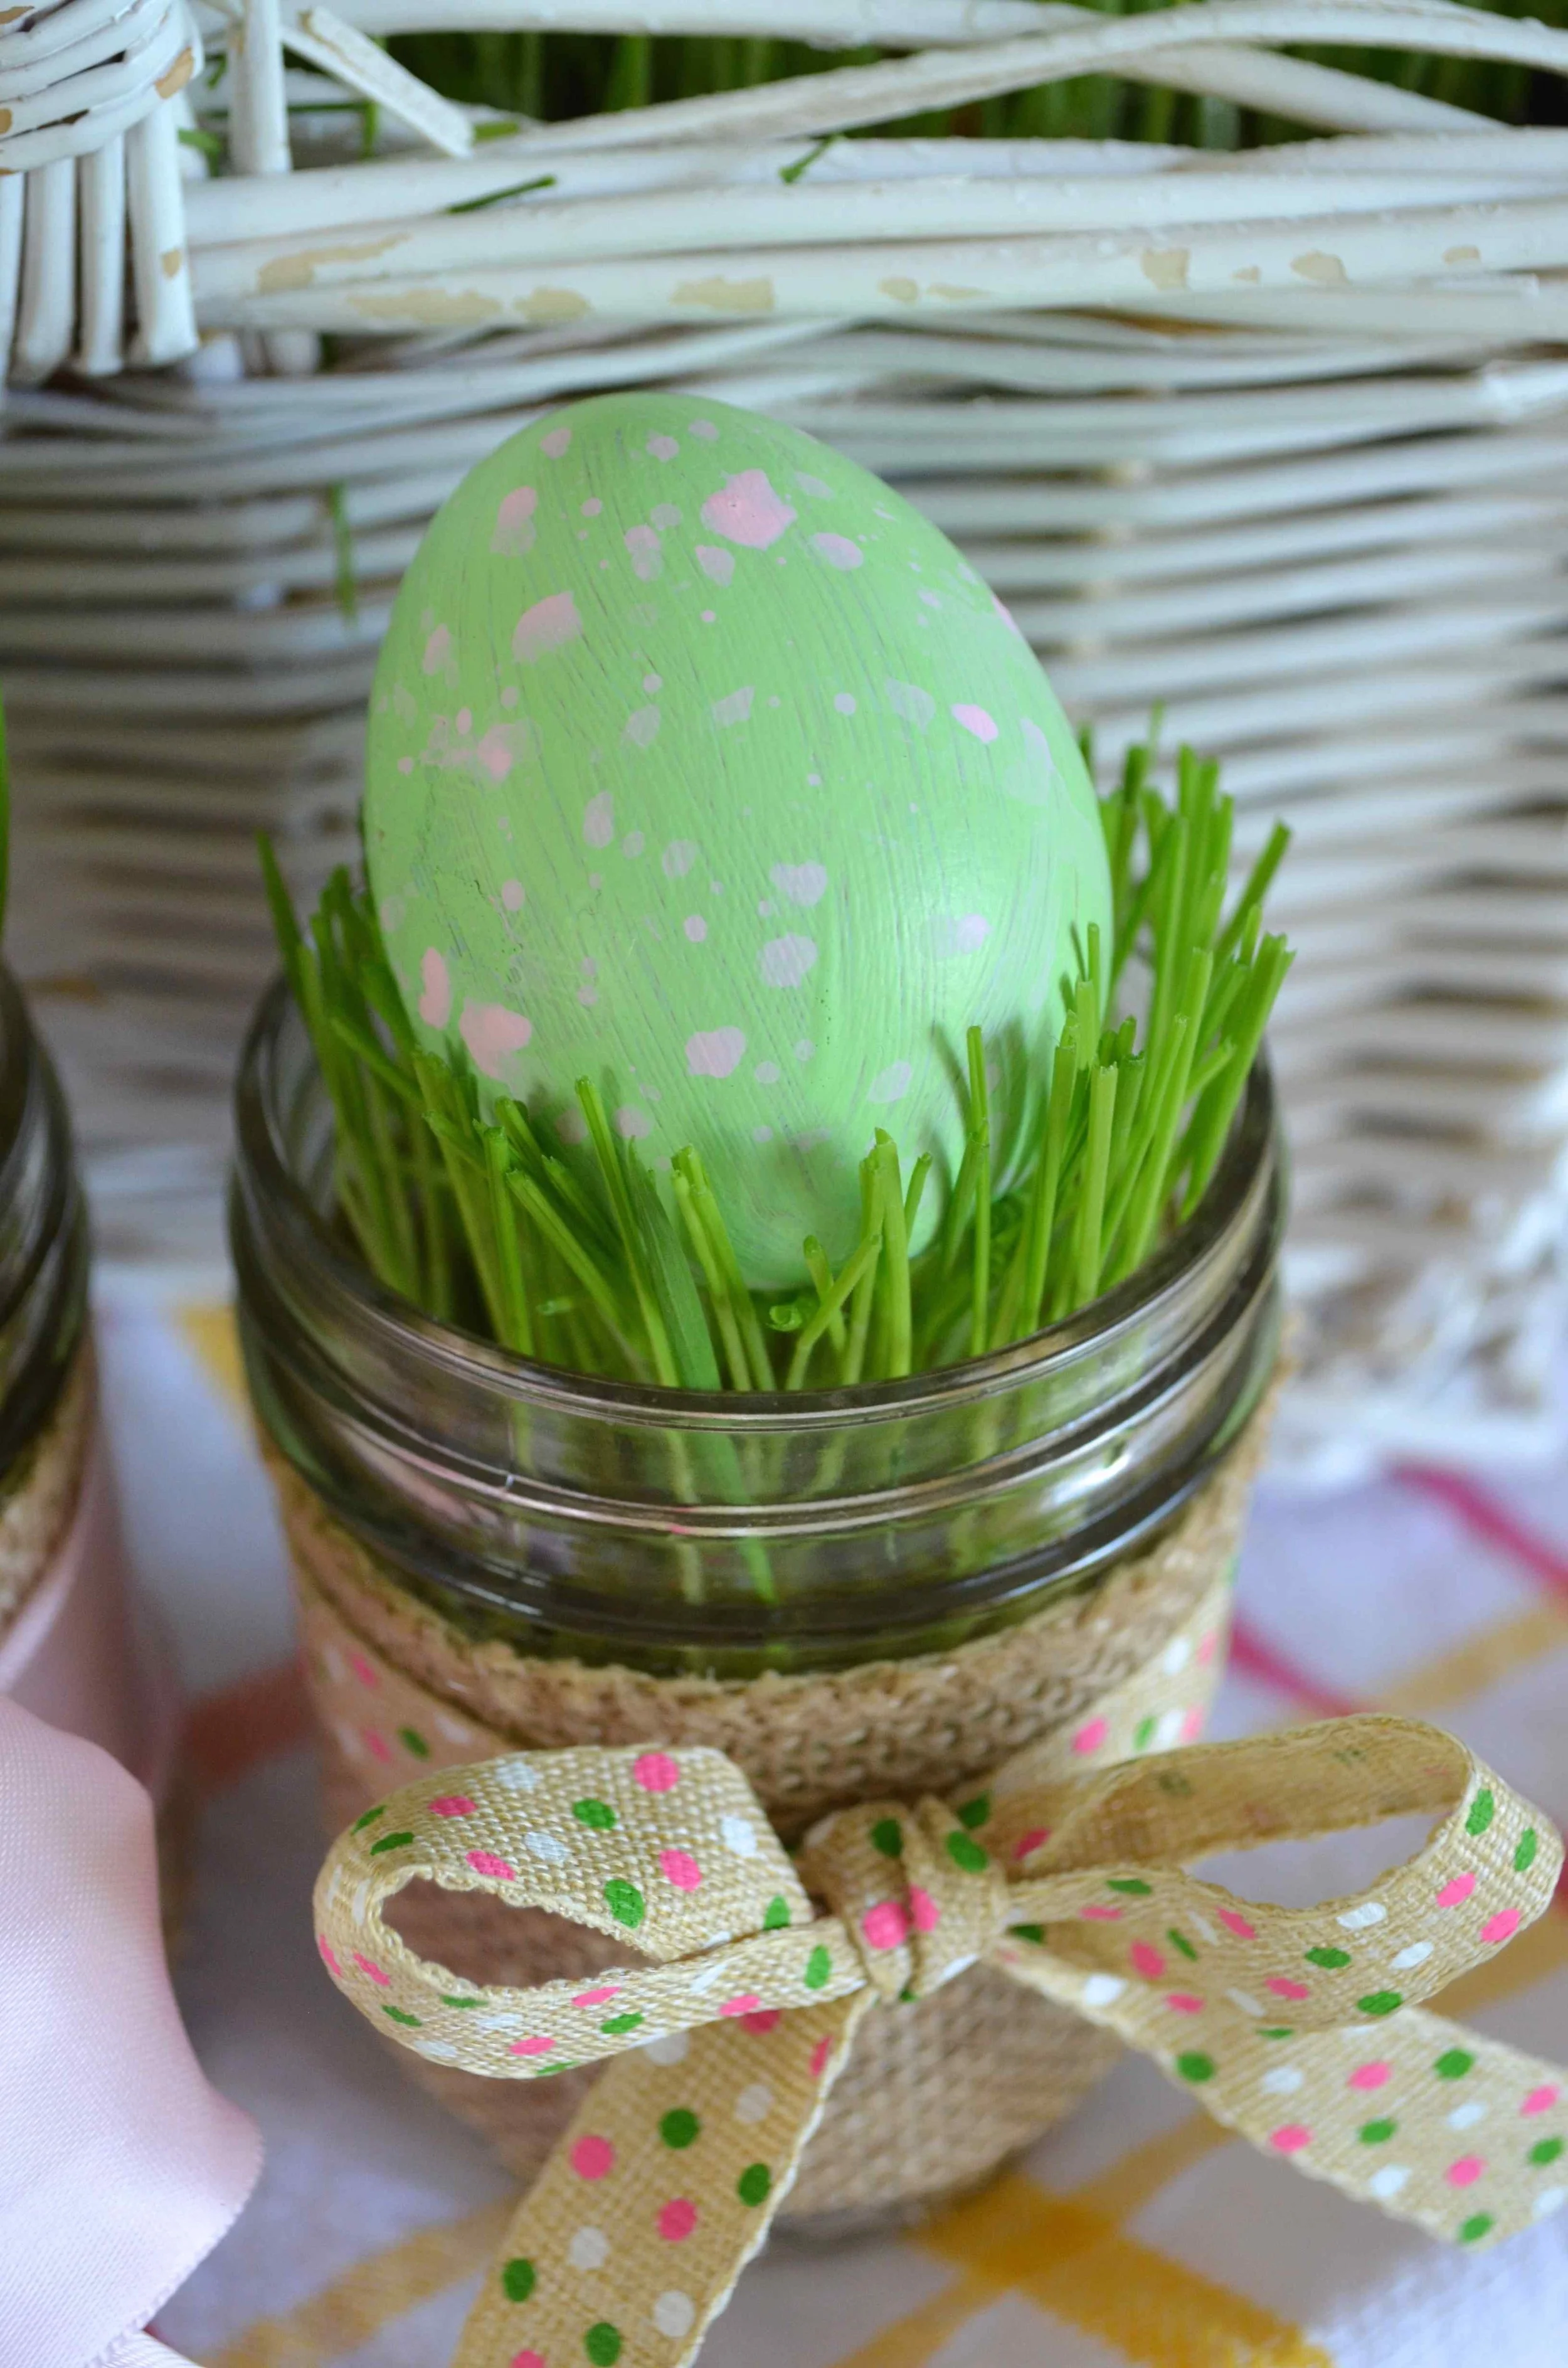
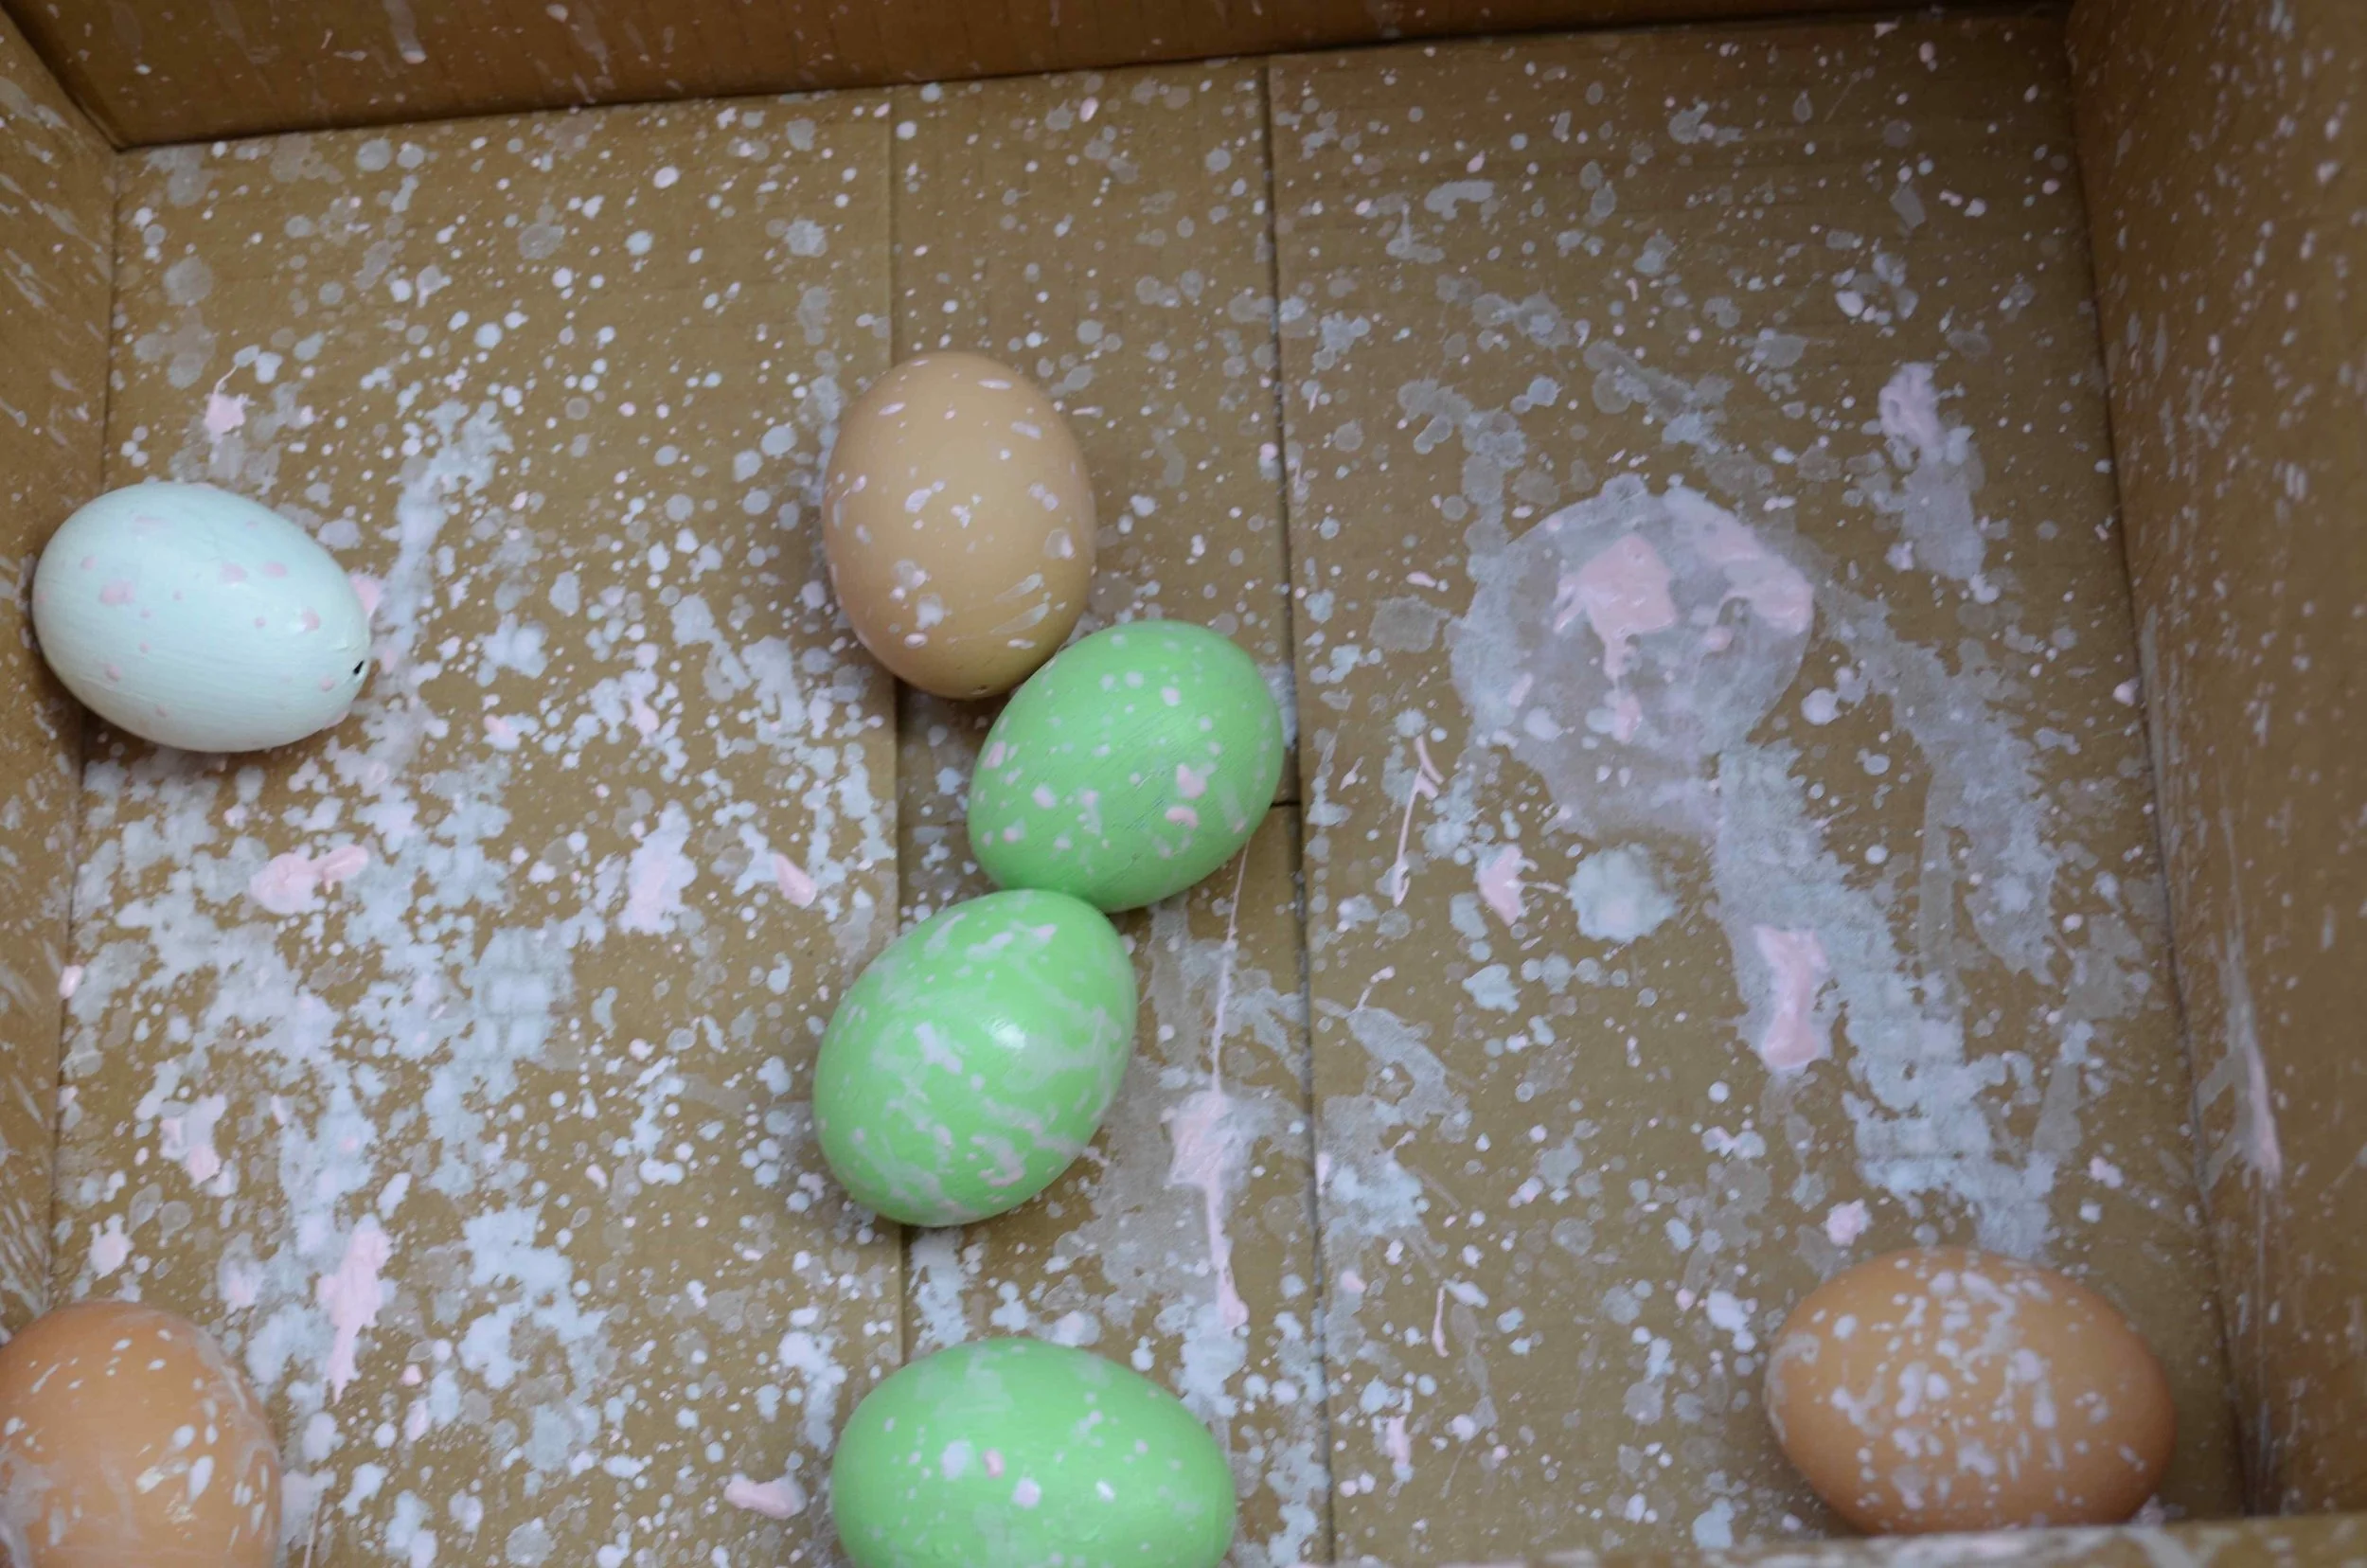
This year I decided to paint my Easter eggs instead of dyeing them. It’s a bit messy, but I love the look the paint gives. It has a more shabby chic feel to it. I made them a bit more playful by creating a speckled look as well. So, this year it’s time to get a little messy and have fun with paint!

Painted Speckled Eggs and Mason Jar Easter Grass
jelly or mason jar
potting soil
spray bottle
wheat grass seeds
eggs; hard boiled or blown out
paint brush; I like using a foam paint brush for this
a large cardboard box; this helps to keep the paint from going all over the place when you are adding the “speckled” look
Directions:
*Place wheat grass seeds in a bowl and cover with water
*Allow to soak 8 hours or overnight
*Fill the jar with moistened potting soil (use a spray bottle to moisten)
*Drain the wheat grass seeds and spread evenly over the soil
*Cover with plastic wrap and set in a place that will get good sunlight
*Spray 3 times a day for the first day
*Spray each day… it’s important to keep the seeds moist
*Once the seeds start sprouting you can remove the plastic wrap
*Spray every other day
*Watch the grass grow!
*You can tell if you are watering too much if the jar becomes heavy… if it is light then it needs to be watered
*The grass will need to be trimmed after about 5-7 days depending on how long you would like it to be
*The grass should last a few weeks if watered and trimmed properly
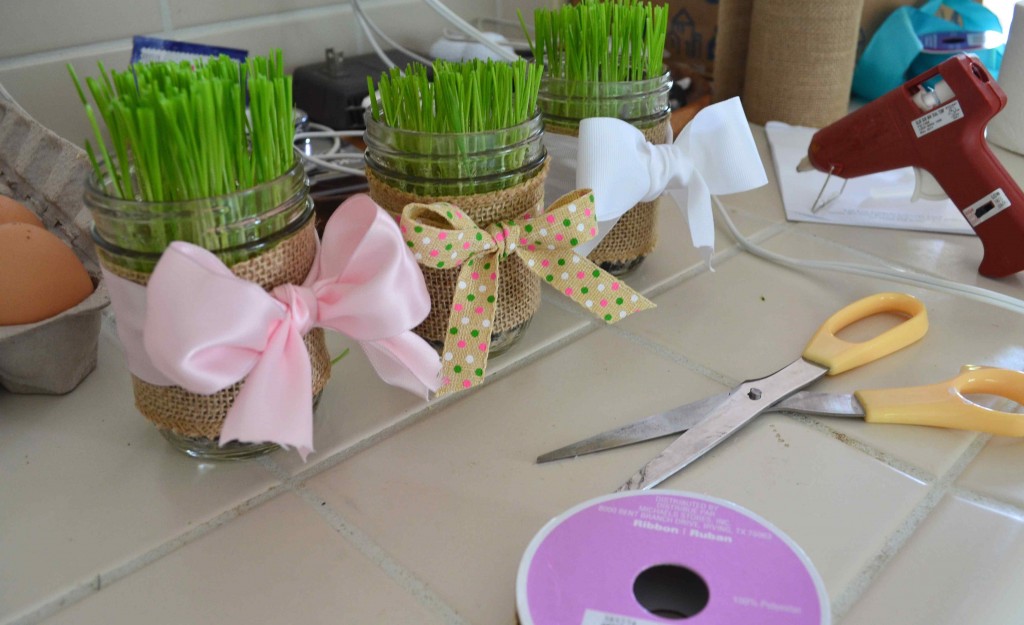
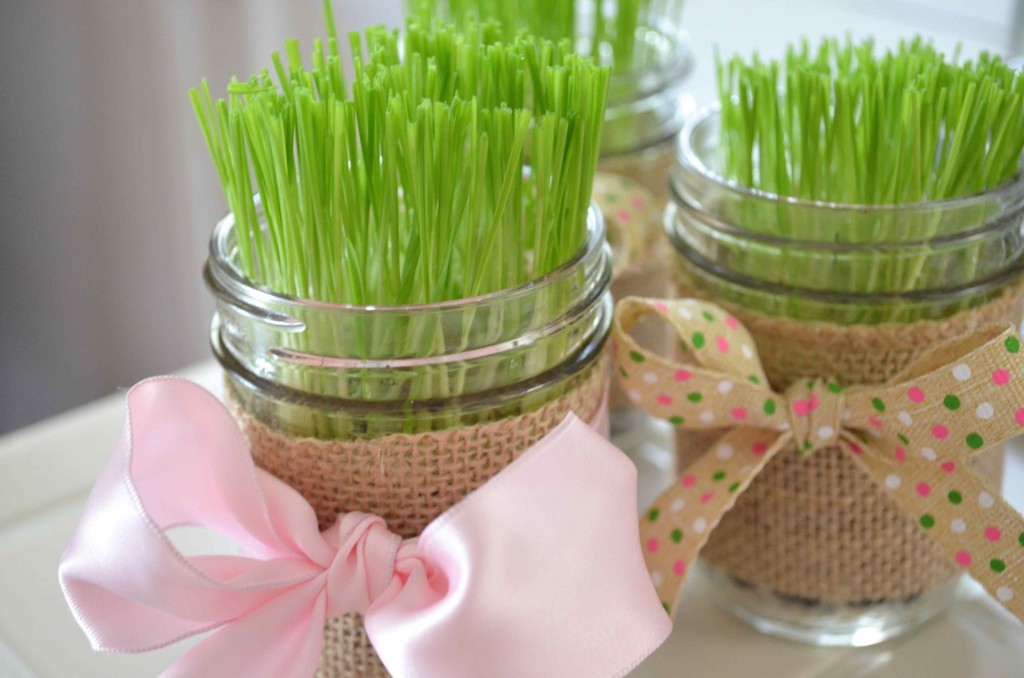
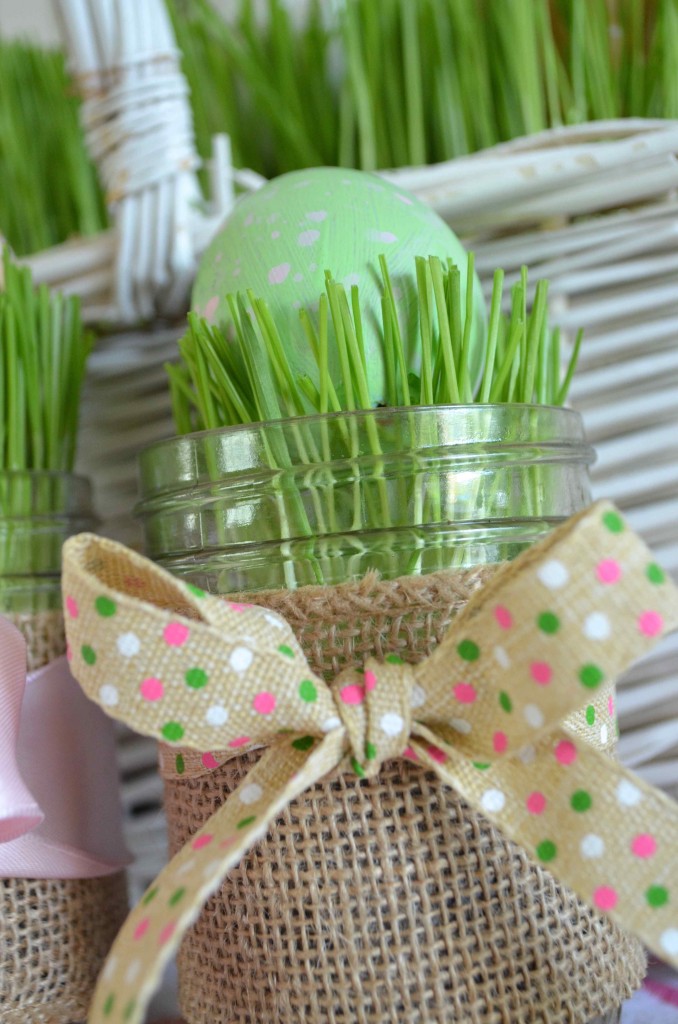
*To decorate the mason jars I simply wrapped them with burlap ribbon and secured it onto the jar with a glue gun
*Then I made them extra pretty by wrapping a ribbon around and tying it into a bow
For the eggs
*I like to blow out the eggs because then they won’t smell and you can keep them for a really long time (here is a tutorial)
*Clean the eggs and paint them using a acrylic craft paint; I needed to do about 3 coats before I liked how it looked
*Place them on wax paper to dry
*You can also leave these unpainted and just add the specks to it; sometimes the egg itself is so pretty and adding the pastel specks make it just a little more fun
*Once the eggs are dry place them in the large cardboard box
*Dip the foam brush in paint and then dip it in the water
*You want it to be mostly paint but the water helps it splatter; sometimes you need to swirl the brush a bit in the water to create the right consistency, but make sure it’s not soaking wet
*Use your wrist to flick the paint brush over the eggs from about 10 inches or so away; I suggest testing this out first before trying it on the eggs
*Think of what you would do if you were trying to dry the paint brush by flicking all of the water off using just your wrist movement, but instead you have paint on there and it creates lots of little spots everywhere
*Turn the eggs if needed to add more
*Allow to dry completely
*Add a name using paint or permanent marker; optional


