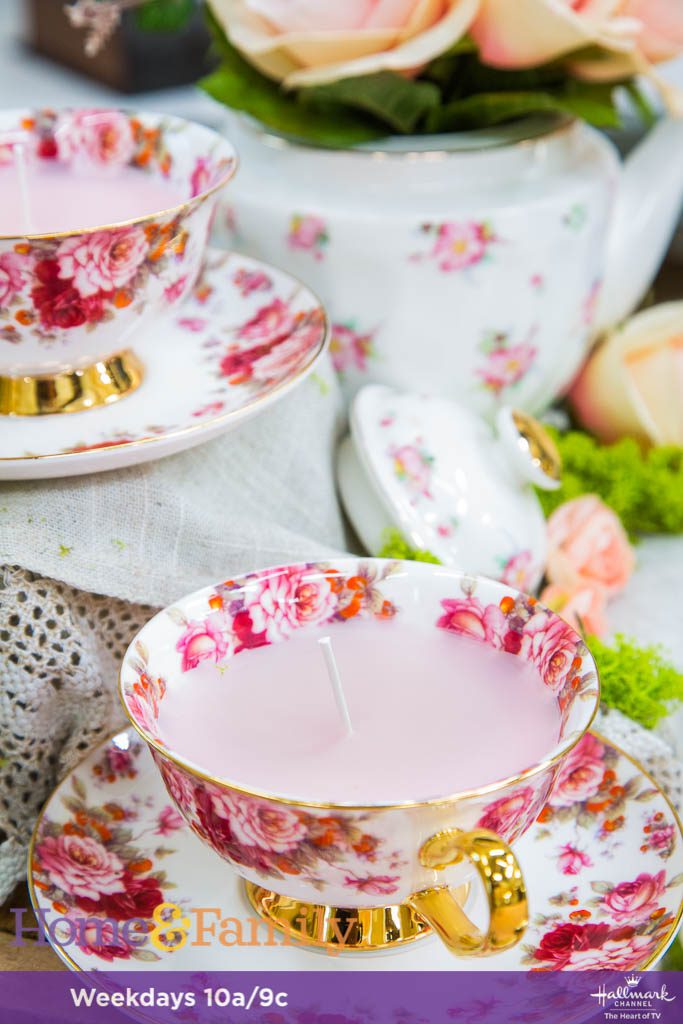
DIY Tea Cup Candles
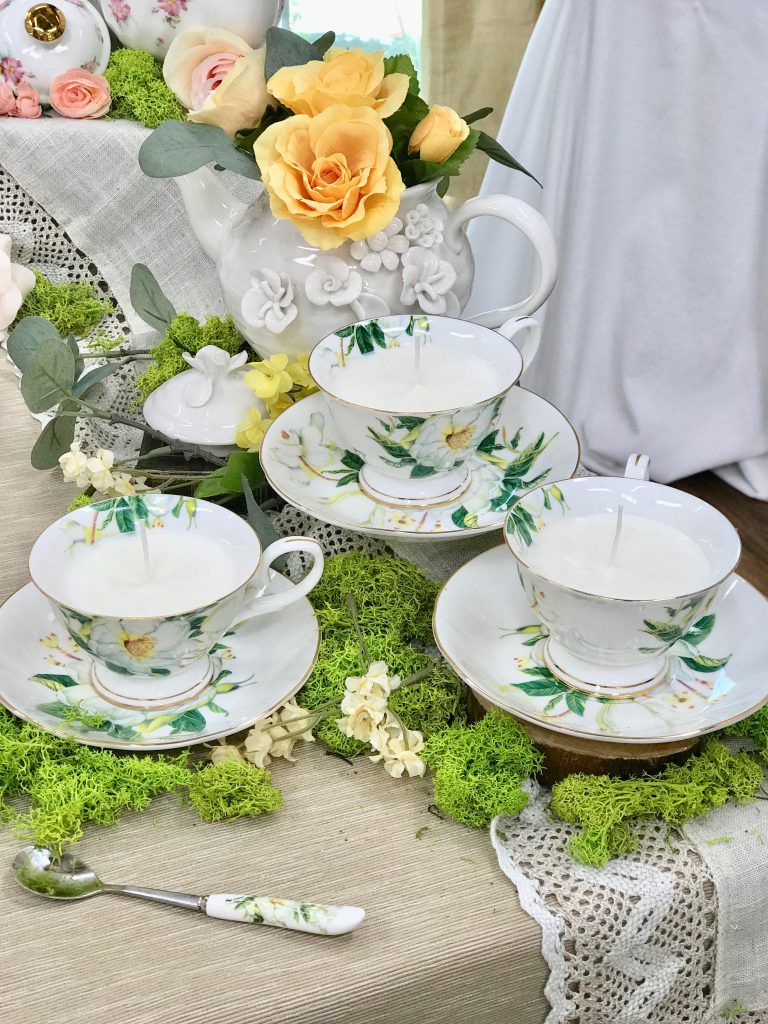
DIY Tea Cup Candles
Anyone else still down the Royal Wedding rabbit hole?? I cannot stop looking at pictures…and dreaming about what it would be like to be a princess. Yes, I am fully aware that Meghan Markel is not technically a princess, but she basically is…to us! Ask anyone from the states, and she’s a princess now.
In honor of the royal wedding, I made for you some beautiful tea cup candles. Candles, my friends, are a science, so proceed with caution. I have done so much research and spoken to so many people who make candles professionally, so I really am trying to provide you with the safest information that I can, and with that comes caution. Yes, these are safe to make! Just make sure you follow the instructions. A friend of mine, who makes candles, also told me that candles in containers, as opposed to candle sticks, should not be lit for a number of hours since it can cause the candle container to break. These DIY Tea Cup Candles are not extremely deep, but know that is something that could always happen in a container candle potentially.
Also, don’t go overboard with the oils. If you are adding in an oil to make the candles scented, make sure to use one that is specific to candle making. I also recommend checking out the exact measurements of what that specific wax can handle. Soy wax may be different than bees wax, etc., so make sure to read the instructions on the wax that you purchase. The oils will have information on that as well.
As long as you work with caution and follow the directions, you are good to go! My video tutorial is coming soon!
DIY Tea Cup Candles
Materials
-
Vintage tea cups or mugs
-
Candle wax flakes
-
Candle wicks
-
Popsicle sticks, or something similar like chopsticks, pencils, etc.
-
Saucepan
-
Wax melting tin a glass container that can pour liquid, like a Pyrex
-
Tape
-
Fragrance oil scents
-
Coloring; optional, you can add dye that is specific for candle making or colored wax
Directions
1. Clean teacups before use, and make sure they are completely dry. 2. Measure out the amount of candle wax flakes you’ll need; for each teacup you’ll need twice the amount of wax flakes to fill it; and place it in the melting tin. 3. Set up the candle wicks in your teacups, you’ll want them to lay flat against the bottom; use your popsicle sticks (or something similar, like pencils) to hold them up and tape the ends of the popsicle sticks so they stay together; another option is to hot glue the bottom of the wick to the bottom of the cup. 4. Fill a small sauce pan halfway full of water; large enough to add in the pitcher, but not too large that the pitcher would fall over. 5. Place the wax melting tin into the water. 6. Turn the heat to medium and allow the heat of the water to heat the tin; this will heat the wax slowly. 7. Once the wax has completely melted, remove it from the sauce pan and allow the wax to cool slightly before adding in the scents. 8. Add in any scent or coloring that you like. 9. Mix well. 10. Carefully pour the wax into your teacups and fill until they are about a half inch from the top. 11. Let the wax set for a few hours at room temperature. 12. Once set, trim the wicks.
TIPS – Chopped up pieces of crayons can also be used to color the wax. – Use a bit of hot glue on the bottom of the wick to secure it into the bottom of the cup. – Work with caution since candle making is a science. If you are worried about how much oil to add, then err on the side of caution and add less. A general rule of thumb is 1 oz. of scent per 1 pound of wax. Generally speaking the maximum amount of fragrance oil recommended is listed in the Details section of each type of wax.