DIY Fringed Halloween Treat Bags
With all of the Halloween events coming up, you can never have enough party inspiration! At school, kids are bringing their favorite treats to share, teachers are crafting with their students, parents are passing out treats, and every party needs to have a party favor! Halloween is the one time of year when we all have an excuse to eat lots of the candy we would never normally eat. I’m not a candy lover, but I do find myself eating a mini candy bar (or two), and maybe even some candy corn, on Halloween.
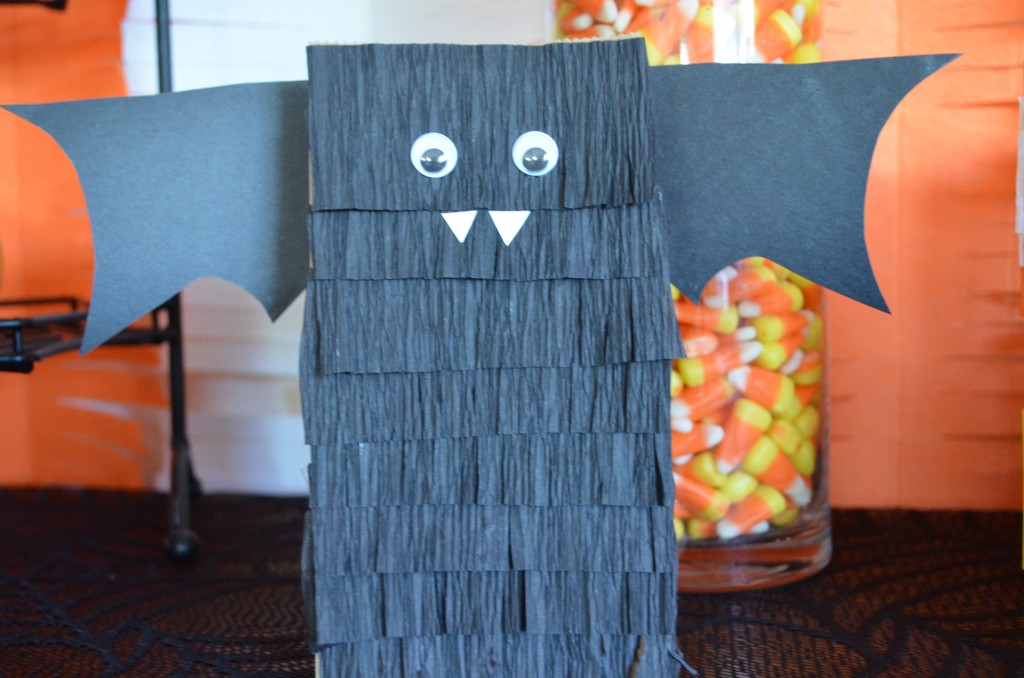
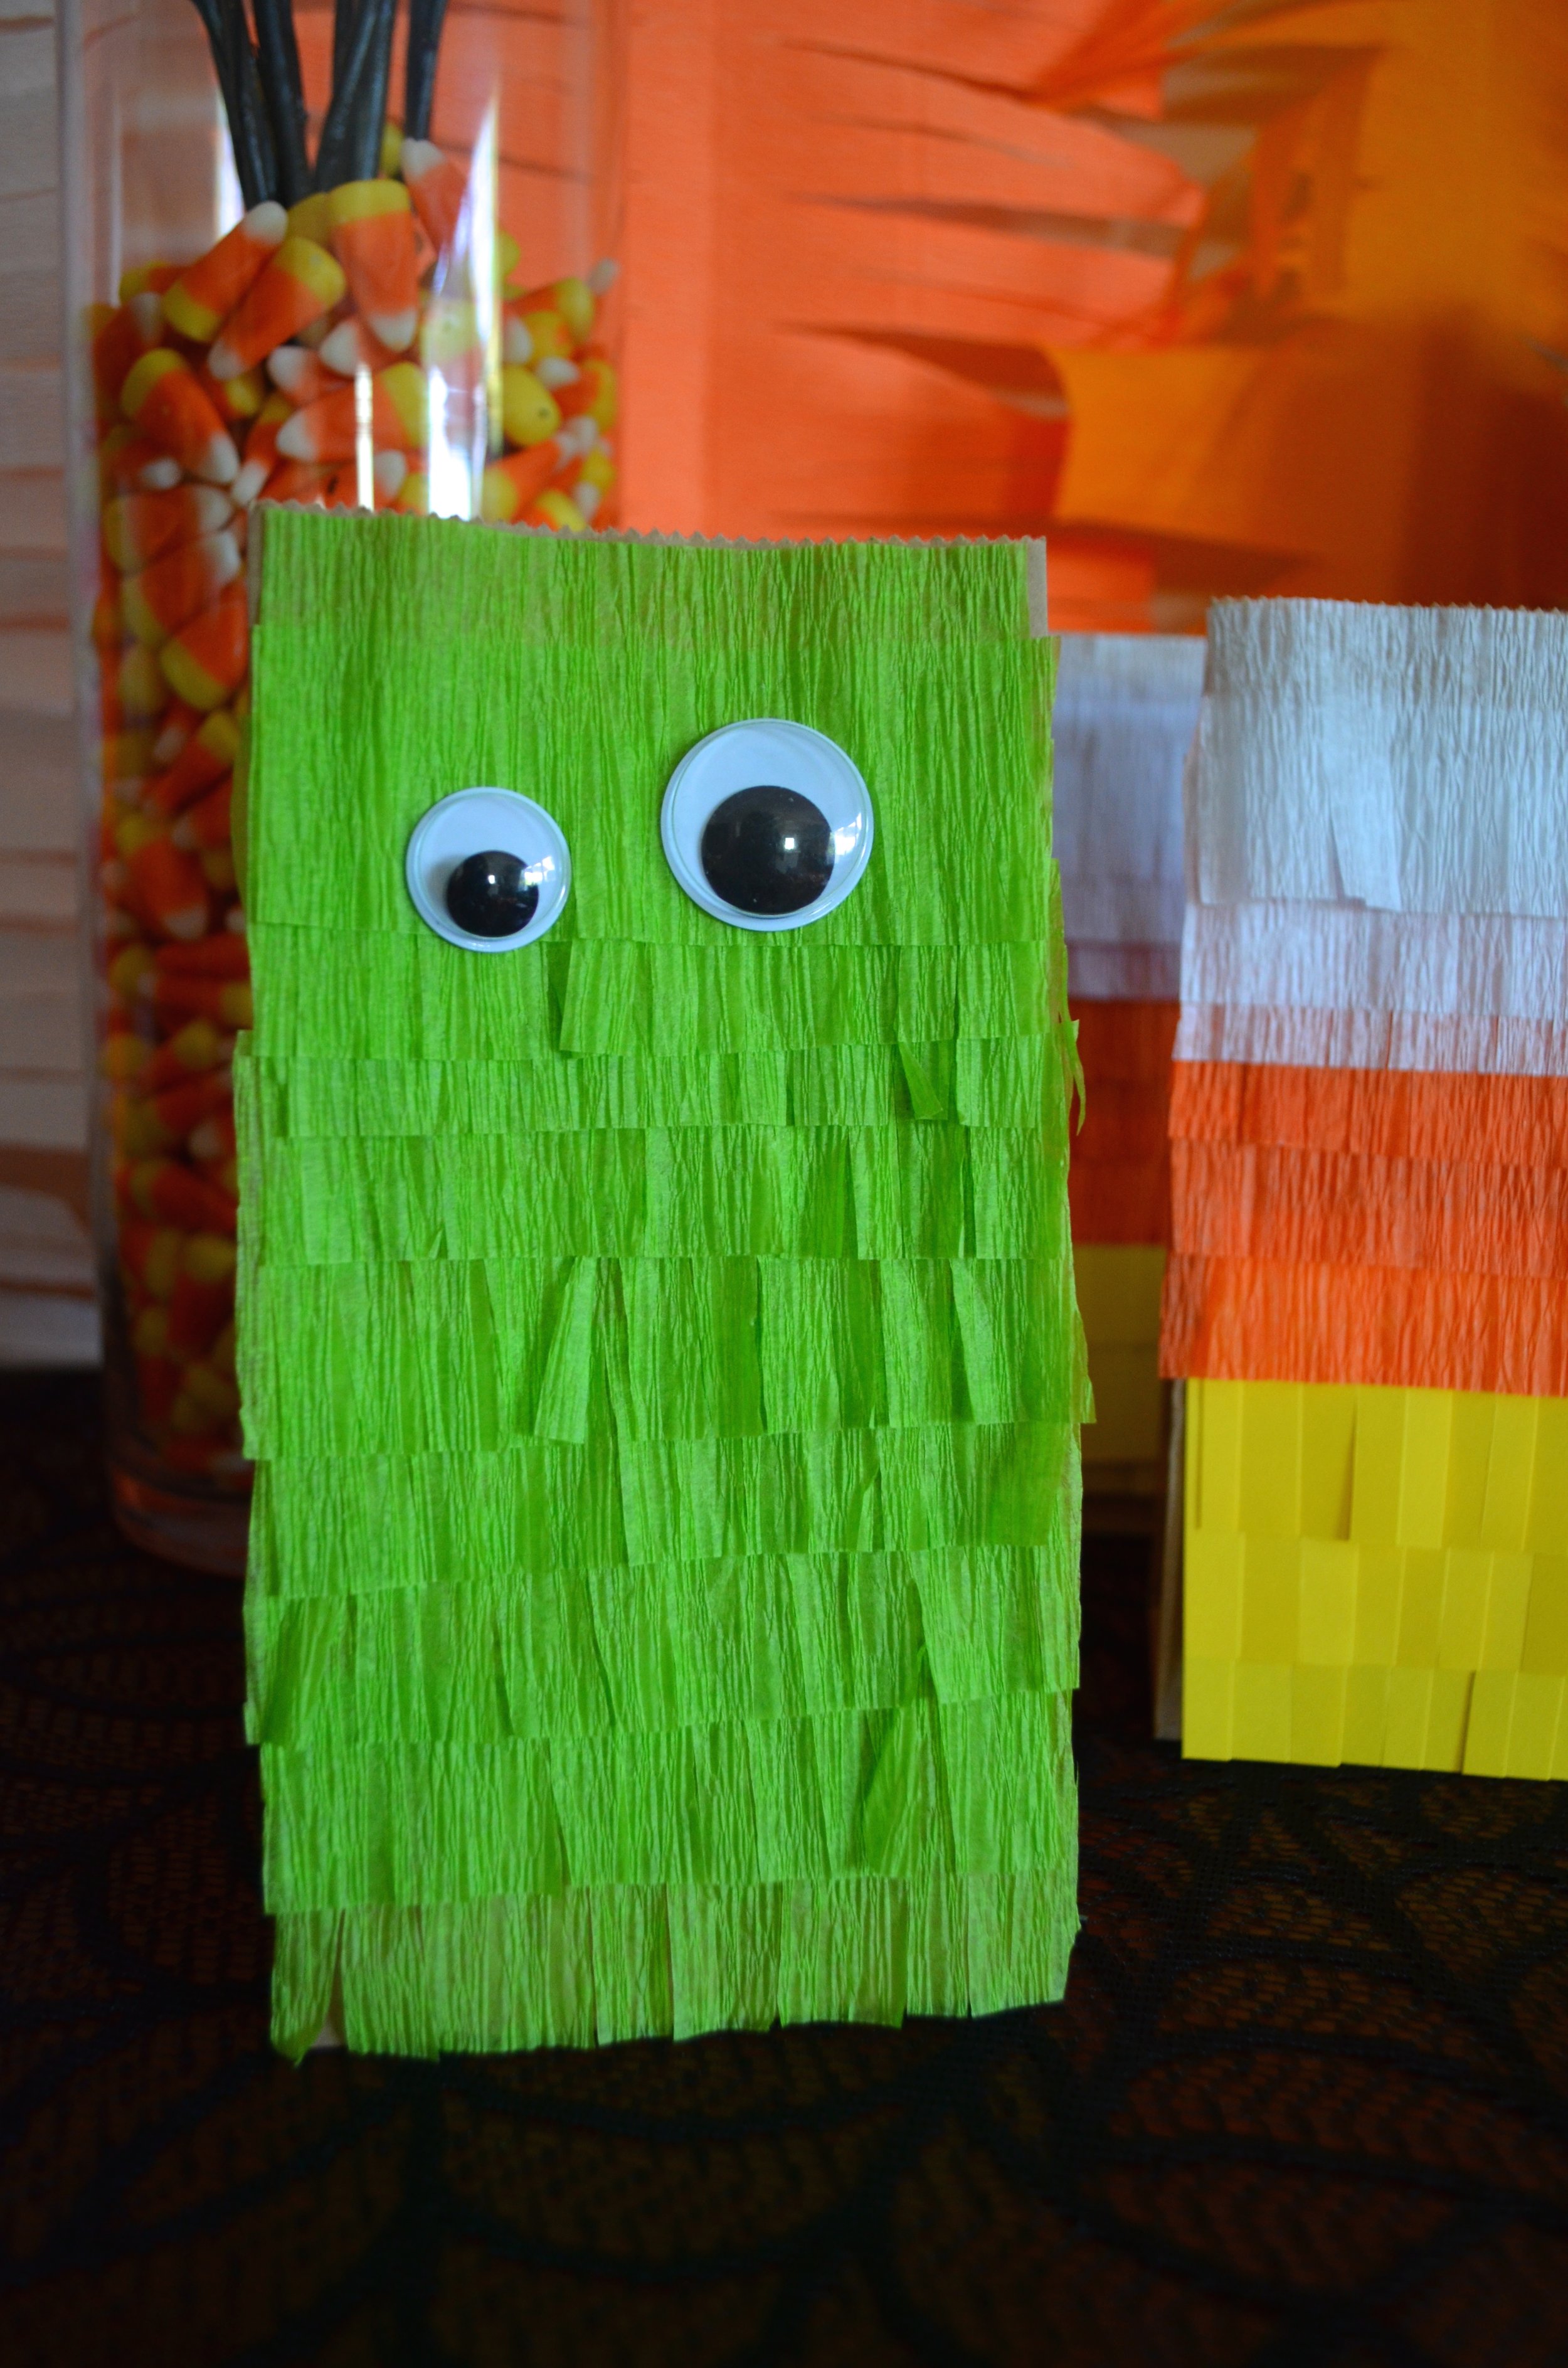
I was actually inspired by all of the fringe that is going on with fall fashion this year, that I thought this would be a cute, and whimsical, touch to those “scary” Halloween figures. There is something so sweet about a fringed monster with google eyes, don’t you think?
These are really easy to do, and make with kids. I love the idea of using these to pass out candy at the door, or to have for guests to take with them as a party favor. I am sure any kid would love to pass these around their classroom as their treat for everyone as well.

DIY Fringed Halloween Treat Bags
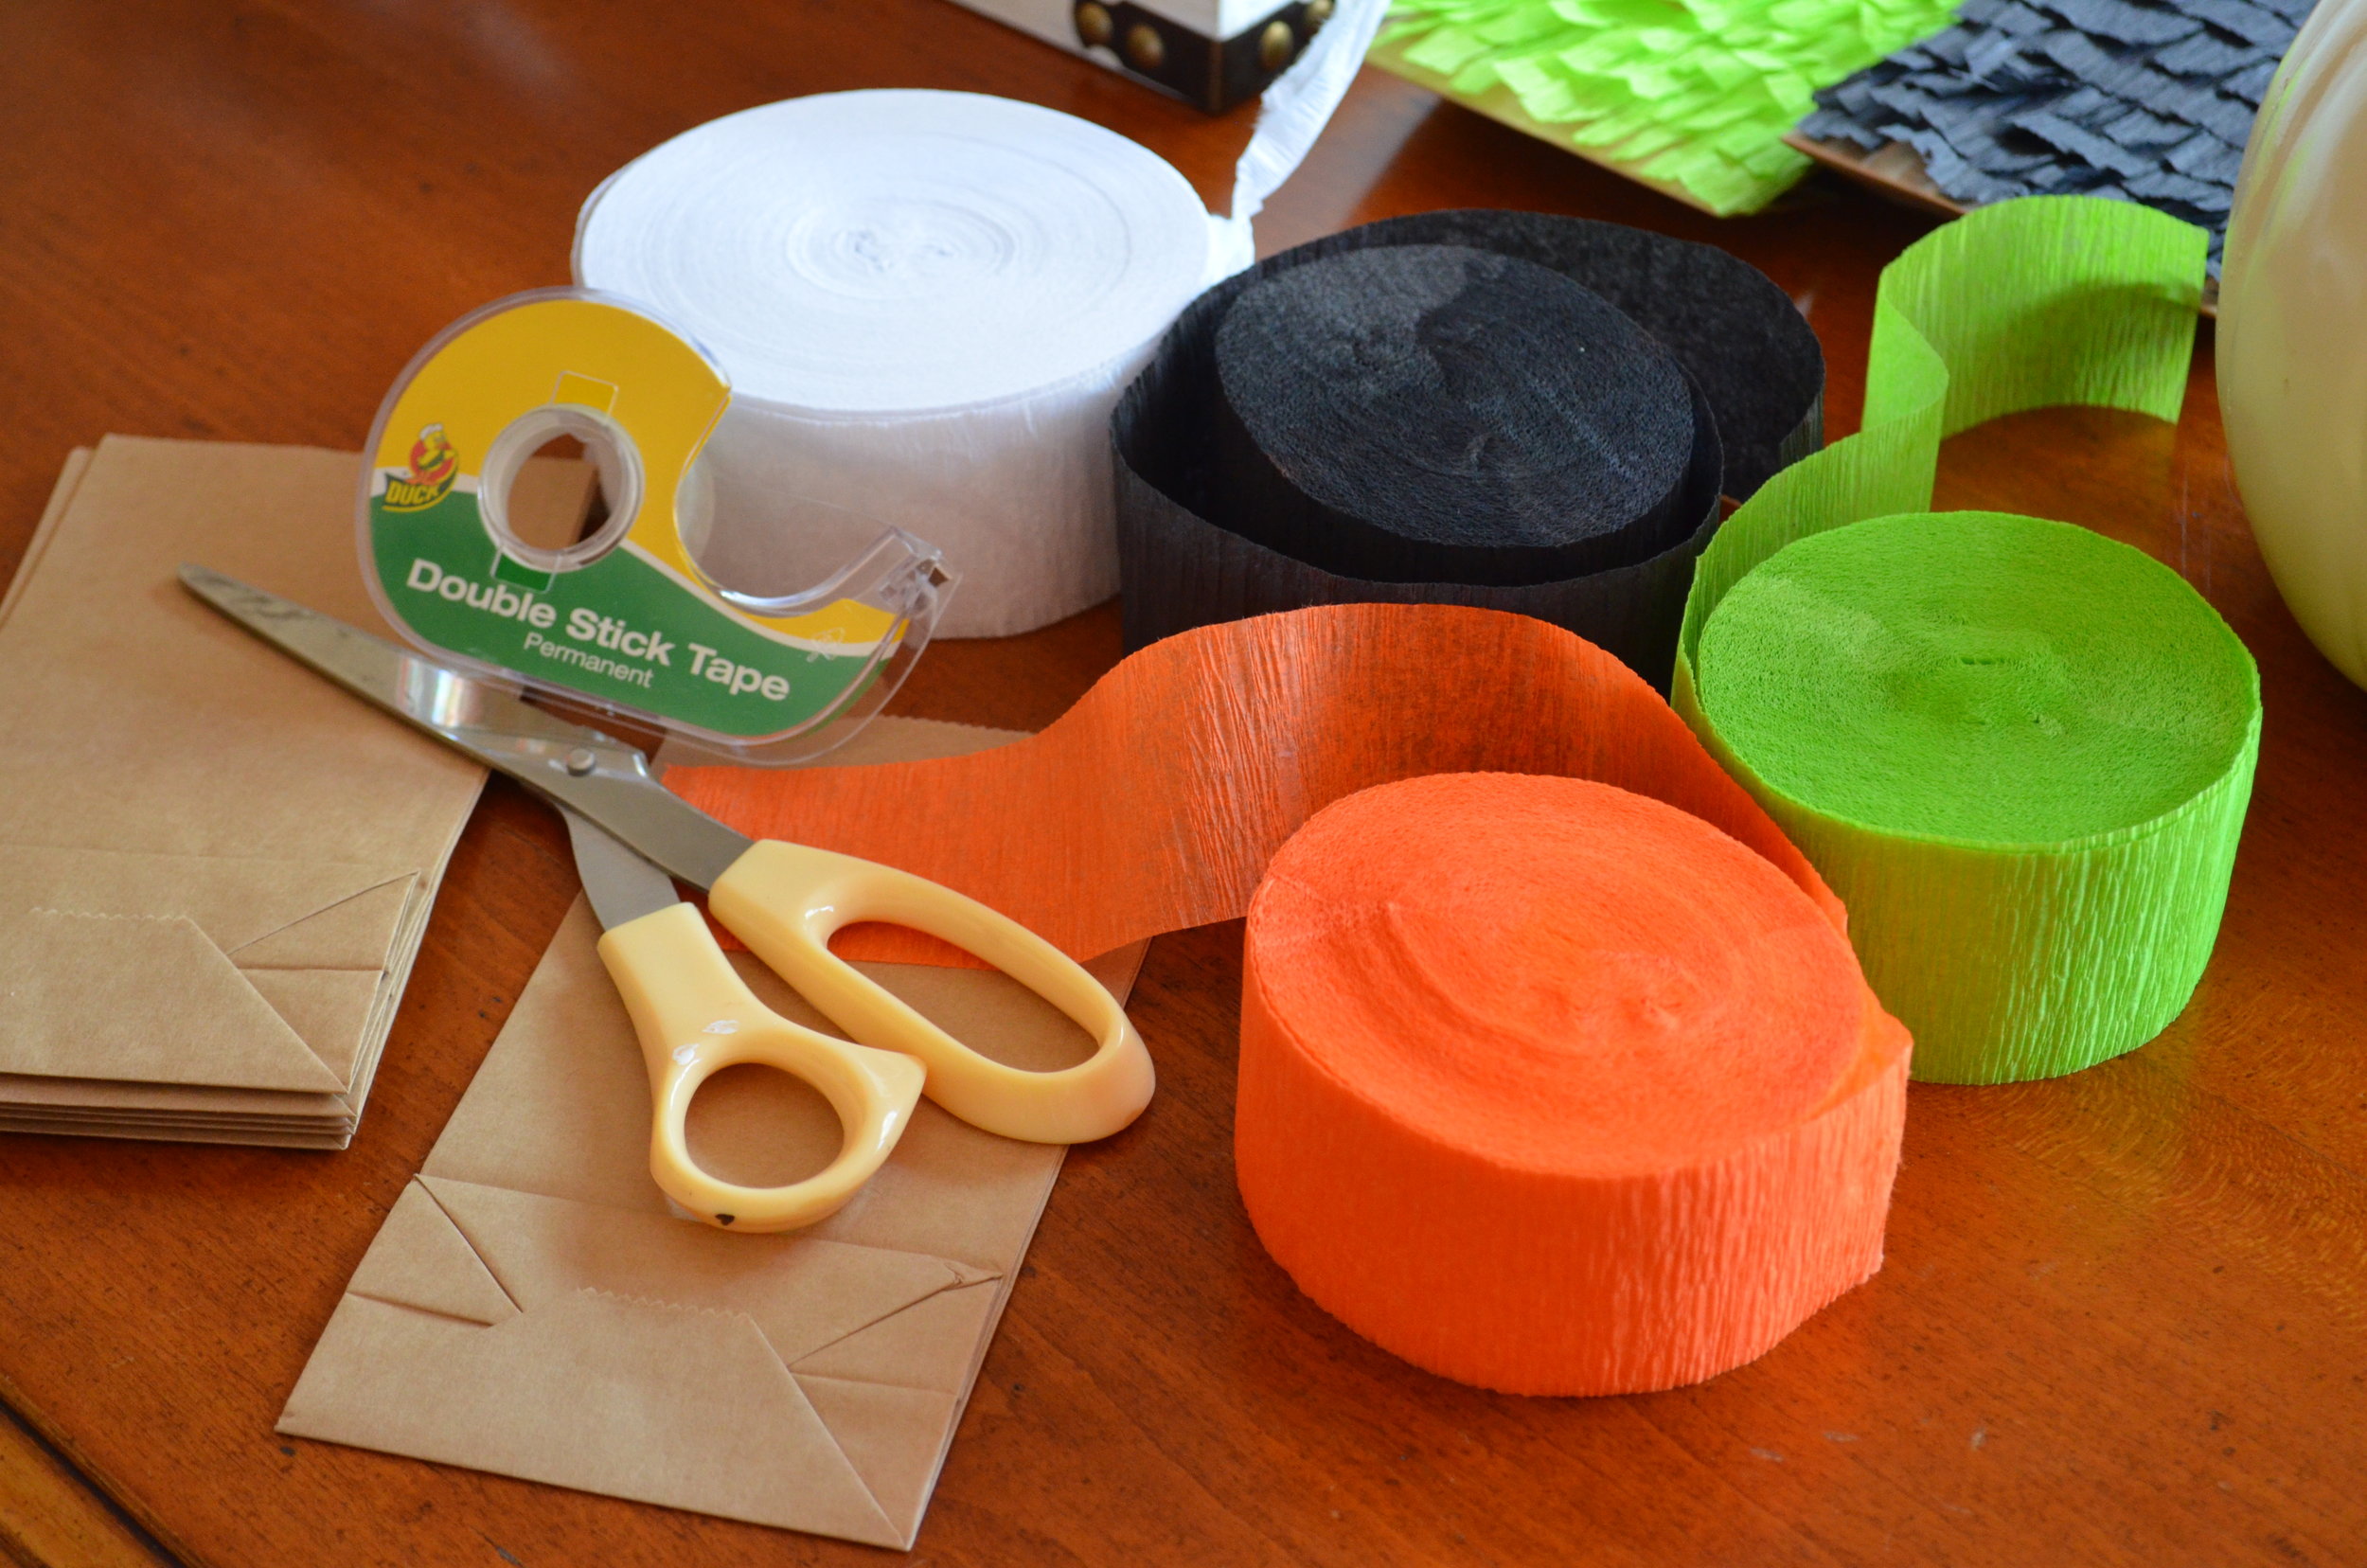
Crepe paper; colors will vary depending on which look you choose
scissors
double-sided tape, or glue
small (or large) brown paper bags
google eyes; for the monster and bat
black paper; for the bat wings, and pumpkin face
white paper; preferably label paper, for the bat’s teeth
Directions:
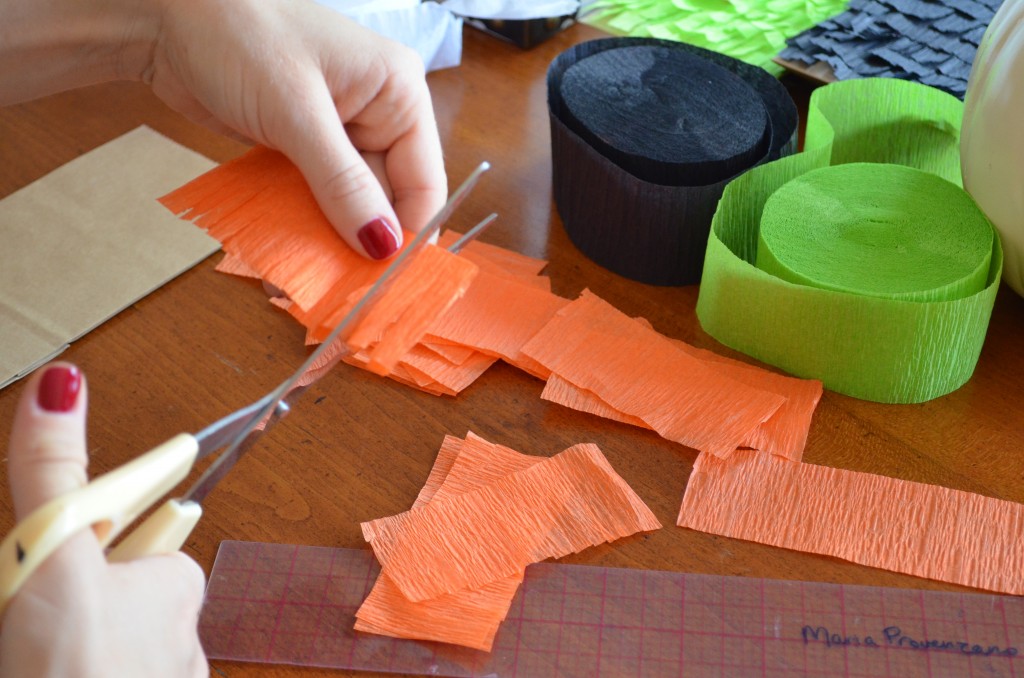
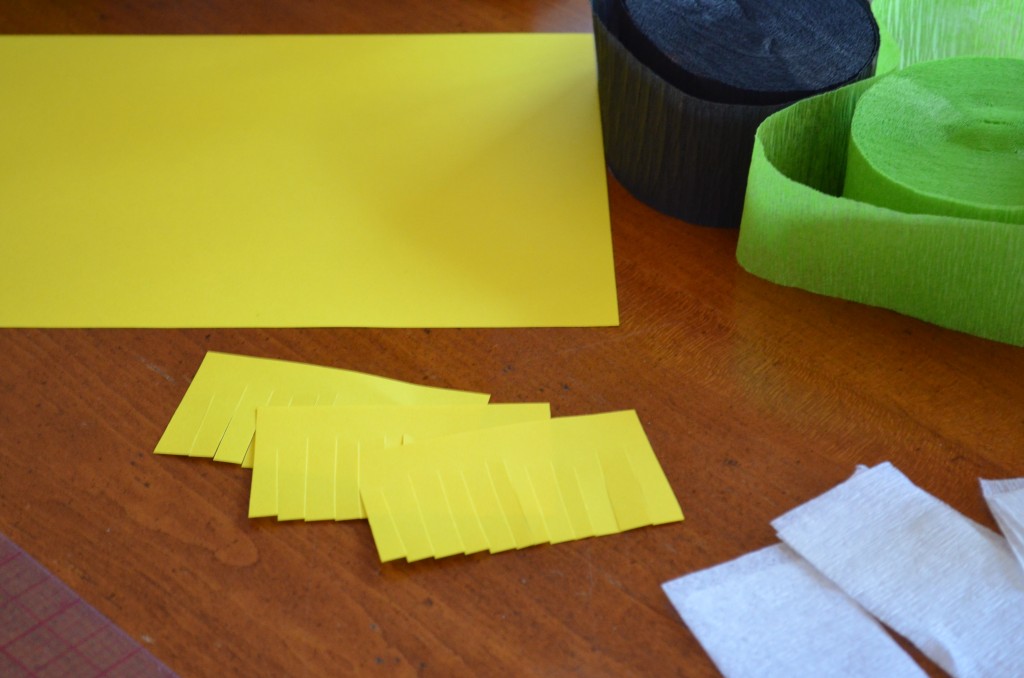
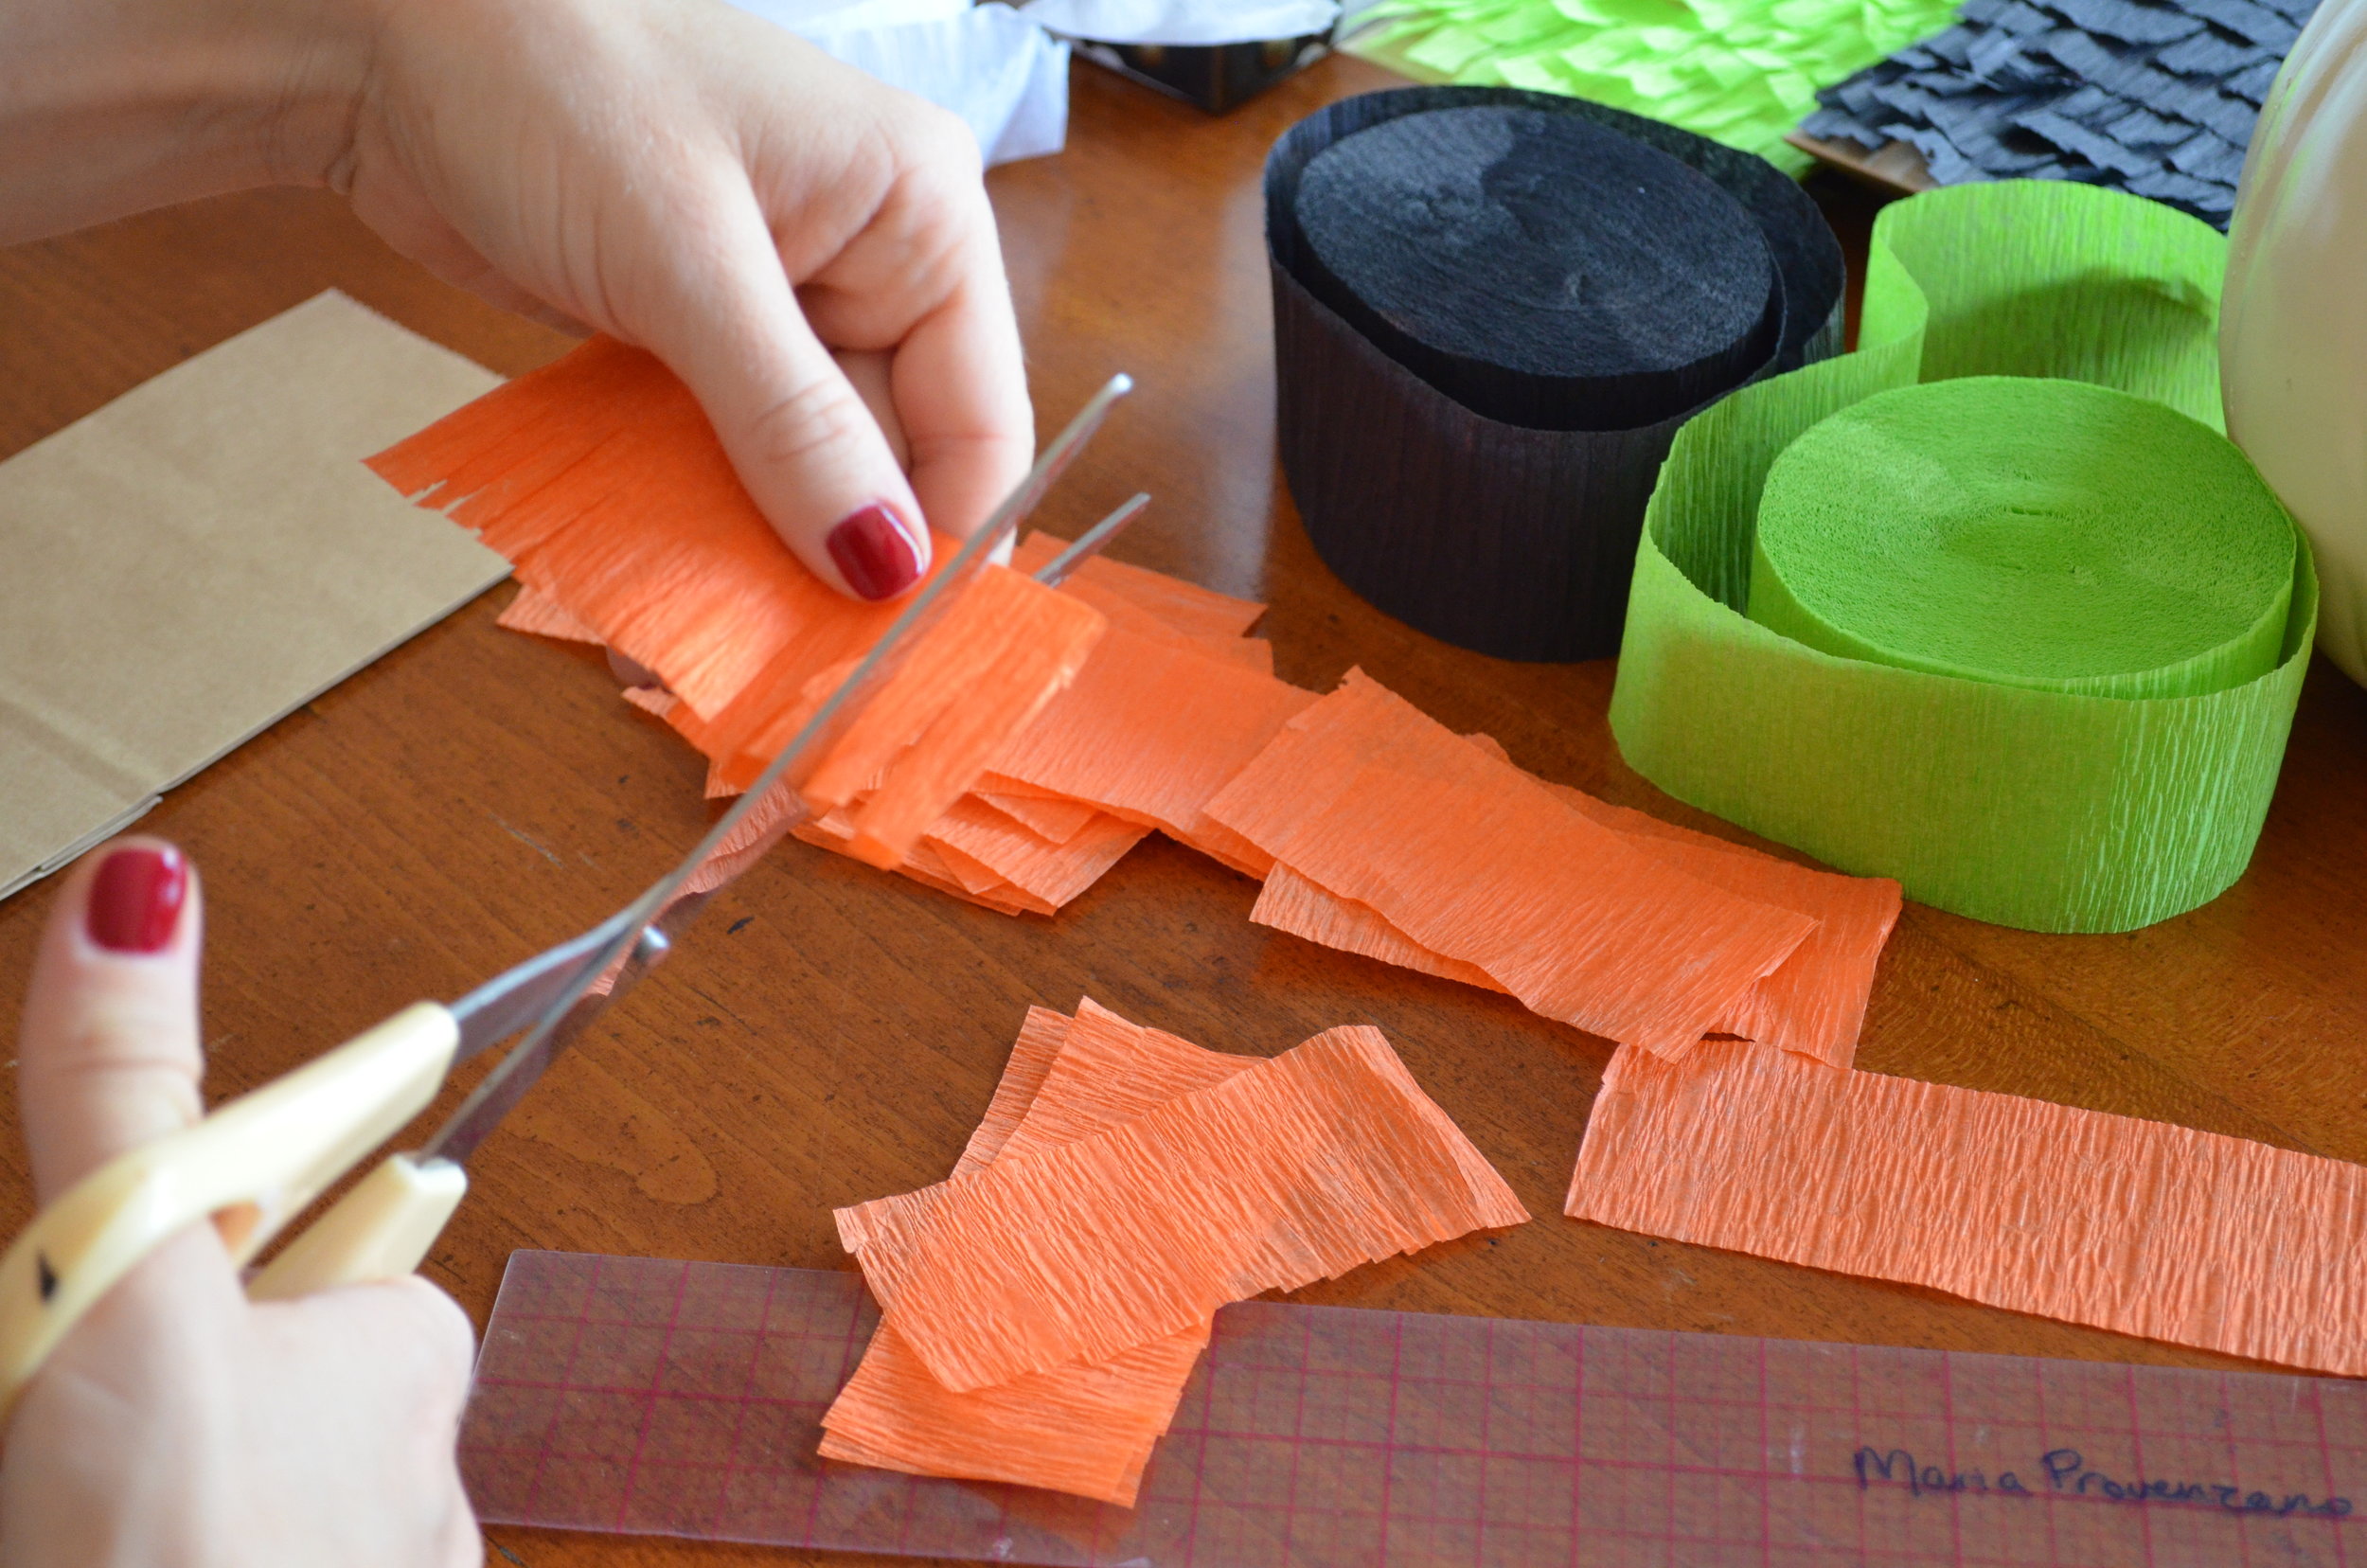
*Cut the crepe paper to the same size as the width of the bag
*Use the scissors to cut fringe into one side of the crepe paper leaving about a 1/4-1/2 inch uncut at the top
*To speed up the process, you can cut about 3 sheets at a time
*Place the double-sided tape, or glue, on the uncut part of the crepe paper
*Place onto the brown bag, starting at the bottom, and working your way up
*Repeat until the entire bag is covered
*Fill with candy, and use tape to secure the bag shut; optional
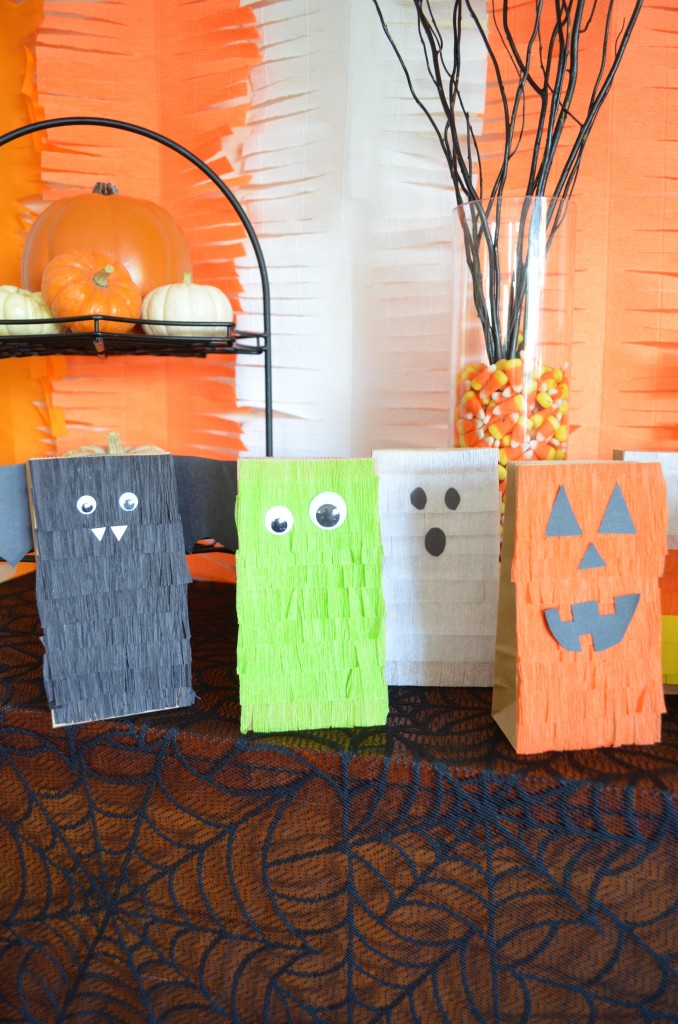
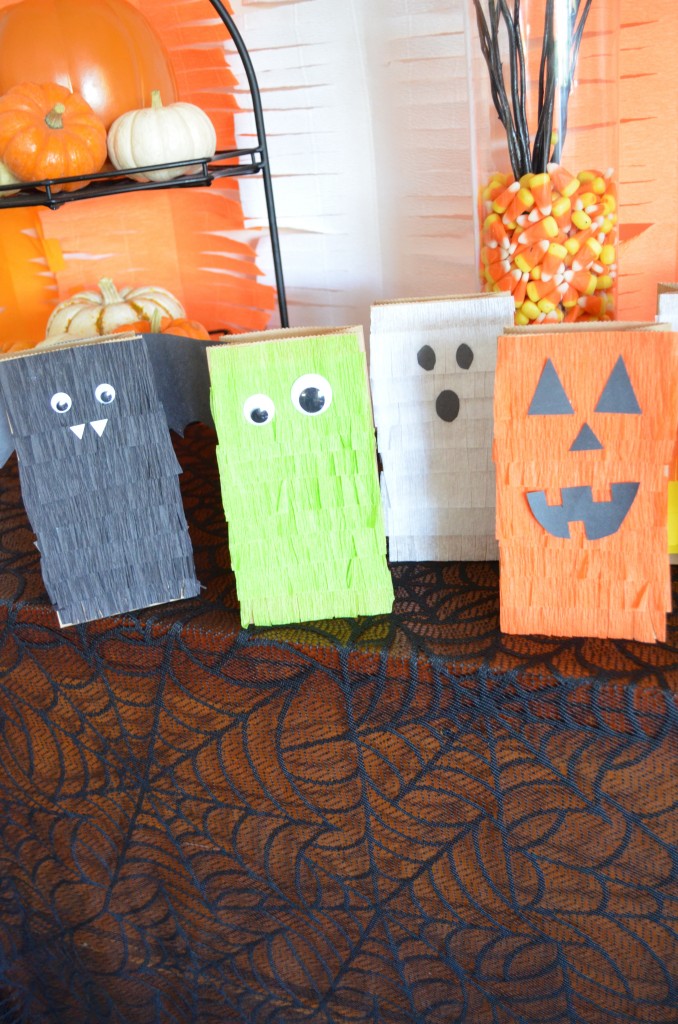
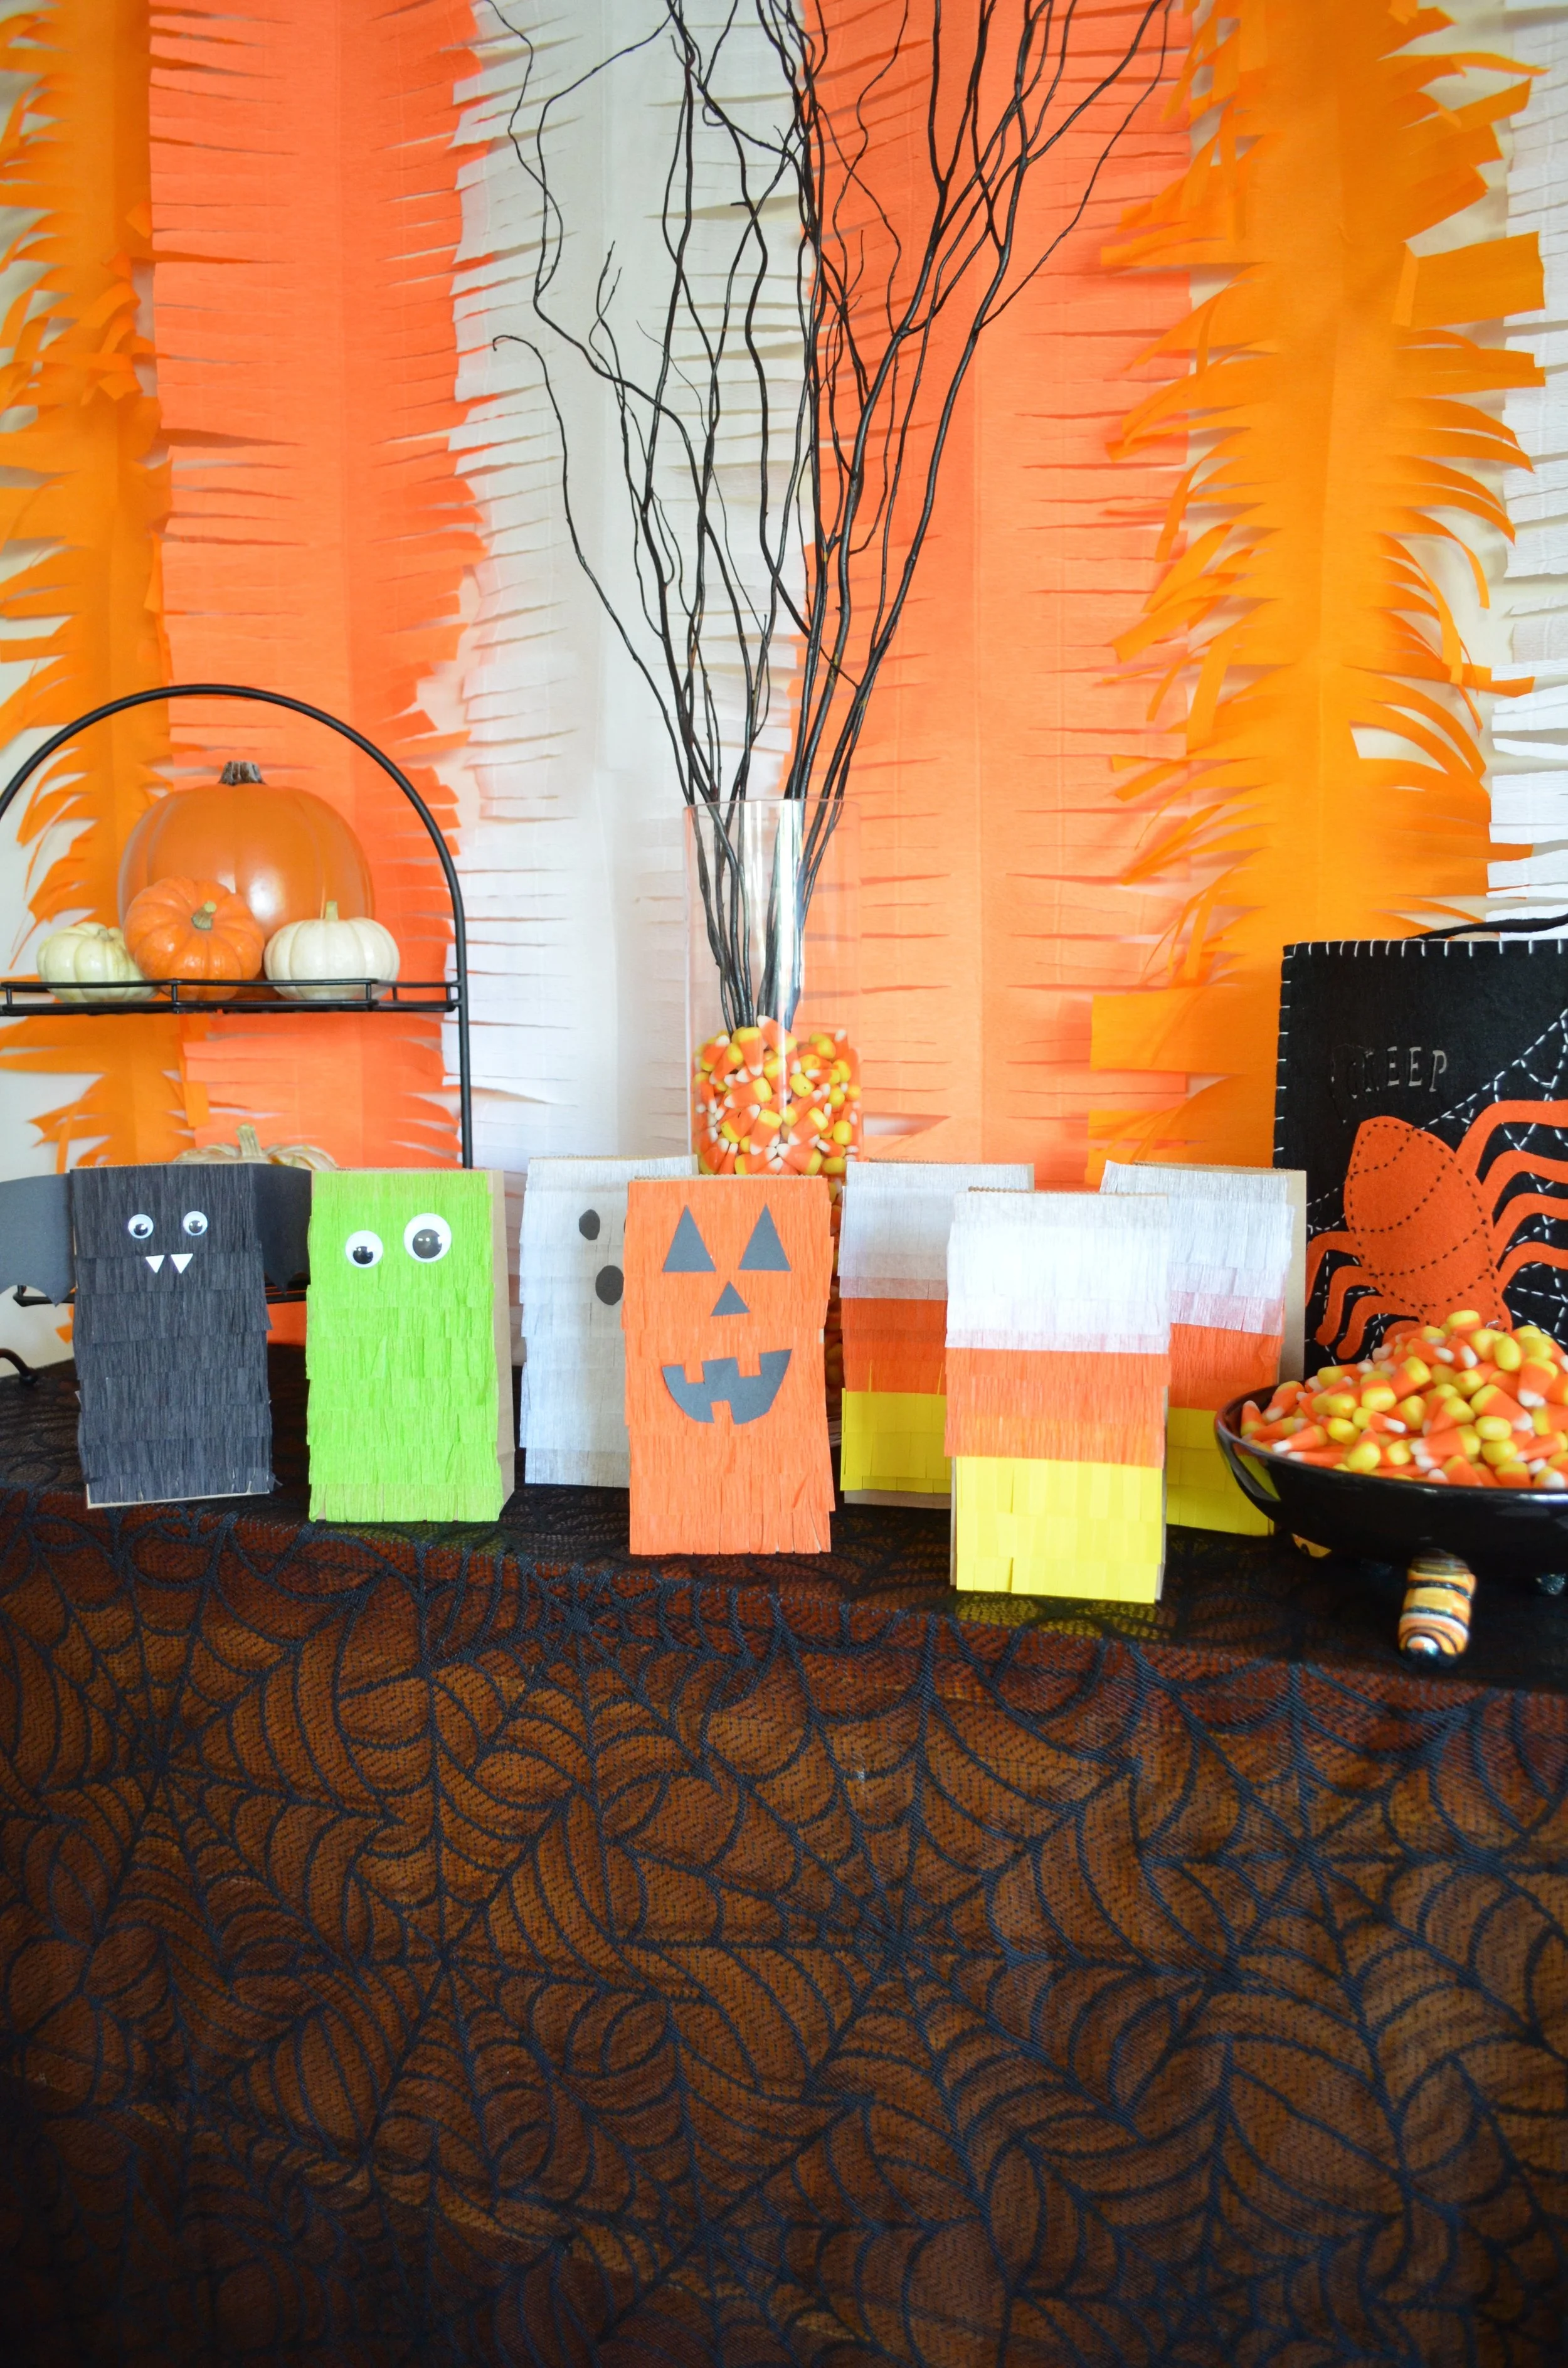
For the monster:
Place the google eyes on with glue
For the bat:
Place the google eyes on with glue. For the teeth, use either white paper or white sticky label paper and cut two small triangles. Attach the white paper with glue, or simply remove the back of the label paper and attach.
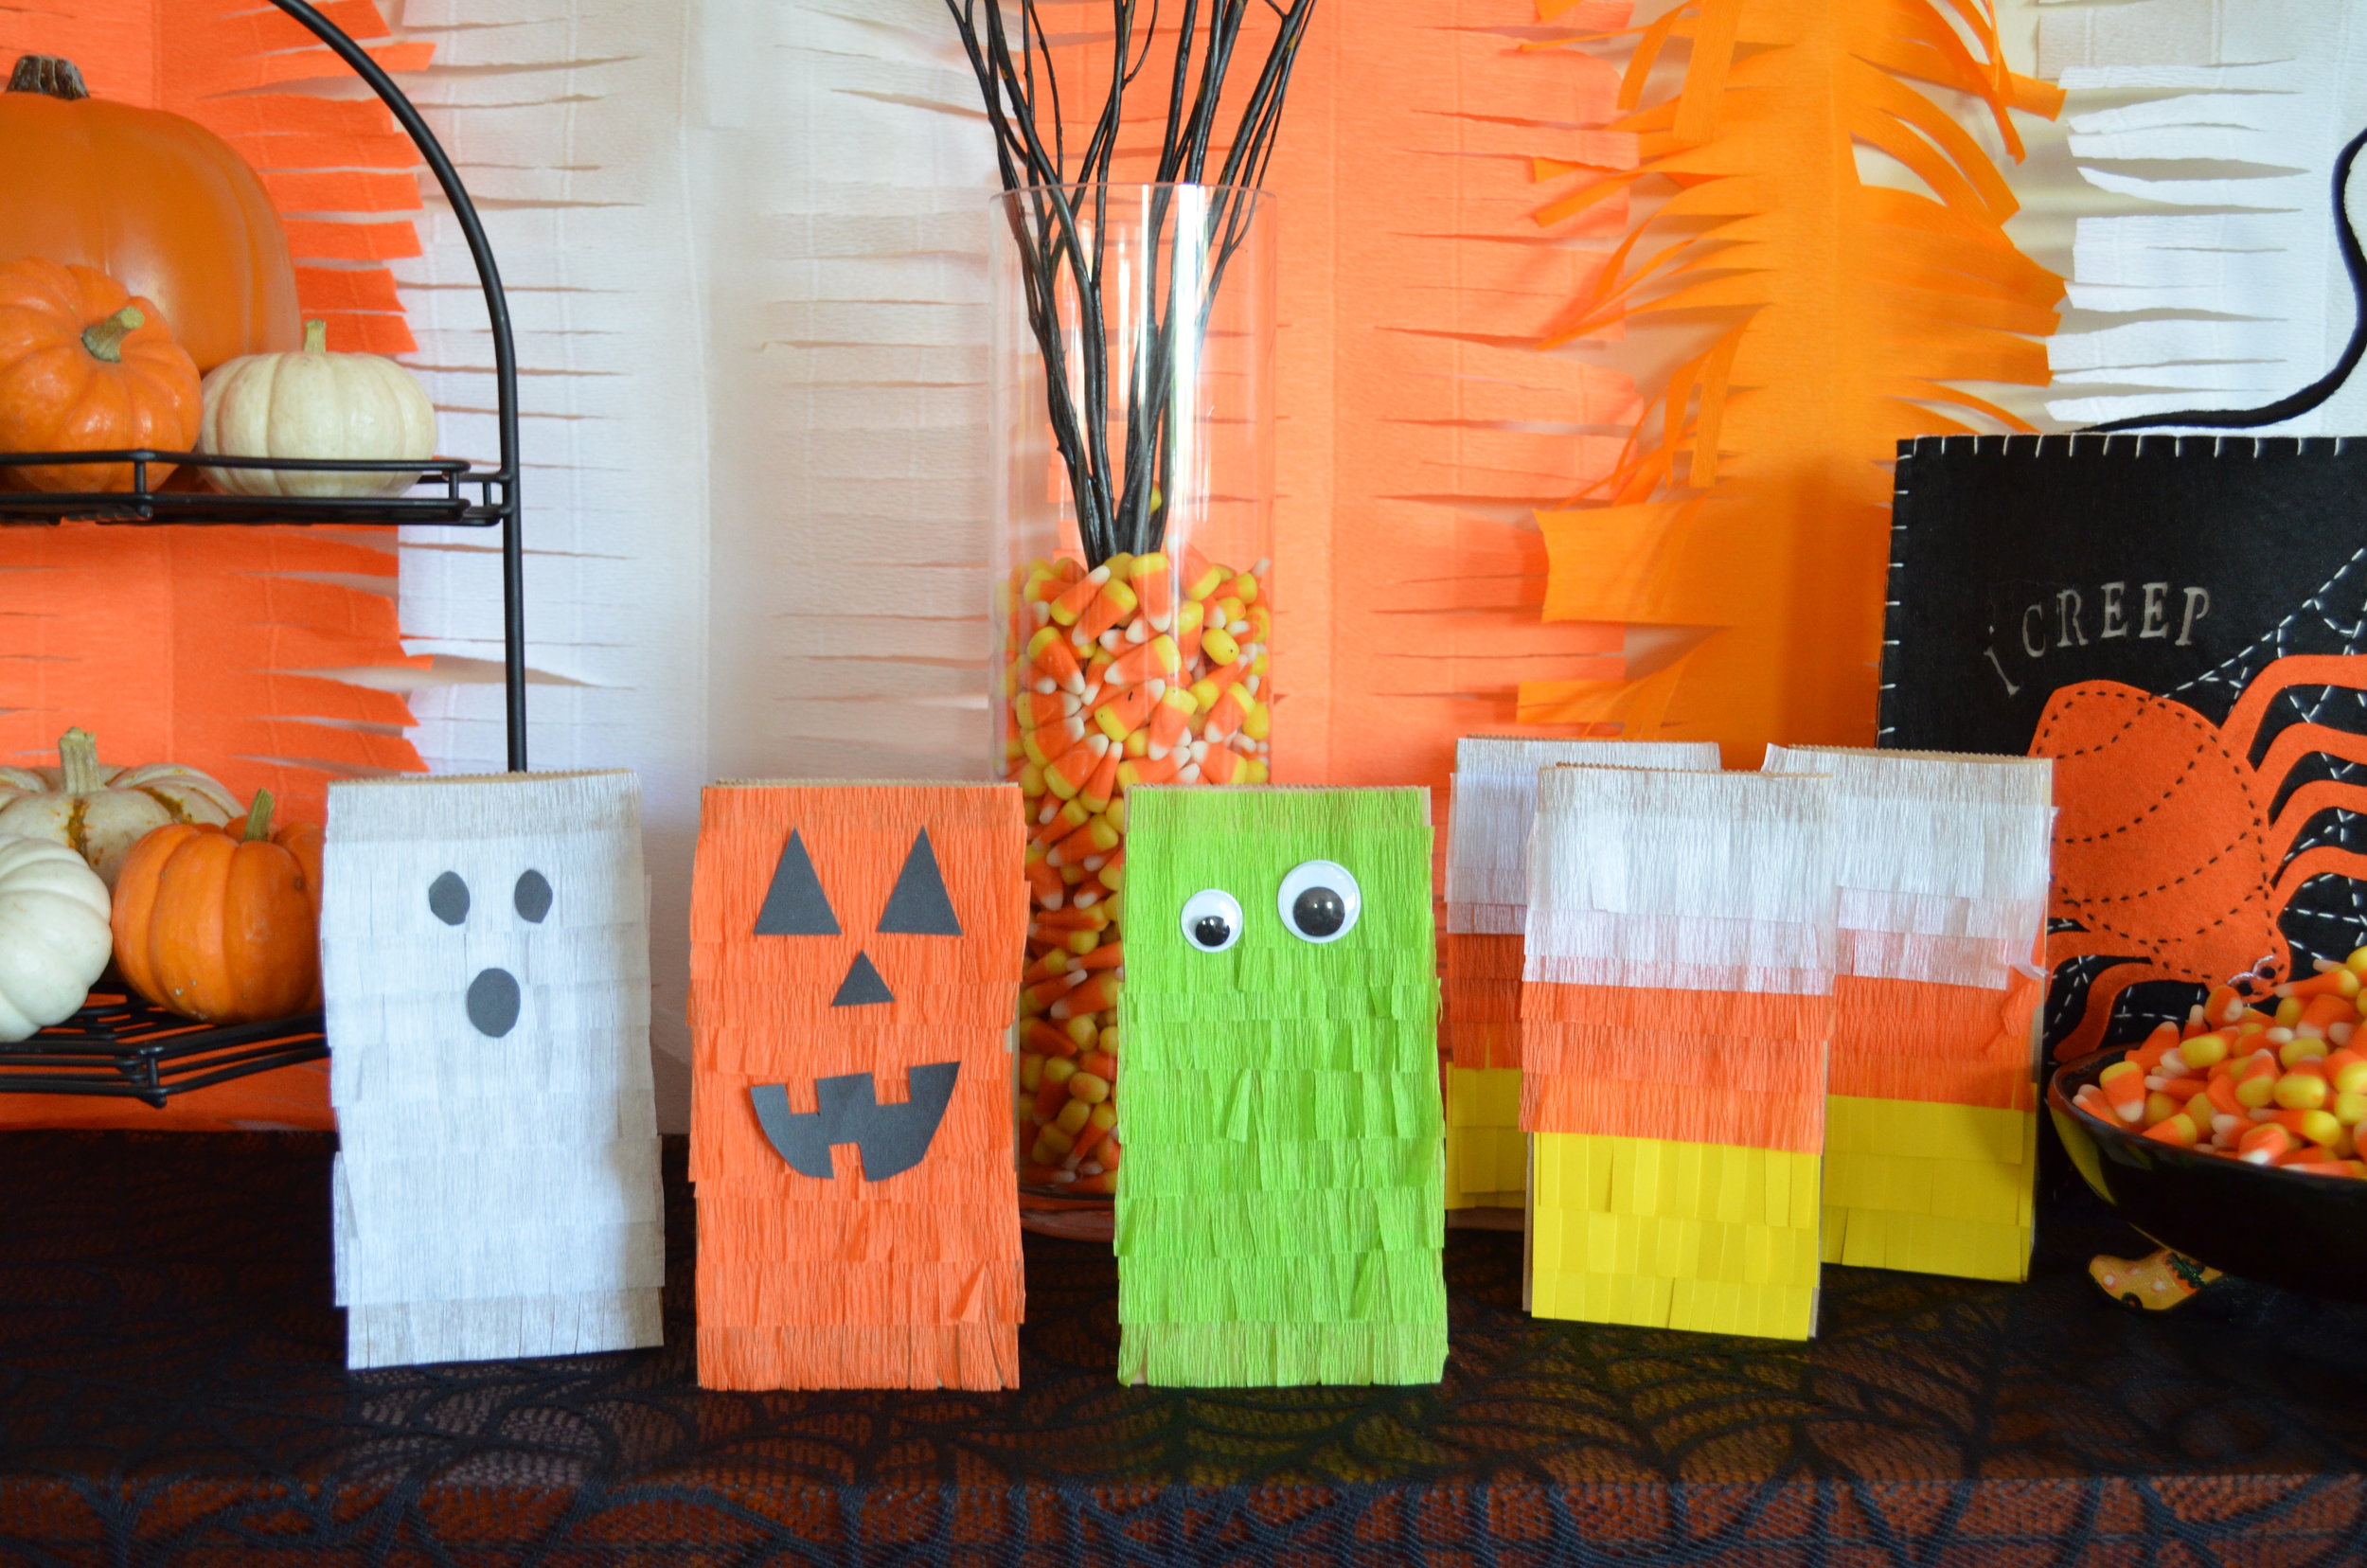
For the ghost:
Draw three ovals, two small and one large, on a sheet of black paper, cut out and attach to the bag with glue
For the pumpkin:
Draw the face onto a sheet of black paper, cut out, and attach to the bag with glue.
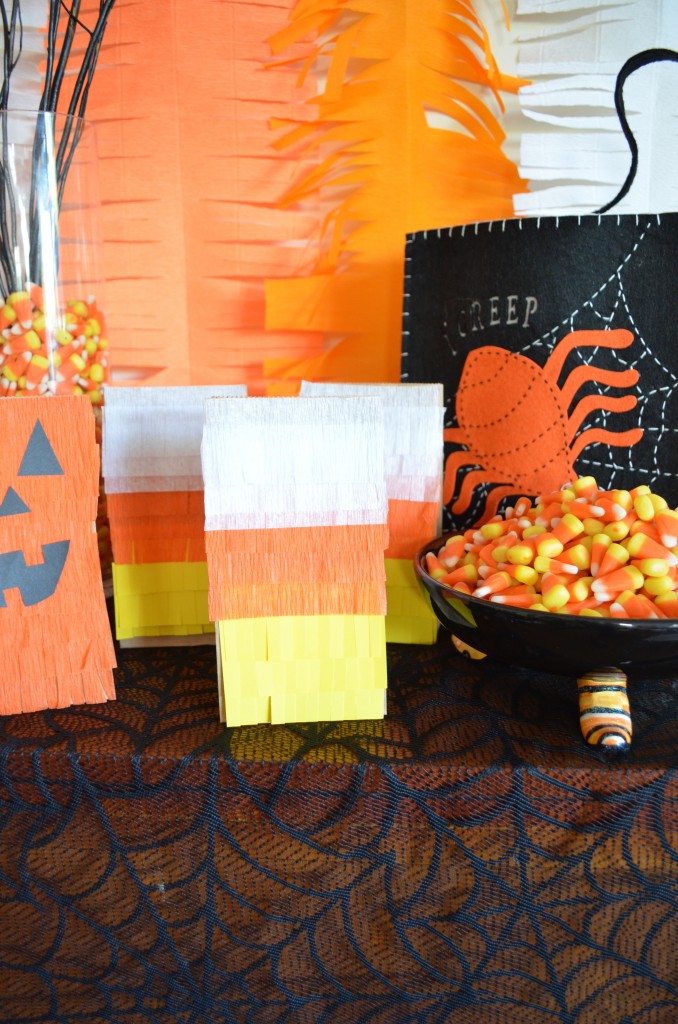
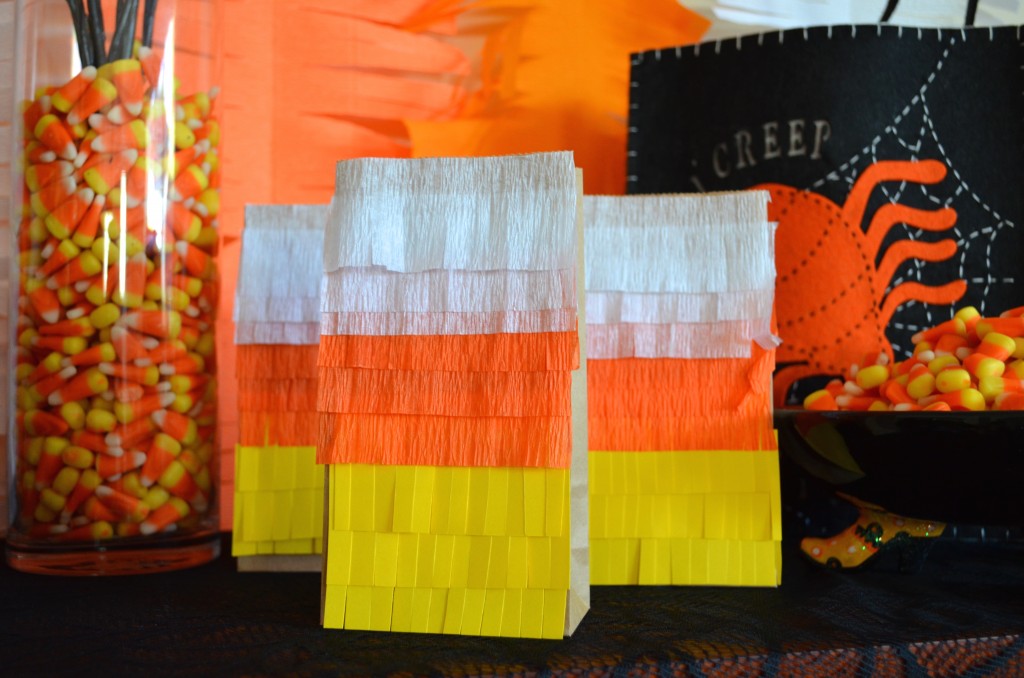
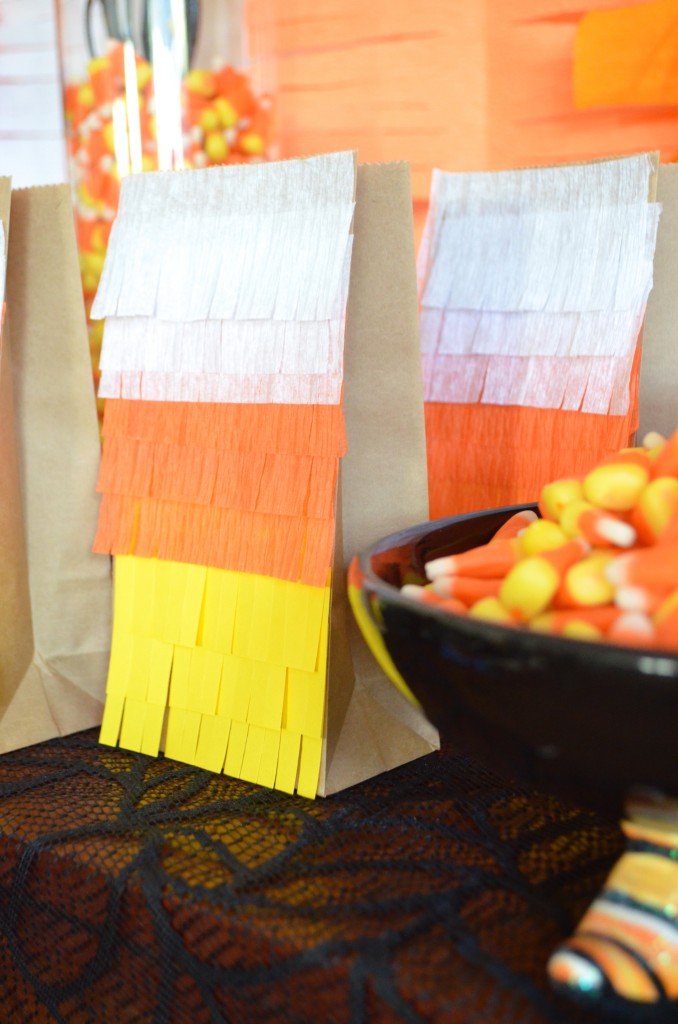
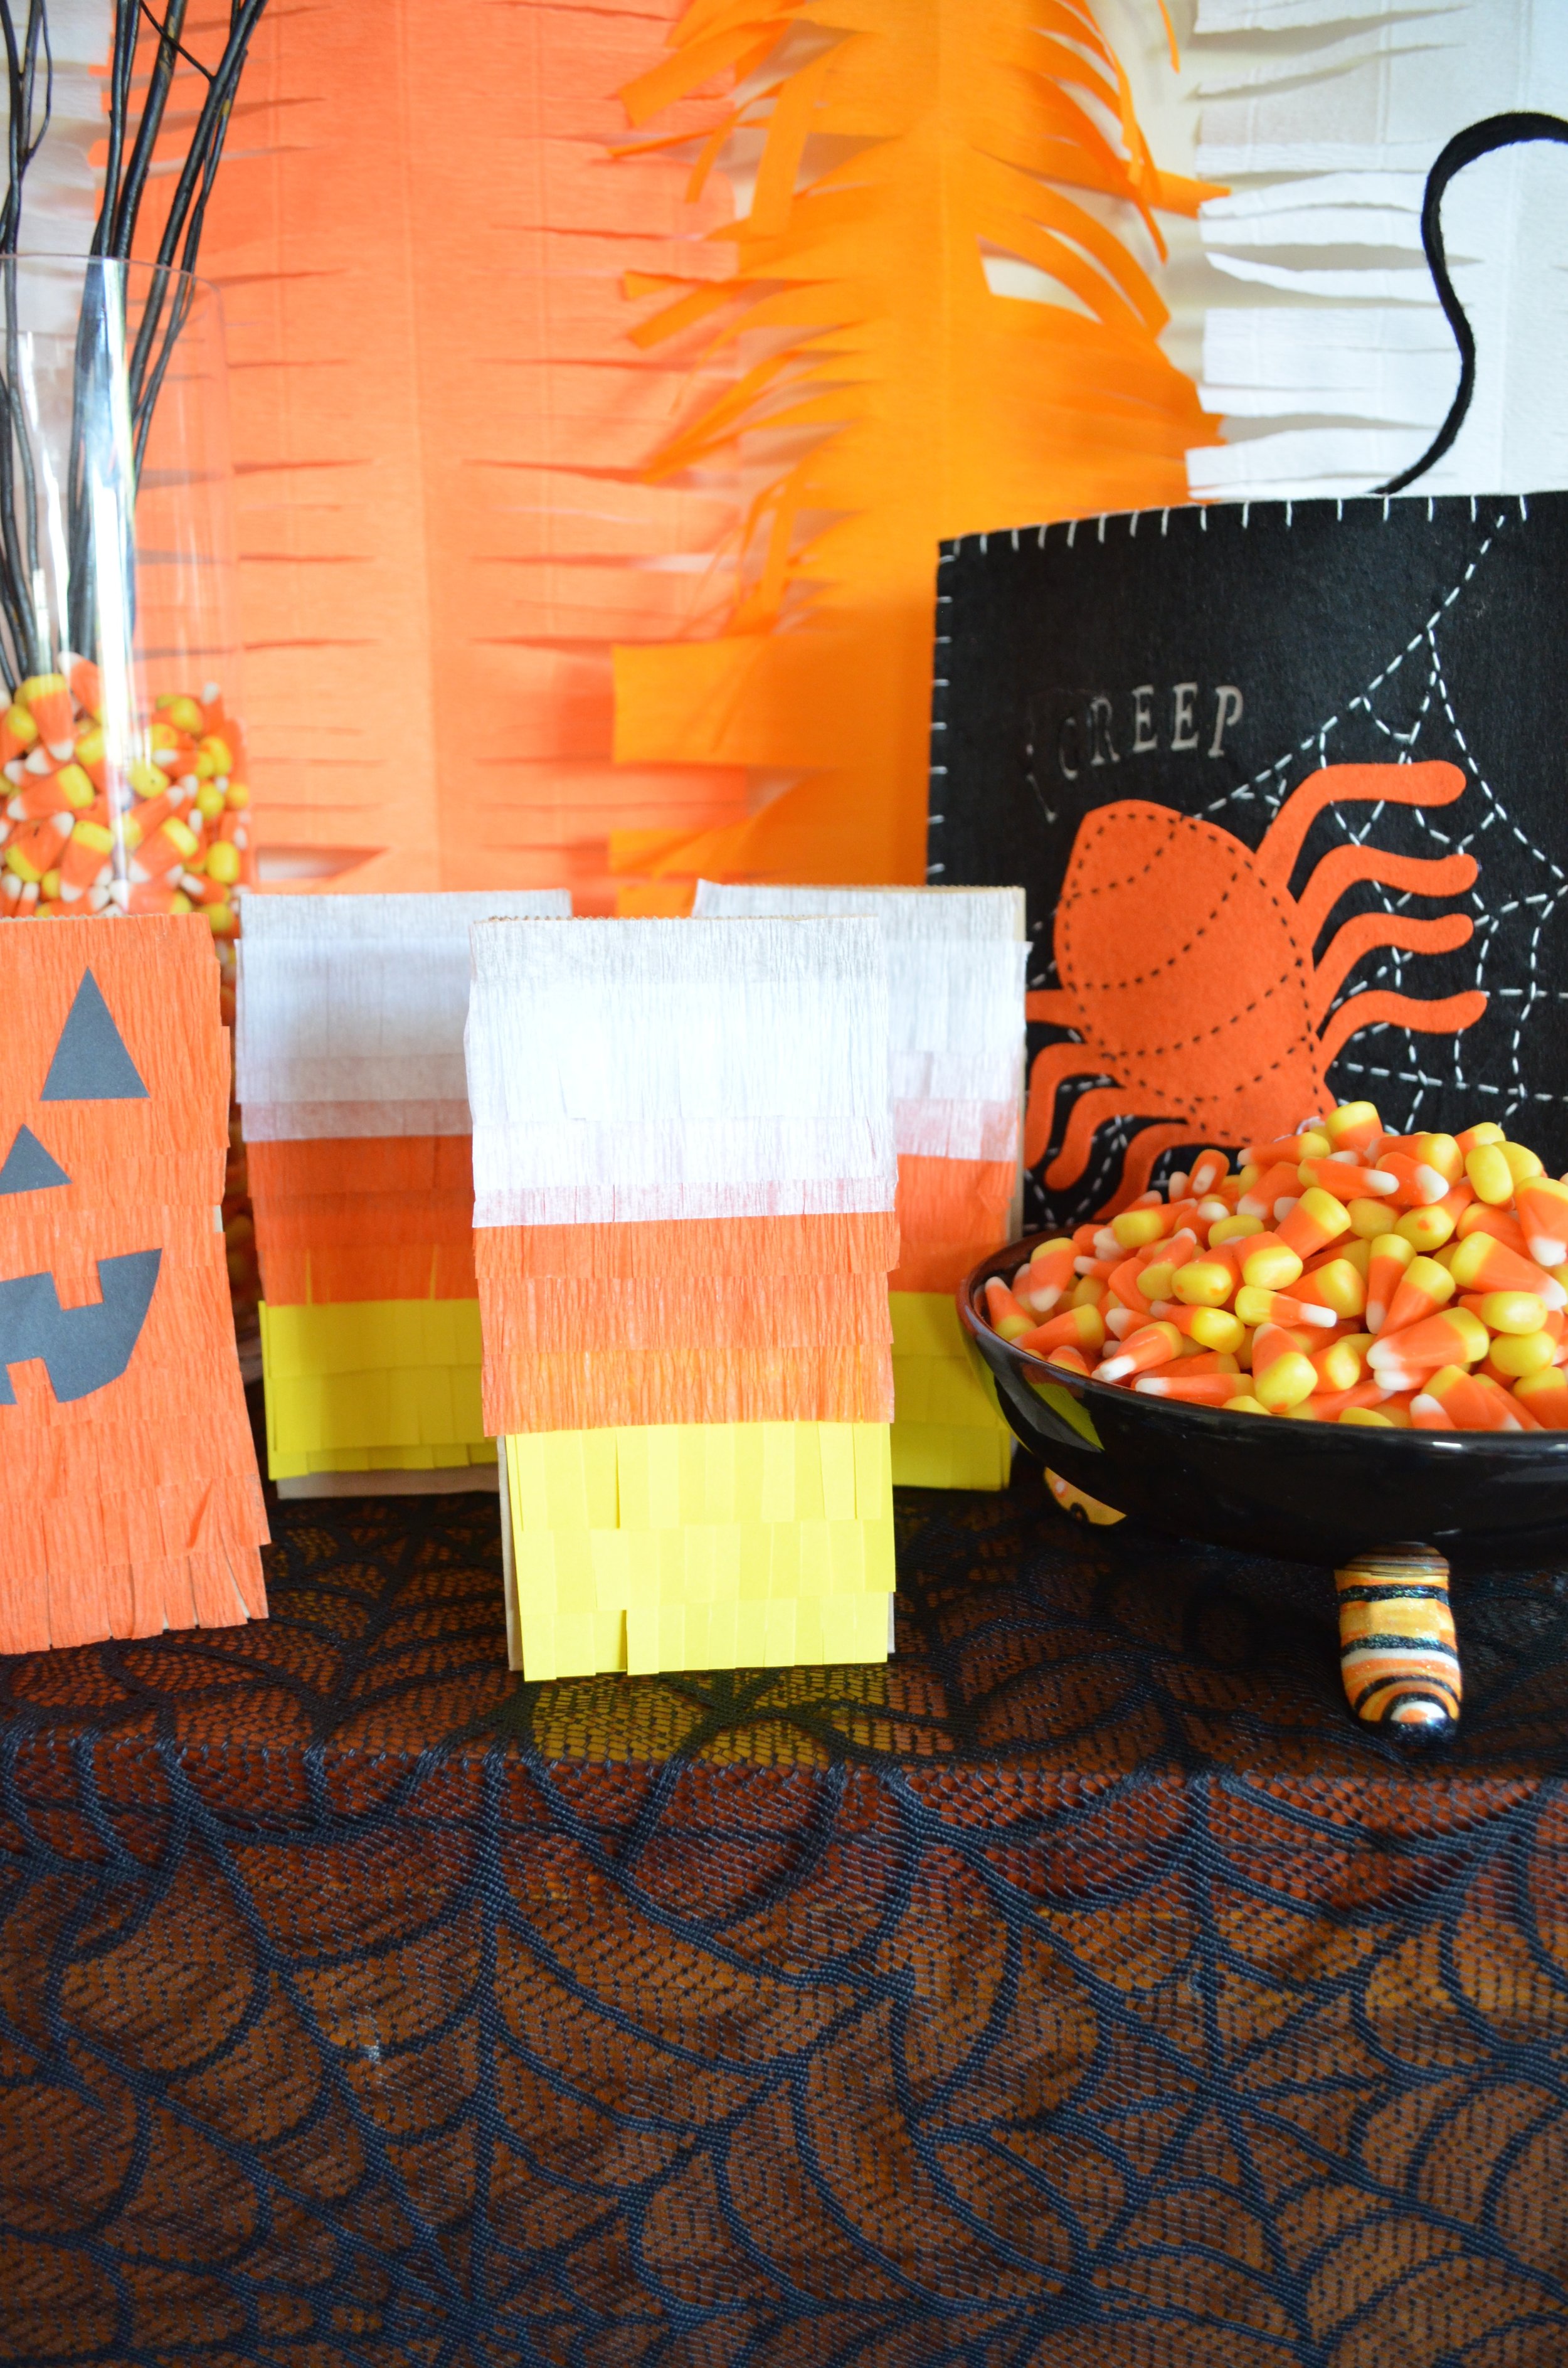
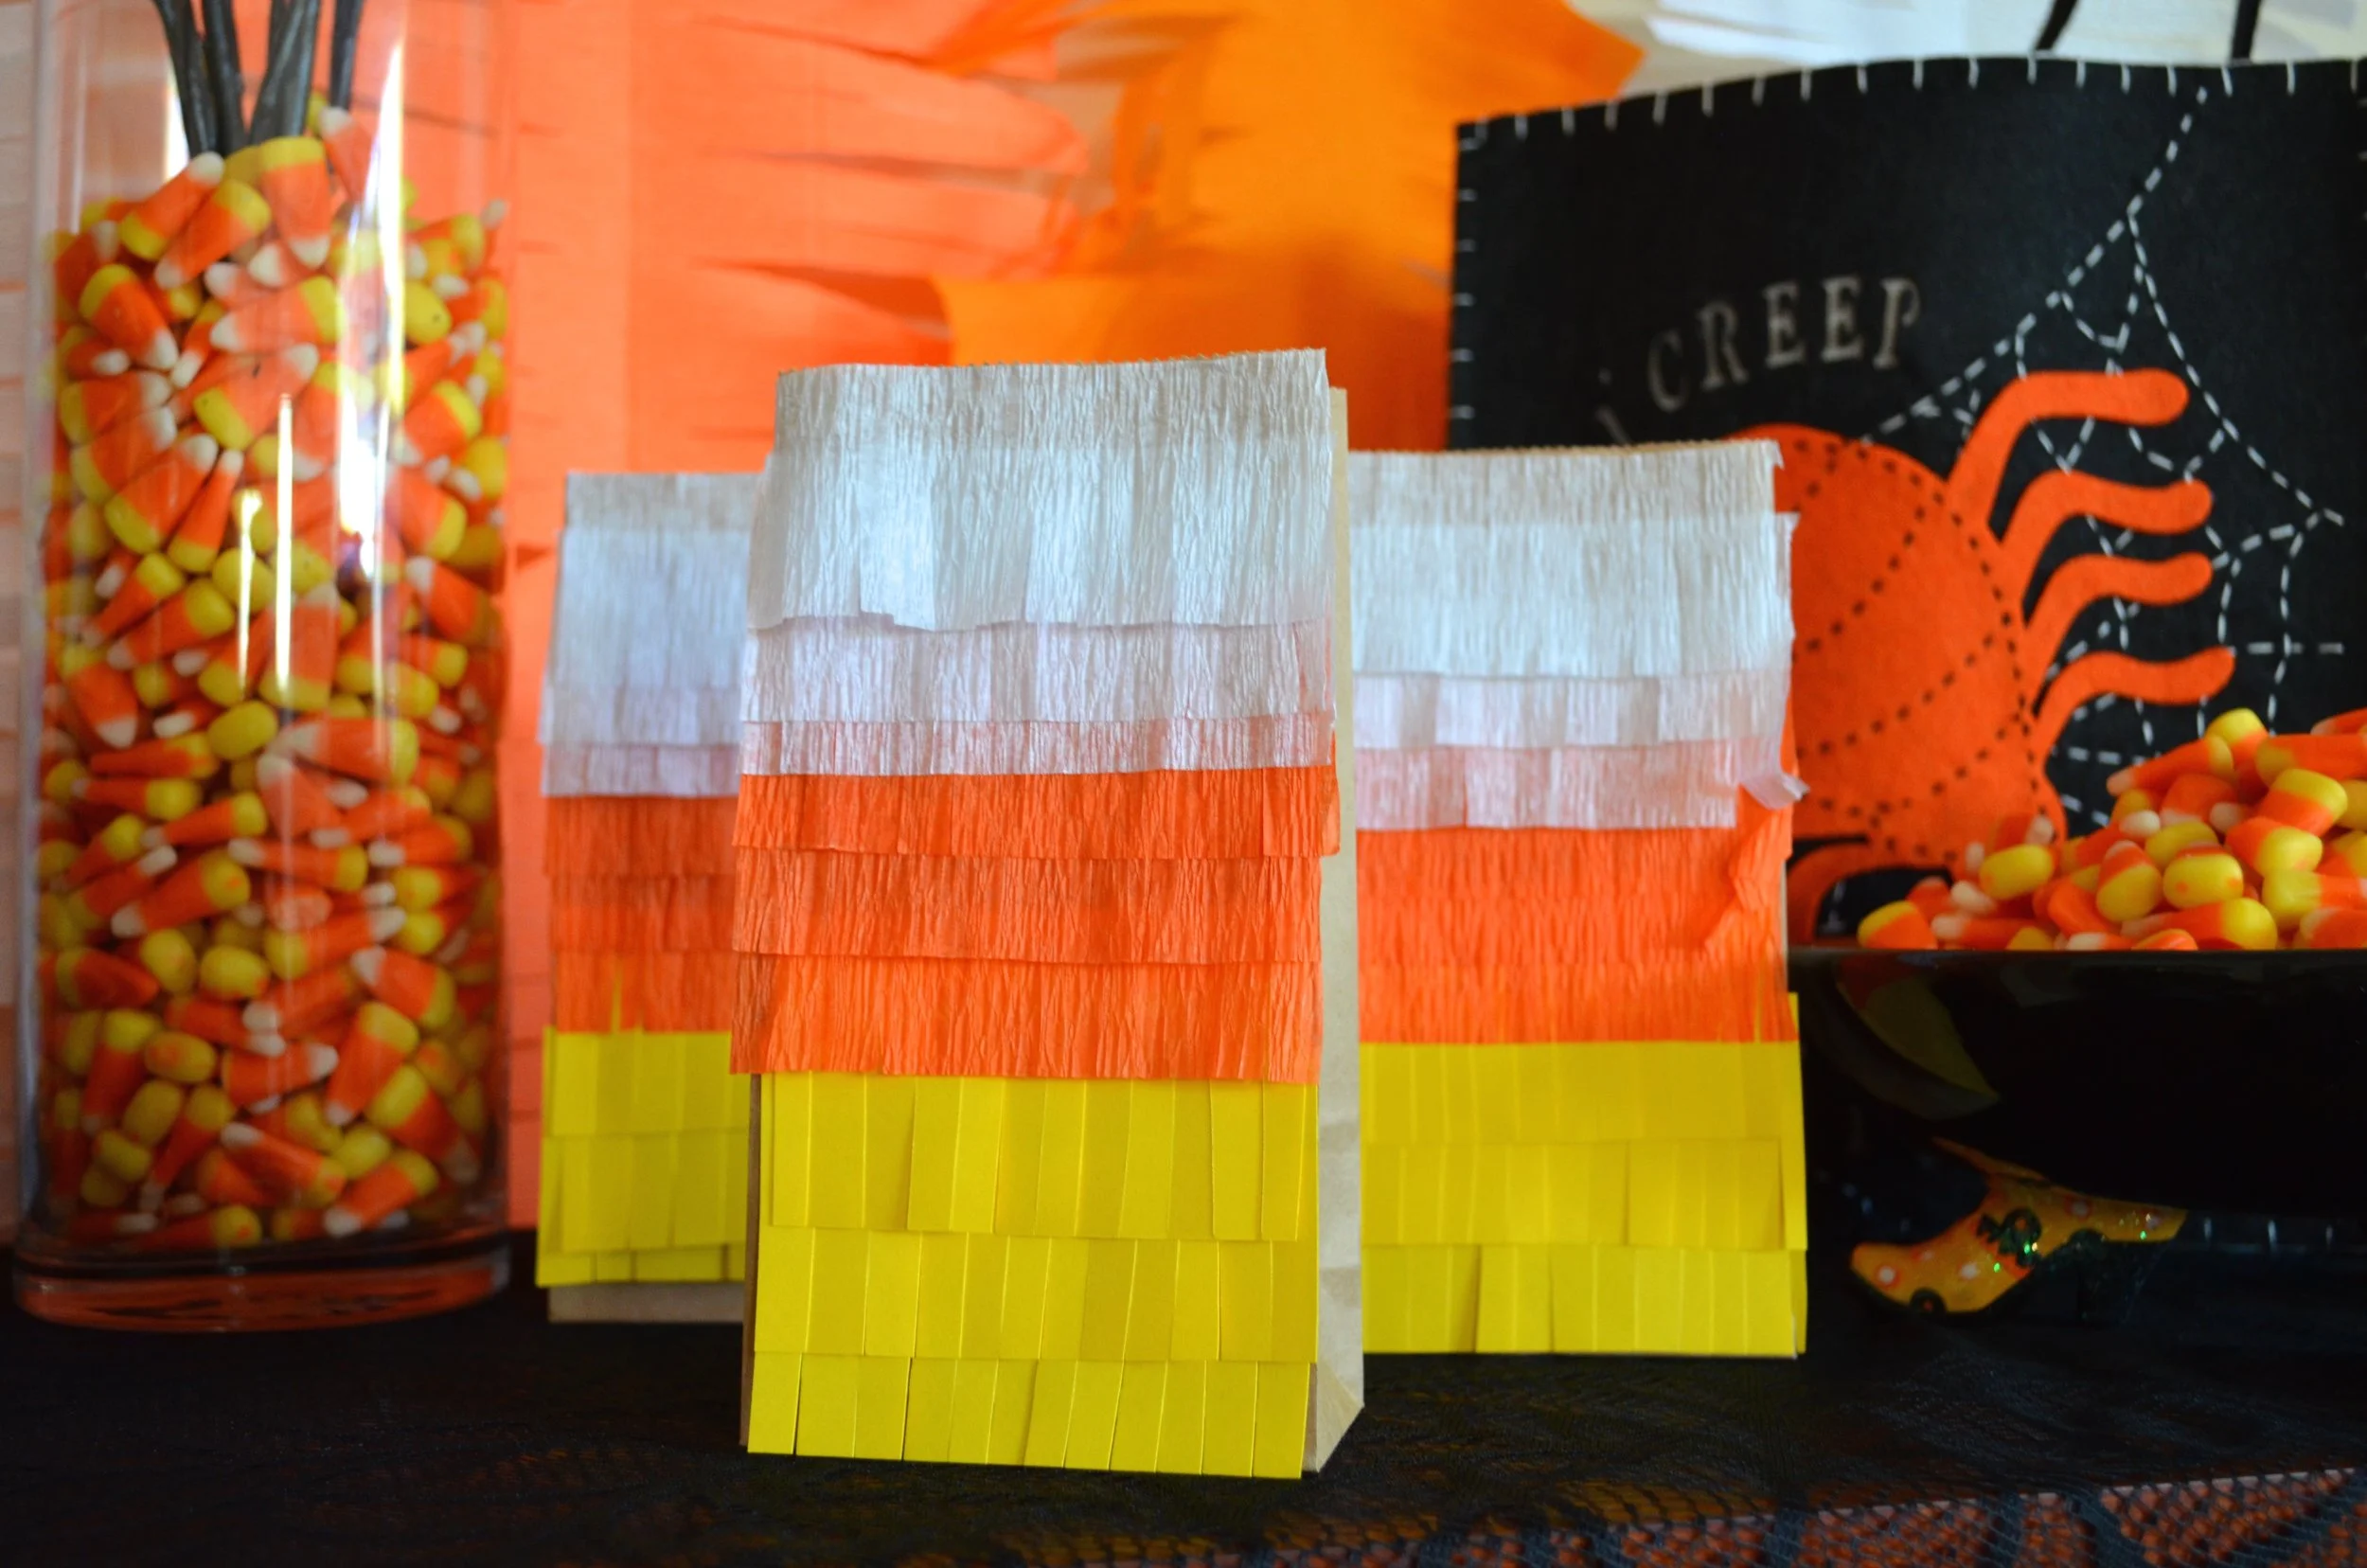
For the candy corn:
Cut out equal amounts of white, orange, and yellow crepe paper, and attach them to the bag with tape or glue


