DIY Cookie Cutter Jewelry Dishes
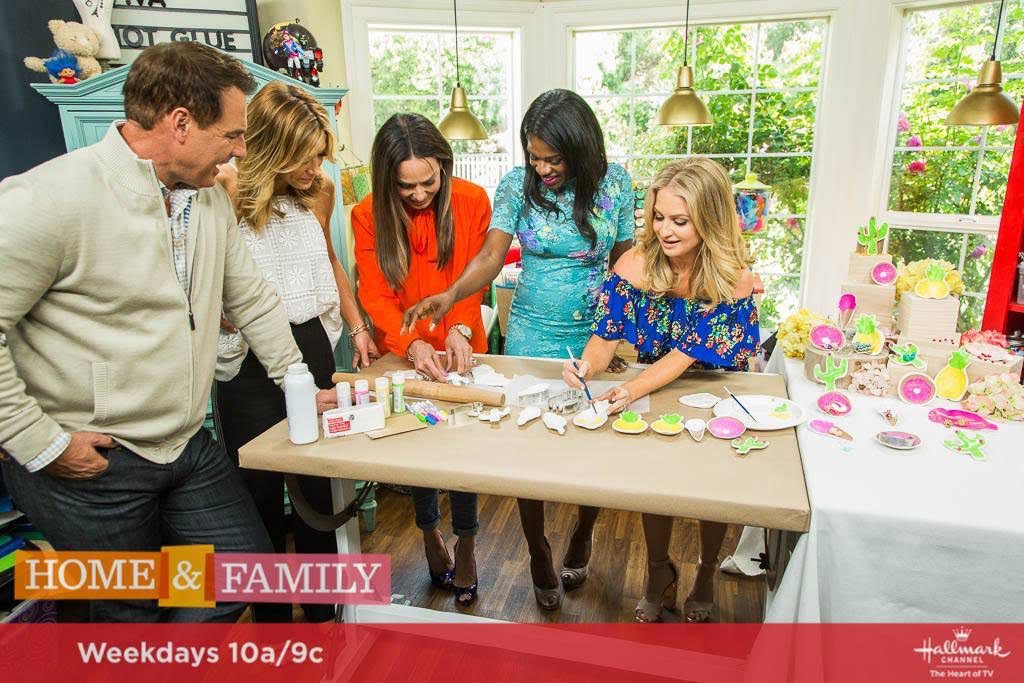
DIY Cookie Cutter Jewelry Dishes
DIY Cookie Cutter Jewelry Dishes
Materials
-
Oven-Baked Clay
-
Parchment Paper
-
Baby Powder
-
Oven-Safe Cookie Cutter
-
Rolling Pin
-
Baking Sheet
-
Oven
-
Sand Paper
-
Acrylic Paints
Directions
1. Place a sheet of parchment paper on a flat surface, and sprinkle it with a little bit over baby powder
2. Roll a golf ball size, or a bit larger, of clay in your hands, and roll it with your hands until the clay becomes pliable
3. Use your hands to make the clay into a disk shape.
4. Place the clay over the baby powder on top of the parchment paper, and sprinkle a bit more of the baby powder on the top of the clay.
5. Place another sheet of parchment paper over the top of the piece of clay, and use a rolling pin to flatten out the clay to a little over 1/4 inch. if there are any lines from the parchment paper, remove the parchment paper from the top of the clay, and roll out with the rolling pin directly onto the clay.
6. Use the sharp side of the cookie cutter to cut out the desired shape.
7. Then, remove the shape from the cookie-cutter, and use the rolling pin to slightly roll the shape a bit larger, making sure to do this evenly throughout the shape to not change the shape. You want the clay to be about 1/4 inch thick
8. Place flattened shape over the rounded side of the cookie cutter on a baking sheet. The center should dip inward like a bowl shape, you may need to use your fingers to slightly press down to create this dip depending on the shape you are using.
9. Bake in the oven at 275 degrees for 15 minutes. If your clay is thicker than 1/4 inch, then it will need to bake longer. Bake 15 minutes for each 1/4 inch.
10. When baked and cooled, remove clay from the cookie cutter and gently sand the edges to get rid of any roughness
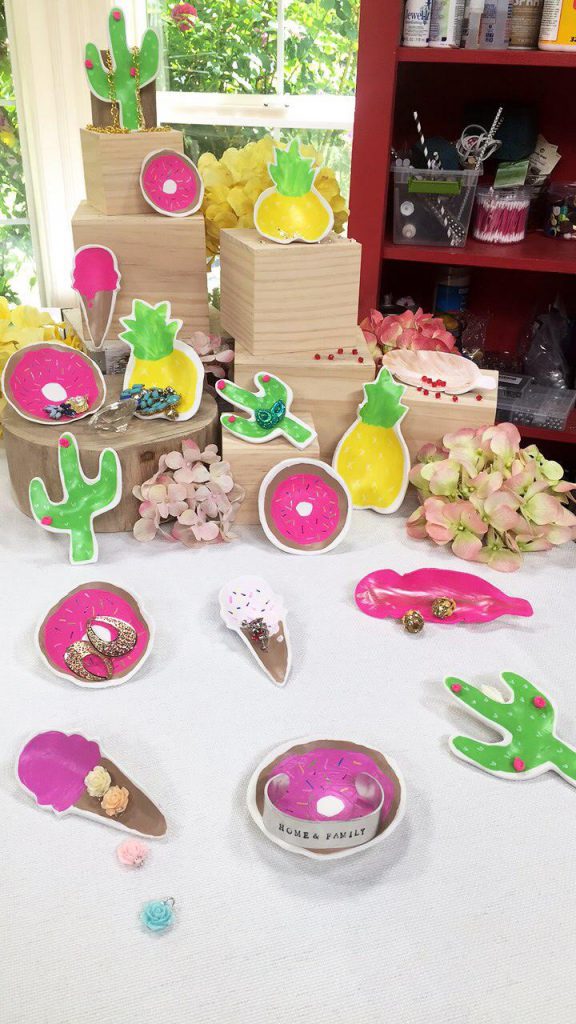
11. Paint your favorite design using acrylic paints
12. When the paint is dry, fill with jewelry!
*Tip, the clay won’t spread or change shape, so if there are any lines or undesired marks on the clay, remove them before baking.